35
Disassembly/reassembly
:
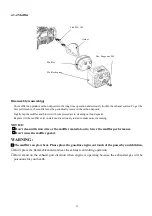
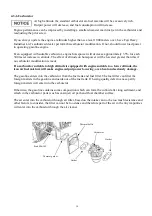
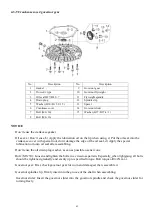
Fist disassemble air cleaner, and disassemble the carburetor as shown on the above figure.
· Before reassembling, check the carburetor thermal gasket, carburetor gasket, and air cleaner gasket for
damaged, please replace it if necessary. Please pay attention to assembling direction.
●
Carburetor
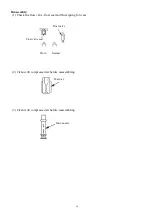
Wash the carburetor in the clean place, first, clean the outside surface, and wash the inside the parts with special
carburetor detergent or industrial gasoline.
Exception for washing impurities, also wash the gasoline colloid on the part surface. Blow the washed parts clean with
compression air, and don
’
t use cloth and paper against recontaminations.
Don
’
t use the steel wire and other hard material to open the blocked hole to prevent carburetor performance from
changing holes diameter. Use the gasoline and compression air to clean it.
NOTICE:
・
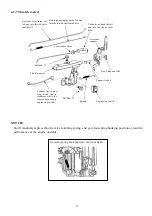
Loosen the drain bolt and completely drain the fuel out before installing carburetor.
・
No fire
No.
Description
No.
Description
No.
Description
1
Throttle valve
11 Pilot jet
21 Float pin
2
Throttle valve shaft
12 Choke stopper spring
22 Float chamber sealing
ring
3
Small washer-A class
13 Pilot screw
23 Float chamber
4
cross pan head screw
14 Pilot screw spring
24 Sealing ring
5
Choke shaft
15 Throttle stop screw
25 Oil cup bolt
6
choke
16 Screw spring (option)
26 washer
7
Small washer-A class
17 Main nozzle
27 Oil drain plug
8
Cross pan head screw
18 Main jet
28 Carburetor
9
Cross pan head screw
19 Float valve
10 Gasket
20 float
Содержание EA190V
Страница 1: ...EA190V SERVICE MANUAL...
Страница 2: ......
Страница 8: ...8 II DIMENSION AND TORQUE 2 1 Engine dimension 2 1 1 Appearance dimension...
Страница 9: ...9 2 1 2 Installation hole position 2 1 3 P T O dimension figure Engine Mounting Face...
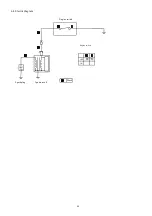
Страница 49: ...49 4 4 Electric diagram Engine switch Engine switch Spark plug Ignition coil Black OFF ON...
Страница 50: ......
Страница 51: ......
Страница 52: ...ISSUE EMD ES7175 September 2015 Revised...

