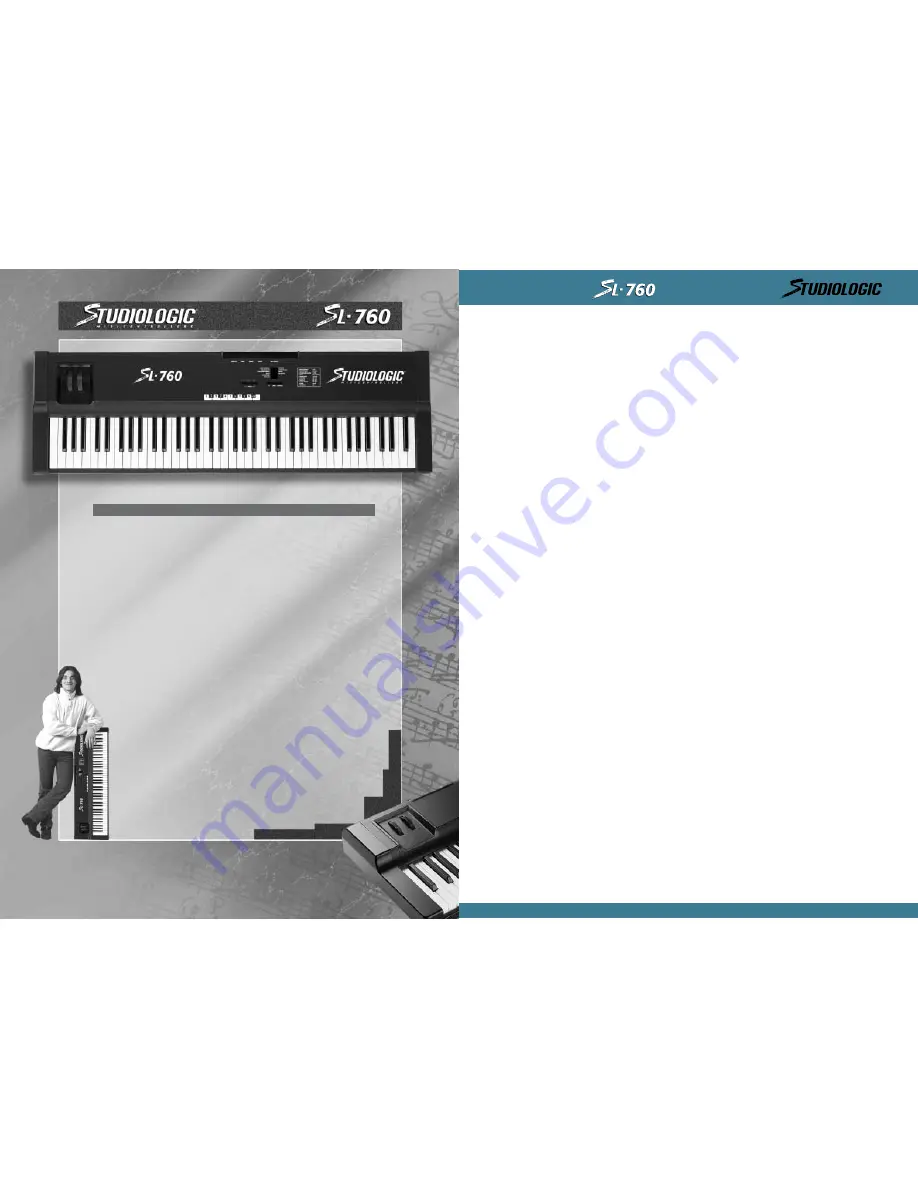
background image

SECTION 1.

Introduction:

Why and how do we use MIDI Controllers? What are Zones? Uses and Applications.

Congratulations on your new purchase of the SL-760 Studio Logic Master Controller by FATAR.
In this manual we will explain the concepts and techniques of using Master MIDI Controllers
to  greatly  expand  your  flexibility,  creativity,  control  and  productivity  in  your  live  or  studio
keyboard setup. Whether you are using one multi-timbral sound module or a rack full of them,
this Master Controller Keyboard and all the other Studio Logic Controllers by FATAR will grea-
tly expand your professional and creative abilities.

The concept of a controller is to centralize your accessibility to your MIDI modules. It gives
you a central point of control over your slave modules in a given setup.

Have you ever tried to line up patches in your sound modules so that when you selected a
patch  on  your  keyboard  your  other  sound  modules  called  up  the  right  patch?  Ever  tried  to
locate a patch position to write over a sound that you hopefully won't need later? Tired of
bending down to squint and see the display and program a module at the bottom of your rack?
All of these scenarios are greatly reduced when using a Master Controller.

The concept of ZONES, SPLITS and LAYERS is as follows: 
A ZONE consists of a specified range of keys on your keyboard. That range of notes is assigned
parameter messages that are communicated to your slave module(s), this reduces the need to
write and store patches on your module. These parameters may consist of the following infor-
mation:  patch  number,  volume  setting,  velocity  curve,  transposition  value,  pedal  enable,
wheels enable, etc.... When a patch is selected on your Master Controller all of this informa-
tion is sent to your modules instantly. The Studio Logic SL-760 Master Controller by FATAR has
four (4) completely independent zones, meaning each zone can transmit all of its own infor-
mation on any given MIDI channel. The range of notes in each zone can be setup to be adja-
cent  to  another  ZONES  range  of  notes  (  one  ZONE  ends,  going  up  the  keyboard,  as  another
ZONE  starts)  or  assigned  to  overlap  each  other  or  any  part  of  each  other's  ranges.  Thus  we
introduce the concept of LAYERS and SPLITS.

A SPLIT is when one ZONE's range of notes ends and another ZONE's begins. A simple exam-
ple would be Bass in the left hand and Piano in the right hand. A ZONE's range of notes can
be  any  amount  of  consecutive  notes  regardless  of  where  another  ZONE's  notes  begin.  When
two or more ZONE's range of notes overlap we call this a LAYER.

LAYERS are the way we can build fat lush patches using the full potential of what your synths
and modules have to offer. Let's say we have a big pop ballad that needs your special touch?
We want to create a "Pad Piano" sound to cover the song. Assign each ZONE to cover the enti-
re keyboard's range of notes. Using the three ZONES, assign each of them to play a different
patch: (1) dark rich Electric Piano, (2) bright ringy Electric Piano, (3) slow attack String Pad
with the release rate up slightly. If one or more patches are not in the same octave as the
others it's easy to fix. Go to that ZONE's transpose feature and move it up or down 12 steps
to line it up properly with the others. Something sounds a little mushy when playing Piano
parts using the SUSTAIN PEDAL? Try going to the ZONE for the "non Piano" sound and expe-
riment with disabling the SUSTAIN PEDAL for that zone. Within moments you should have a
deep, rich, rather large and musically useful sounding patch to use on your ballad.
Are you beginning to see the possibilities here? Please step inside the manual and we'll take
you  through  the  simple  yet  versatile  features  of  the  Studio  Logic  760  Master  Controller  by
FATAR.

I

N

S T R U

C T I

O N

S  

M

A

N

U

A

L

9

®

M

I

D

I

C

O

N

T

R

O

L

L

E

R

S

ENGLISH

SECTION 1.

9

SECTION 2.

10

•  The keyboard

10

•  The wheels

10

•  The zones

10

SECTION 3.

11

•  Power Input

11

•  Power Switch

11

•  Sustain pedal

11

•  Volume pedal

11

•  MIDI Out connections

12

SECTION 4.

12

•  Zone select

12

•  Up, Down, Enter/ Edit

12

•  10 Key Pad; (H) (-) (On) (Off)

12

•  MIDI Channel

13

•  Bank Select

13

•  Program Change

13

•  Split

13

•  Transpose

13

•  Sustain

13

•  Wheels

14

•  Aftertouch

14

•  Shape

14

•  Velocity

15

•  10 Key Pad; (H) (-) (On) (Off)

15

SECTION 5.

16

•  Default settings

16

•  General reset

16

•  General programming information  

16

•  Applications uses and user tips 

16

•  The zones

16

•  The big layer

17

•  The split 

17

•  Another split?

17

•   A few tips included for your consideration

17

SECTION 6.

18

•  Blank Patch Parameter Chart

18

•  Blank Patch Parameter Chart

19

•  Global velocity courves

20

•  Programs General MIDI

21

SECTION 7.

22

•  Trouble shooting guide

22

INDEX

Содержание SL-760

Страница 1: ...ali si lavorato Alla riaccensione la macchina ripresenta l ultima pro grammazione e l ultima situazione di zone attivate 1 C ollegare l adattatore di tensione alla presa elettrica di rete verificando...

Страница 2: ...le 3 zone una estensione completa a 76 tasti Ad esempio se si vuole che la zona n 2 suoni solamente dal Do centrale verso l alto quando si in E dit ed acceso il Led rosso in corrispondenza della dici...

Страница 3: ...dei semitoni voluti N B La S L 760 accetta come numero massimo 24 semitoni quindi 2 ottave Premendo ancora il tastino Down passiamo alla programmazione del S ustain se necessario P er programmazione s...

Страница 4: ...IT is when one ZO NE s range of notes ends and another ZO NE s begins A simple exam ple would be Bass in the left hand and Piano in the right hand A ZO NE s range of notes can be any amount of consecu...

Страница 5: ...and MO DULATIO N W HE E LS are the standard style however they are made with a new rubberized texture They have been designed to give the player a more solid tactile sen sation during performing and p...

Страница 6: ...HANG Efunction E nter the desired number of your patch selection on the keypad MIDI Program change messages are from 1 to 128 E xit the E DITmode by depressing the E DIT E NTE Rbutton In exiting the...

Страница 7: ...10 key keypad to select your VE LO C ITYsetting E xit E DIT mode to play and audition each of these curves AFTERTOUC H SHAPE VELOC ITY I N S T R U C T I O N S M A N U A L 15 M I D I C O N T R O L L E...

Страница 8: ...in the range of a bass guitar Now create a S PLIT in the middle range with ZO NE 2 set to a Breathy S ynth or C omping patch and the last ZO NEfor the top octave or so on a Brass patch with the S US T...

Страница 9: ...range of 1 one note for that ZO NE Assign that Zone to a MIDI channel that goes to your sampler to trigger a Loop or trigger a S ound FX Use the TR ANS PO S Efeature to bring the sample up or down to...

Страница 10: ...Fiddle 27 Jazz G uitar 69 O boe 112 S hanai 28 C lean G uitar 70 E nglish Horn 113 Tinkle Bell 29 Muted G uitar 71 Bassoon 114 Agogo 30 Drive G uitar 72 C larinet 115 S teel Drum 31 Lead G uitar 73 Pi...

Страница 11: ...sending MIDI to my module because I see the MIDI indicator light up when I play but I hear nothing Make sure the VO LUMEPE DAL is depressed forward to send full volume Make sure your sound modules au...

Страница 12: ...bitte da dievier Z onen auf vier unterschiedlicheM ID I K an leeingestellt werden m ssen BEDIENTEIL IM SPIELBETRIEB PROG RAMMIERUNG MIDI Kanawechsel B E D I E N U N G S A N L E I T U N G 25 M I D I C...

Страница 13: ...ktave BANKWEC HSEL PROG RAMMWEC HSEL SPLITPUNKTE TRANSPONIERUNG SUST AINNPEDAL WHEELS 26 B E D I E N U N G S A N L E I T U N G M I D I C O N T R O L L E R S DEUTSC H auf der T astatur die W heels f r...

Страница 14: ...lt E instellung Zone 1 O N Kanal 1 Prog 0 T rans 0 C ontr O N S hape 1 V elocity 4 Zone 2 O FF Kanal 2 Prog 0 T rans 0 C ontr O N S hape 1 V elocity 4 Zone 3 O FF Kanal 3 Prog 0 T rans 0 C ontr O N S...

Страница 15: ...tous les param tres de zone sera restitu C ARAC TERISTIQUES G ENERALES C ONNEXIONS 30 L I V R E T D I N T R U C T I O N S M I D I C O N T R O L L E R S FRAN AIS MIDI OUTPUTS 2 SUSTAIN VOLUME POWER 9V...

Страница 16: ...e la fonction S ustain sauf qu il s effectue apr s avoir choisi la fonction W heels Il est extr mement utile de pouvoir stopper l action du pitch bend et modulation sur une zone en particulier Appuyez...

Страница 17: ...ribir y almacenar programas en los m dulos E stos par metros pueden contener la siguiente informaci n n mero de programa volumen curva de velocidad de respuesta a la pulsaci n valor de transposici n a...

Страница 18: ...a la informaci n de aftertouch E sto se realiza en el modo E dit de cada una de las zonas 10 FORMA configuraciones de curva de velocidad de respuesta espec ficas para cada zona TEC LADO RUEDAS ZONAS...

Страница 19: ...m dulo generador de sonidos o fuente de sonido externa E l protocolo de recepci n de Bank S elect depende del tipo y marca del m dulo de sonido al que se est transmitiendo y puede variar entre distin...

Страница 20: ...o afecten al sonido o sonidos de la zona de acordes E sta funci n permite cambiar las curvas de respuesta din mica que controlan la respuesta a la velocidad de ejecuci n para cada una de las 3 zonas E...

Страница 21: ...ESY C ONSEJOSP ARA EL USUARIO 42 M A N U A L D E L U S U A R I O M I D I C O N T R O L L E R S ESPA OL Otra partici n Prueba con un sonido de bajo utilizando una zona en las dos octavas m s graves del...

Страница 22: ...R T O UC H S HAPE G LO BAL S E TTINGVE LO C ITYC UR VE __________ DIAG RAMAS Model SL 760 Studio Logic Master C ontroller 44 M A N U A L D E L U S U A R I O M I D I C O N T R O L L E R S ESPA OL ZO N...

Страница 23: ...N POSIBLESOLUC I N PROBLEMA PO S IBLES O LUC I N PO S IBLES O LUC I N PROBLEMA PO S IBLES O LUC I N PROBLEMA PO S IBLES O LUC I N PO S IBLES O LUC I N PROBLEMA PO S IBLES O LUC I N PO S IBLES O LUC I...

Отзывы: