


ESR-Auto Plus Operator’s Manual 11
Figure 9a
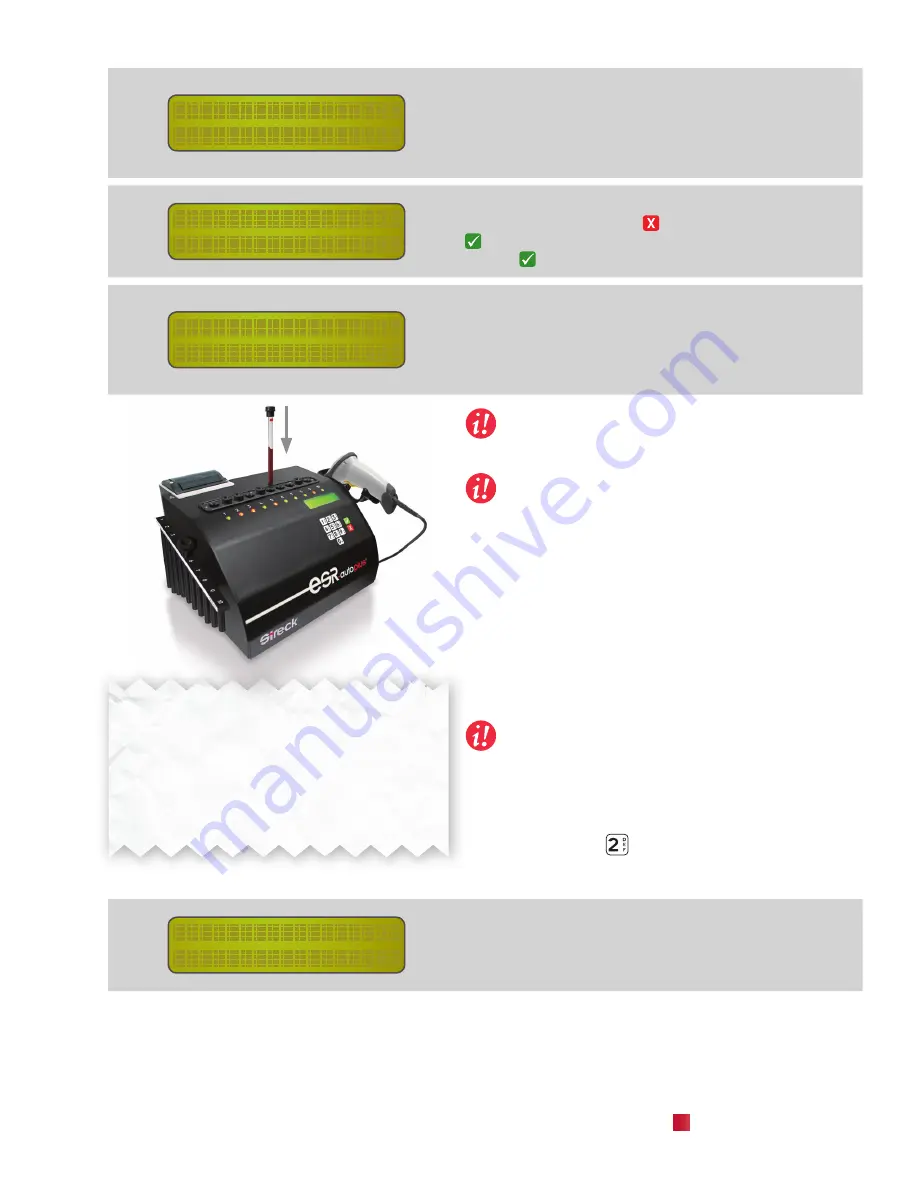
2.7 Starting a Sample
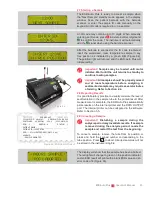
12:00
next sample...
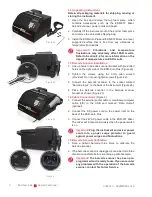
The ESR-Auto Plus is ready to accept a sample when
the “Next Sample” standby mode appears in the display
window. Scan the patient barcode with the barcode
scanner, or enter the sample ID code manually on the
keypad. An ID code is required to run a sample.
enter id:
12345_
An ID code may contain up to 13 digits. When manually
entering an ID code, press
to delete incorrect digits and
to confirm the code. The instrument will automatically
add the signal when using the barcode scanner.
insert 12345
in free position
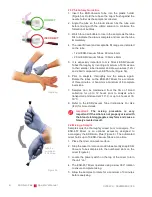
After the barcode is scanned or the ID code is entered,
insert the well-mixed, room temperature sample in any
free position as indicated by a green light (Figure 9a).
The position light will turn red and the ESR-Auto Plus will
initiate testing.
Important!
Samples may be loaded until motor
initiates. Wait until the unit returns to standby to
continue loading samples.
Important!
All samples should be properly mixed
and at room temperature before analyzing. A
sedimented sample may require several minutes
of mixing. Refer to Section 2.4.
2.8 Reporting Results
It is good laboratory practice to visually correlate the level of
sedimentation in the sample tube to the printed result. After
measurement is complete, the ESR-Auto Plus automatically
prints results on the internal printer and the DATA OUTPUT
port. The internal printer can be configured in the software.
Refer to Section 5.5.
2.9 Canceling a Sample
Important!
Disturbing a sample during the
analysis period may invalidate results. If a sample
is moved during the analysis period, re-mix the
sample and restart the test from the beginning.
To cancel a sample, remove the tube from its position or
press and hold the keypad number corresponding to the
tube position. Press
to abort. Aborted samples will not
be stored in the instrument log file.
– abort sample –
pos 1 aborted.
The display will show that the sample has been aborted.
The red light will change to green on the position indicator
and an ESR result will print with a blank ESR value and an
error code of 4 (Figure 9b).
********* ESR RESULT *********
YYYY-MM-DD HH:MM
SERIAL NO. 506-0000
SOFTWARE VERSION: v00.0 (YYYY-MM-DD)
POS: 1 ERROR: 4 STATUS: 1
PATIENT NAME: ___________________________
PATIENT ID: 123456789
ESR: --- MM WESTERGREN (QM 1.2 ml)
ALARMS:
-SAMPLE ABORTED
Figure 9b: ESR Result Printout
Содержание ESR-Auto Plus 506
Страница 1: ...ESR Auto Plus Operator s Manual Model 506 v 1 0 2 0 ...
Страница 2: ......
Страница 6: ......
Страница 7: ...1 Introduction ...
Страница 8: ......
Страница 12: ......
Страница 13: ...2 Sample Preparation Analysis ...
Страница 14: ......
Страница 20: ......
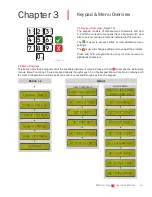
Страница 21: ...3 Keypad Menu Overview ...
Страница 22: ......
Страница 24: ......
Страница 26: ......
Страница 36: ......
Страница 38: ......
Страница 44: ......
Страница 51: ...7 Background of the ESR Test ...
Страница 52: ......
Страница 56: ......
Страница 57: ...8 Performance Technical Specifications ...
Страница 58: ......
Страница 65: ...9 Safety Precautions ...
Страница 66: ......
Страница 69: ...10 Troubleshooting ...
Страница 70: ......
Страница 75: ...11 Quick Reference Guide ...
Страница 76: ......
Страница 80: ......
Страница 82: ......
Страница 84: ......
Страница 85: ......
Страница 86: ......


