Page
2.................
3.................
4.................
5 . . . . . . . . . . . . . .
6 - 7 ...........
8.................
9 - 11 ..........
12 .............
13 ..............
14 ..............
15 ..............
Contents
Index, Message, Introduction
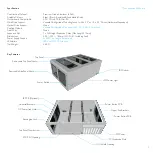
Product Overview
Preparation for Assembly
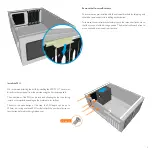
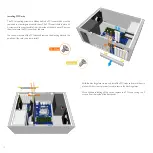
Installing the PSU
Installing the Motherboard
Introducing the Universal Brackets
Installing Drives and Cooling
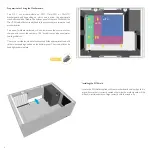
Installing Expansion Card(s)
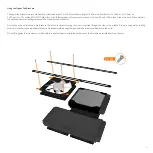
Using the Upper Fan Brackets
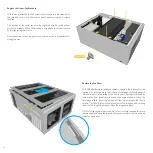
Replacing the Top Panel
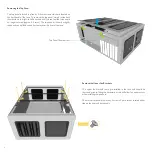
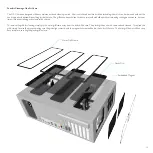
Cleaning the Air Vents
A Message from the Streacom Team
In a market dominated by generic and uninspired products, we are on a mission to break the mold, not only of design, but materials and finish. This is a value
that is not easily conveyed in an industry preoccupied with specs and numbers, so your choice shows an appreciation and understanding of what makes our
products different, and we sincerely thank you for that.
Every care has been taken to ensure that this product meets the highest quality and standards we have defined. If anything about this product falls short of
your expectations or you have any questions that are not covered in this user guide, please contact us online at www.streacom.com/contact. We respond to
every question received and your feedback is a critical part of our ongoing product development and refinement.
From everyone in the team, we hope that you enjoy using our product!
COPYRIGHT NOTICE
Introduction to Assembling Your Case
It’s not rocket science, but our cases can be a little challenging to assemble at first because of the non traditional design and the materials used. Passive cooled cases
have an added layer of complexity because of the heatpipe assembly/hardware requirements, so please take the time to read the user guide and become familiar
with the components and assembly procedure. Additional information is also available on our website ‘system build guide’ page, and of course from our support
staff.
Below is a quick explanation of the different screws used in the assembly, and how they will be referred to throughout the guide. Screws are defined by head type,
e.g. ‘countersunk’ and by thread/size e.g. M3x5, and will be labeled with all that information, e.g. CS-M3x5
2
Pan Head Screw (
)
PH
Countersunk Screw (
)
CS
Thin Cheese Head Screw (
)
TC
PH-M3x5
PH
5mm
3mm
M(Metric)
Also included in the kit.....
1 x Set of Fan Brackets (2pcs), Silicon Rubber Pads (Optical Only)
Tools you will need.....
Philips Screwdriver
Copyright © 2015. All Rights Reserved. No part of this publication may be
reproduced, stored in a retrieval system, or transmitted, in any form or in any
means – by electronic, mechanical, photocopying, recording or otherwise –
without prior written permission. All trademarks and registered trademarks in this
publication are the property of their respective owners.
Содержание F12C
Страница 1: ...F12C ...
Страница 16: ...Designed in Europe Printed in China Copyright 2015 All Rights Reserved ...


