INSSTE362RNP0609
“STE362RNP”
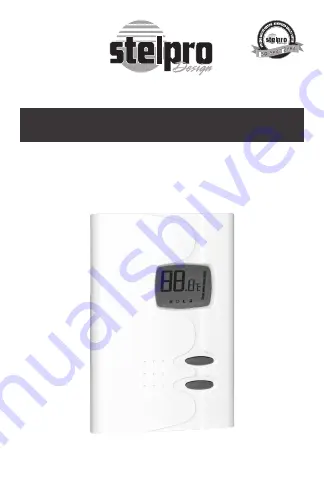
Electronic thermostat
User’s Guide
www.stelpro.com
For further information or to consult this guide on line,
please visit our Web site.
Страница 1: ...INSSTE362RNP0609 STE362RNP Electronic thermostat User s Guide www stelpro com For further information or to consult this guide on line please visit our Web site...
Страница 2: ...t this product to a supply source other than 120 VAC 208 VAC or 240 VAC and do not exceed the load limits specified Pro tect the heating system with the appropriate cir cuit breaker or fuse You must r...
Страница 3: ...to 15 A 120 208 240 VAC It possesses a user friendly interface Furthermore it gives you the possibility to control the tem perature of a room with great precision This thermostat is not compatible wit...
Страница 4: ...not install the thermostat in a location where temperature measurements could be altered For example close to a window on an external wall or close to a door leading outside exposed directly to the l...
Страница 5: ...2 Ensure that the air vents of the thermostat are clean and clear of any obstruction 3 Using a screwdriver loosen the screw retaining the mount ing base and front part of the thermostat Remove the fro...
Страница 6: ...e make sure that you are using connectors identified CO ALR Please note that the thermostat wires do not have polarity Therefore the way they are connect ed is not important 2 wire installation 6 Rein...
Страница 7: ...ure set points The figures displayed above the pictogram indicate the tem perature set point It can be displayed in degrees Celsius or Fahrenheit see Display in degrees Celsius Fahrenheit To adjust th...
Страница 8: ...o buttons and release them immediately Night mode timer The Night mode features a timer that automatically returns to the Day mode after a selectable time period This timer allows the temporary use of...
Страница 9: ...r 5 seconds to exit the adjustment function NOTE The Night mode timer will be automatically reinitialized to the latest recorded value when switching from the Day mode to the Night mode It is not nece...
Страница 10: ...when the timer cycle is completed 2 Day mode activated for the remaining time of the 24 hour cycle It returns to the Night mode at the end of the 24 hour cycle Adjustment procedure of the Automatic mo...
Страница 11: ...However any manual return to the Night mode will re initialize the Night mode timer to the latest value recorded which modifies the cycle in progress In all cases at the end of the 24 hour cycle the...
Страница 12: ...conds 2 Press down the top button to switch from the degrees Cel sius to the degrees Fahrenheit and conversely The degree Celsius or Fahrenheit symbol will be displayed 3 When the adjustment is comple...
Страница 13: ...ese settings After the 20 sec onds the 2 larger scale numbers on the LCD screen will dis play the number of minutes for a heating cycle There will also be a smaller case C to indicate cycle The progra...
Страница 14: ...keep both buttons pressed down or you will find yourself in the degree adjustment mode or in fan mode 3 Release the buttons The thermostat is now locked Procedures to deactivate lock mode 1 To deacti...
Страница 15: ...tivation of the fan mode will cause the thermostat to go back to the heating cycle previously pro grammed Once the adjustment finished we can exit the fan mode by not pressing on any buttons for 5 sec...
Страница 16: ...n power is shut off the existing Day Night mode is recovered only if the automatization of the day night modes was previously deactivated In the opposite case the Day mode is automatically reactivated...
Страница 17: ...cted Refer to the installation section Check the power supply at the electrical panel Check if the heating unit has a switch If so ensure that this switch is turned on The display turns off a few minu...
Страница 18: ...ervice Weak luminosity of the display Possibility of a bad contact Check thermostat wirings Refer to the installation section N B If you are unable to solve the problem after having veri fied these po...
Страница 19: ...with a resistive load 15 A 3600 W 240 VAC 3120 W 208 VAC 1800 W 120 VAC Temperature display range 3 C to 40 C 37 F to 99 5 F Temperature display resolution 0 5 C 0 5 F Temperature set point range 3 C...
Страница 20: ...nty to be valid the unit must have been installed and used ac cording to instructions If the installer or the user modifies the unit he will be held responsible for any damage resulting from this modi...