Page 16
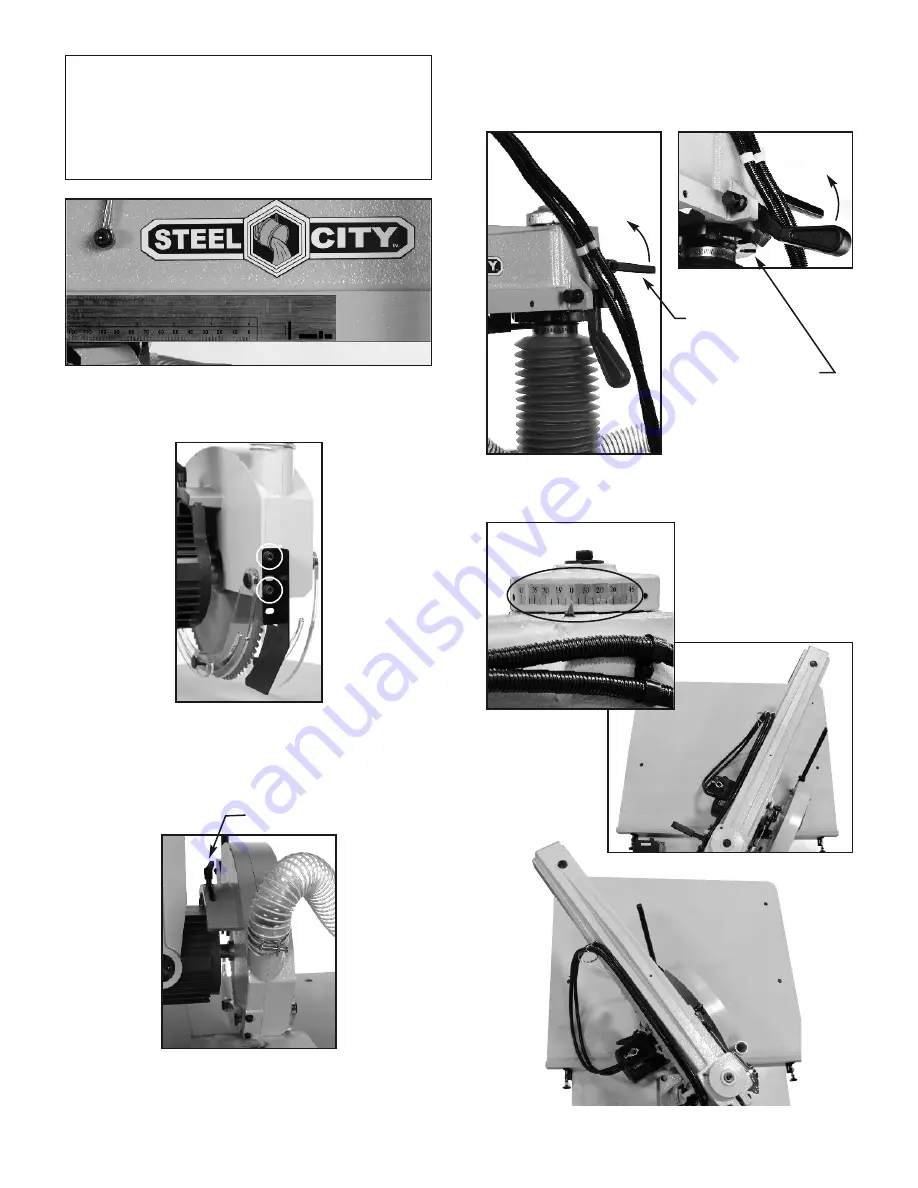
NOTE: two gratuated scales and easily
understandable pictograms for ripping are fixed
on the right side of the arm. Two adjustable
pointers indicate the exact measure from the
fence. Refer to them to adjust the fence and the
carriage.
5. Remove the riving knife. To do this remove the two cap
screws at the back of the guard.
6. After cutting the kerf in the work table as explained in
the appropriate section, place the workpiece on the
table. Then lower the blade guard so that it almost
touches the workpiece and retighten the lock lever.
Lock lever
7. Turn the saw on and push the workpiece forward. Adjust
the anti-kickback fingers as explained in the appropriate
section. Once the workpiece is cut, turn the saw off and
wait for the blade to come to a complete stop before
removing the workpiece.
◊ PIVOTING THE ARM
1. Loosen the lock lever, then unlock the arm by lifting
indexable lever.
Lock lever
2. Using the graduated scale, position the arm to the
desired angle, then retighten lock lever..
Some notches allow
the regulation of
arm angles (prede-
termined).
Содержание 10-722
Страница 21: ...Page 21 PART LISTS A...
Страница 22: ...Page 22...
Страница 23: ...Page 23 B...
Страница 24: ...Page 24...
Страница 25: ...Page 25...
Страница 26: ...Page 26 C...
Страница 27: ...Page 27...
Страница 28: ...Page 28 D...
Страница 29: ...Page 29...
Страница 30: ...Page 30...
Страница 31: ...Page 31 E...
Страница 32: ...Page 32...
Страница 33: ...Page 33...
Страница 34: ...Page 34...
Страница 35: ...Page 35...
Страница 36: ...Page 36 u NOTES u...


