background image

Instruction Manual

3

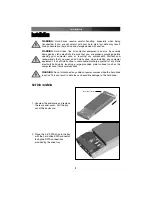
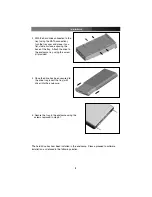
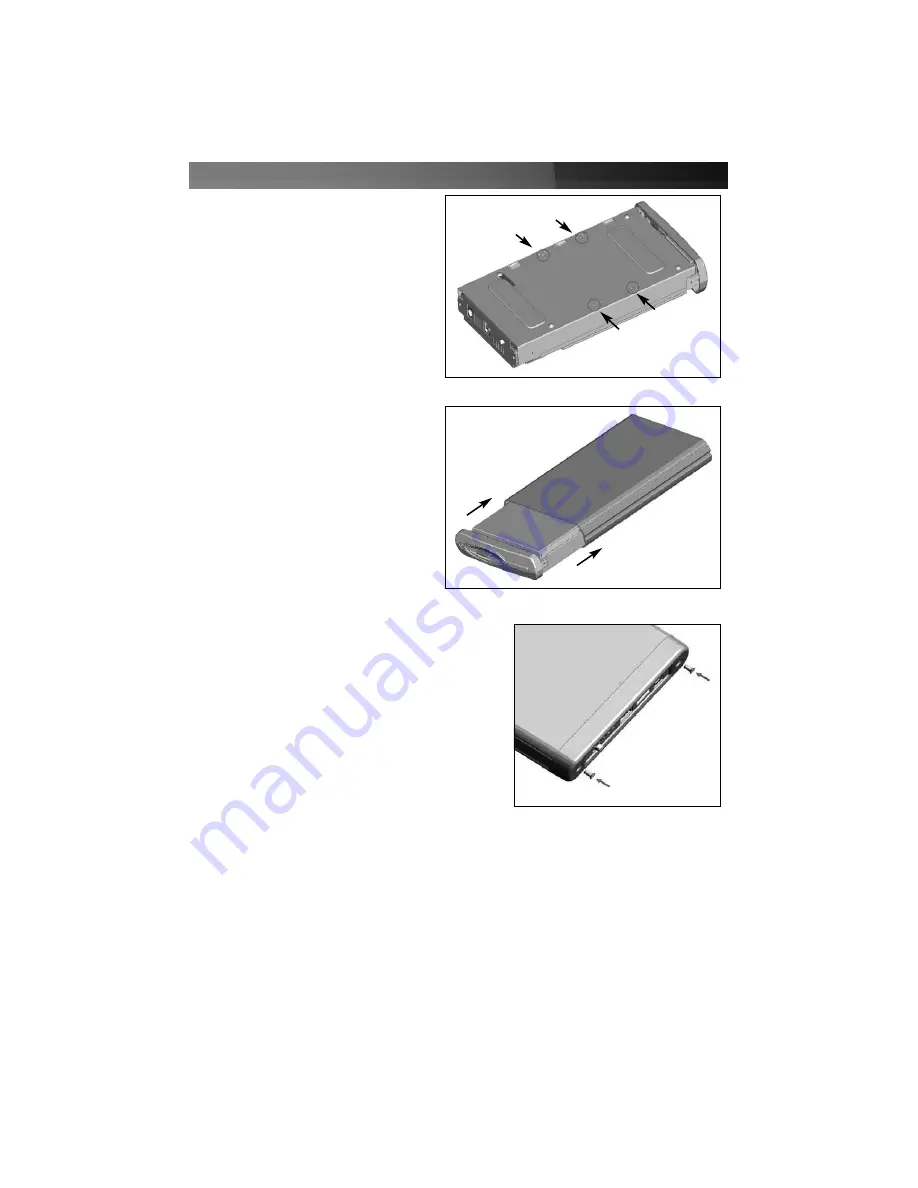
3. With the hard drive connected to the 

tray (using the SATA connection), 
turn the tray over and place it on a 
flat, stable surface, exposing the 
base of the tray. Attach the drive to 
the enclosure tray, using the screw 
kit provided:

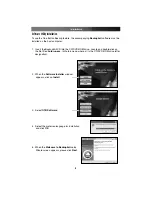
4. Once the drive has been secured to 

the drive tray, insert the tray (with 
drive) into the enclosure:

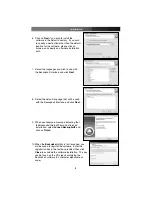
5. Secure the tray in the enclosure using the 

screws removed in step #1.

The hard drive has now been installed in the enclosure. Please proceed to software
installation, as detailed in the following section.

Содержание InfoSafe SAT3510U2B

Страница 1: ...SATA Hard Drive Enclosure SAT3510U2B Instruction Manual Actual product may vary from photo 3 5 USB 2 0 SATA HDD Enclosure with One Button Backup...

Страница 2: ...uipment and receiver Connect the equipment into an outlet on a circuit different from that to which the receiver is connected Consult the dealer or an experienced radio TV technician for help U Us se...

Страница 3: ...n 2 Hard Drive Installation 2 Software Utility Installation 4 Driver Installation 6 Connecting SAT3510U2B to the host computer 7 Using the Backup4all software 7 Disconnecting SAT3510U2B from the host...

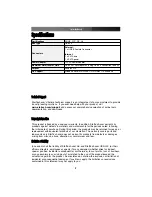
Страница 4: ...niversal fitting for 3 5 SATA I II hard drives Features B Be effo or re e y yo ou u b be eg giin n System requirements 3 5 SATA hard drive Package contents 1 x Enclosure This package should contain Li...

Страница 5: ...rely damaged by static electricity Be sure that you are properly grounded before opening your computer case or touching any components StarTech com recommends that you wear an anti static strap when i...

Страница 6: ...tray Attach the drive to the enclosure tray using the screw kit provided 4 Once the drive has been secured to the drive tray insert the tray with drive into the enclosure 5 Secure the tray in the encl...

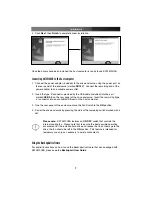
Страница 7: ...is the CD DVD ROM drive letter designation To use the One Button Backup feature the accompanying Backup4all software must be installed on the host computer 2 When the Software Installer window appears...

Страница 8: ...elect the default language that will be used with the Backup4all interface and click Next 9 When you receive a message indicating that the Backup4all Setup Wizard has finished installation select Laun...

Страница 9: ...install the necessary drivers prior to usage If you are using Windows ME 2000 XP or higher no driver installation is required as the operating system will automatically install the necessary files As...

Страница 10: ...aining type a connector into an available USB port on the host computer 3 One the rear panel of the enclosure move the Fan Switch to the ON position 4 Power the drive enclosure by pressing the side of...

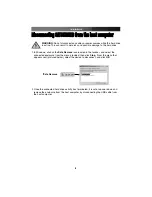
Страница 11: ...and possible damage to the hard drive 1 In Windows click on the Safe Remove icon located in the taskbar and select the connected enclosure from the menu provided then click Stop From the menu that app...

Страница 12: ...m misuse abuse alteration or normal wear and tear L Liim miit ta at tiio on n o off L Liia ab biilliit ty y In no event shall the liability of StarTech com Ltd and StarTech com USA LLP or their office...

Страница 13: ...computer parts cables server management solutions and A V products and serve a worldwide market through our locations in the United States Canada the United Kingdom and Taiwan Visit www startech com f...

Отзывы: