background image

23

2

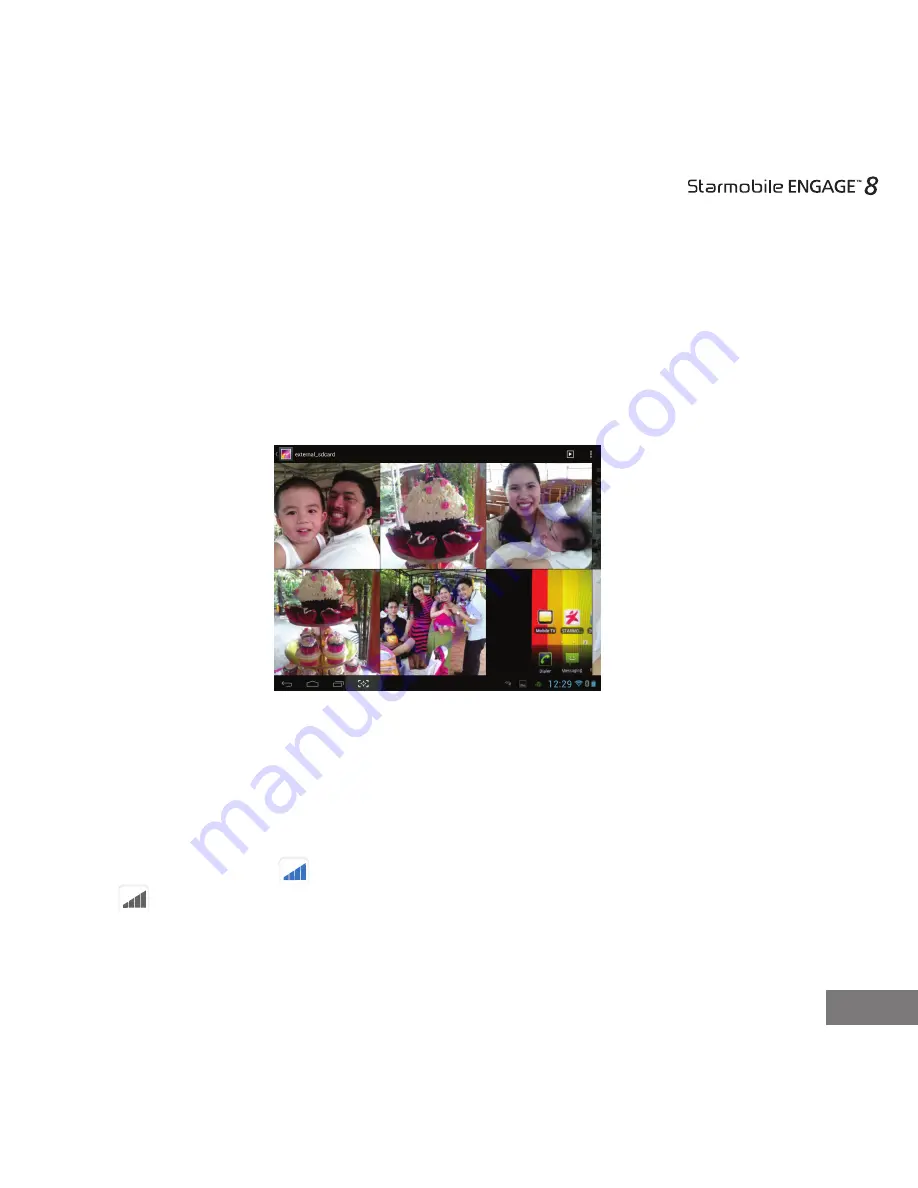
 Viewing Your Photos 

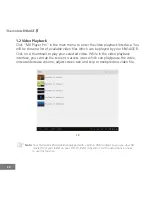
Click "Gallery" in the main menu to view the list of available albums in your 
ENGAGE 8. Select and click the album you want to view. The screen will display 
thumbnails of the available photos, which you can then select to view full-size.
 
While viewing the selected photo, you can tap the screen to access icons which will 
let you zoom in/out, skip to next/previous picture, rotate picture, and delete picture.

3G USB DONGLE

Your ENGAGE 8 can be used with an external 3G USB dongle. Plug in USB dongle 
via the supplied On-The-Go (OTG) cable. Wait 1-2 minutes for the modem to load. 
Make sure to set Display Time Out (found in 

Settings

) to 2 minutes or longer. Once 

detected, a signal bar will appear on the lower right side of the screen beside the 
battery icon. Blue bar        signals that your ENGAGE 8 has been connected; Gray 
bar        indicates insufficient load balance.  

For a list of compatible modems for your ENGAGE 8, go to Settings > Under 
Wireless & Internet > More > Supported Dongles List or visit 
www.starmobile.com.ph or email [email protected].

2.0

3G

3G

Содержание Engage 8

Страница 1: ...User Manual...

Страница 2: ......

Страница 3: ...bility from improper operation or accidental damage of the unit We will periodically refresh the content in this user manual in order to serve you better If the actual setup and usage of your unit dif...

Страница 4: ...Setup and Usage 14 6 Connecting to the Internet 20 VI Apps and Functions 21 1 Audio and Video Playback 21 2 Viewing Your Photos 23 3 3G USB Dongle 23 4 Camera 24 5 Connecting with External Devices 24...

Страница 5: ...Clean your ENGAGE 8 using dry cloth Do not use alcohol thinner or benzene to clean the surface of the ENGAGE 8 6 Do not disconnect your ENGAGE 8 while in the middle of formatting or uploading download...

Страница 6: ...Earphone Jack Rear Camera Speaker Press and hold to switch on off the device If device is in use press once to turn off screen backlight If device is on sleep mode press once to activate screen displa...

Страница 7: ...pture Used for picking up voice or audio during recording Used for playback of audio and video notification alerts and tones Allows you to connect the charger Allows you to install memory card for add...

Страница 8: ...down and restart ENGAGE 8 You can also reset the device by pressing the reset button located on the left side of the device near the home key Note Running many applications simultaneously on your dev...

Страница 9: ...econds after which ENGAGE 8 displays the start up logo and goes to the home screen Power off Press and hold the power on off key for three seconds to switch the device off Restart Reboot your device b...

Страница 10: ...you have installed in your ENGAGE 8 2 Settings Click Settings in the main screen to enter the setting interface Adjust settings according to your preferences 2 1 Date and Time Setting Click Date Time...

Страница 11: ...lick Brightness Drag the bar to adjust desired screen brightness 3 Wi Fi 3 1 Enter the Settings menu as shown in the photo below 3 2 Select Wi Fi to switch on the Wi Fi function It will change from Of...

Страница 12: ...the available networks as seen below 3 4 Select the network you want to connect to If the network is open or free for public use you will automatically be connected If the network is secure a pop up...

Страница 13: ...tically 3 6 If your ENGAGE 8 does not automatically detect wireless networks to connect to click to scan for networks manually 3 7 To add a network click input the network SSID security type and passw...

Страница 14: ...his interface you can modify network notification and sleep mode as well as check the tablet s MAC address and IP address 4 Managing Applications 4 1 Install Apps To install apps on the ENGAGE 8 click...

Страница 15: ...structions 4 2 Uninstall Apps You can uninstall applications by using the pre installed application manage ment software that came with your ENGAGE 8 To uninstall an application go to Settings Device...

Страница 16: ...measured by your tablet Your carrier s data usage accounting may differ Usage in excess of your carrier plan s data limits can result in steep coverage charges Data usage settings allow you to Set the...

Страница 17: ...choose from the following options Internal device storage Removable SD card or Let the system decide 4 6 Battery This functions displays the battery percentage and battery consumptions of your tablet...

Страница 18: ...Usage 5 1 Setting Up Your Tablet The first time you turn on the tablet you ll see a Welcome screen To choose a different language go to Menu Settings Personal Language and input To set up your tablet...

Страница 19: ...om any computer Synchronize and back up everything Whether you draft an email add an event to your calendar or take a photo your workgets backed up continuously by Google and synchronized with anycomp...

Страница 20: ...vigation buttons The app icons you keep in the tray remain visible on every Home screen Icon Name Description Back Opens the previous screen you were working on Once you ve reached the Home screen you...

Страница 21: ...quickly left or right At the top of the screen you ll see something like this Status icons on the lower right tell you which apps have sent you notifications for example that a message has arrived or...

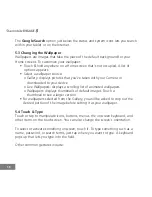
Страница 22: ...lpapers displays a scrolling list of animated wallpapers o Wallpapers displays thumbnails of default images Touch a thumbnail to see a larger version For wallpapers selected from the Gallery you will...

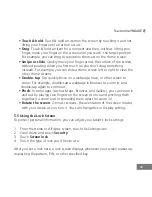
Страница 23: ...zoom For example double tap a webpage in Browser to zoom in and double tap again to zoom out Pinch In some apps such as Maps Browser and Gallery you can zoom in and out by placing two fingers on the...

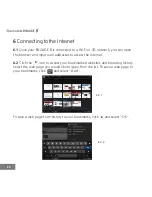
Страница 24: ...and input web addresses to access the Internet 6 2 Click the icon to access your bookmarked websites and browsing history Select the web page you would like to open from the list To save a web page to...

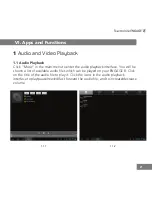
Страница 25: ...o playback interface You will be shown a list of available audio files which can be played on your ENGAGE 8 Click on the title of the audio file to play it Click the icons in the audio playback interf...

Страница 26: ...ay your selected video While in the video playback interface you can tap the screen to access icons which can play pause the video increase decrease volume adjust screen size and skip to next previous...

Страница 27: ...USB DONGLE Your ENGAGE 8 can be used with an external 3G USB dongle Plug in USB dongle via the supplied On The Go OTG cable Wait 1 2 minutes for the modem to load Make sure to set Display Time Out fou...

Страница 28: ...rear or front camera 4 3 Panoramic Shots If the cursor is positioned accordingly your ENGAGE 8 is in Panoramic mode Click to start taking panoramic shots 5 Connecting with External Devices 5 1 Connec...

Страница 29: ...he HDMI cable to the display or LCD TV and the other side of the cable to the HDMI port of your ENGAGE 8 The audio and video from your ENGAGE 8 will then be played on the display While playing images...

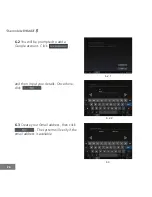
Страница 30: ...ou will be prompted to add a Google account Click and then input your details Once done click 6 3 Create your Gmail address then click The system will verify if the email address is available 6 2 2 6...

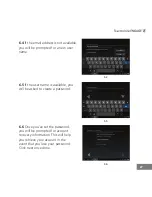
Страница 31: ...name 6 5 If the user name is available you will be asked to create a password 6 6 Once you ve set the password you will be prompted for account recovery information This will help you retrieve your a...

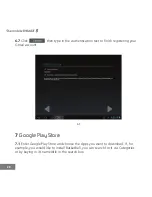
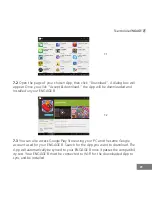
Страница 32: ...sh registering your Gmail account 7 Google Play Store 7 1 Enter Google Play Store and choose the Apps you want to download If for example you would like to install Basketball you can search for it via...

Страница 33: ...n your ENGAGE 8 7 3 You can also access Google Play Store using your PC and the same Google account used for your ENGAGE 8 Search for the App you want to download The App will automatically be synced...

Страница 34: ...to erase all files in the device enter the Storage menu under Settings and click Format SD card The flash disk of ENGAGE 8 will appear as a dummy SD card 9 MicroSD Card 9 1 Your ENGAGE 8 will automati...

Страница 35: ...Settings 10 1 Select Email then input your email address and password 10 2 Set the Email server POP3 and IMAP Network ports of different email servers will vary The photos below are provided only for...

Страница 36: ...ifications from select applications as seen in the photo below Click on the shortcut or notification to launch the corresponding widget 11 2 Click the Settings icon in the Task Bar to open the Setting...

Страница 37: ...please refer to the following table Possible Concerns How to Fix Starting ENGAGE 8 for the first time usually takes some time During system upgrades it takes about 2 3 minutes to install preloaded app...

Страница 38: ...ery three hours of heavy use to keep it running optimally Installing a 3rd party program may result in faulty operation Press the RESET button to reboot the system Check whether the device is connecte...

Страница 39: ......

Страница 40: ......

Отзывы: