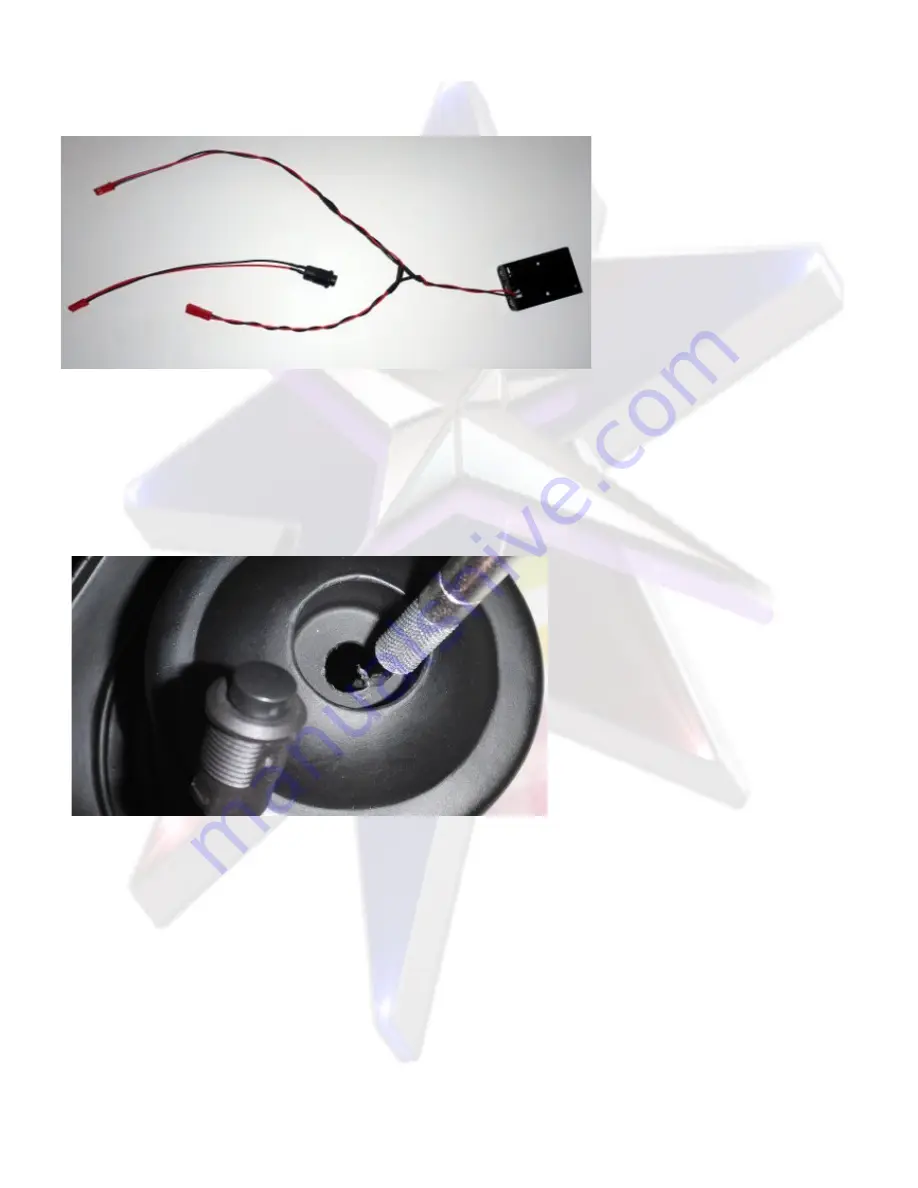
Batteries, on/off switch and reed switch:
3xAA Battery holder and
on/off push-button.
Battery connection to board
marked DC.
Push-button:
You'll need to drill a hole in Robby's
Right or left arm and use an x-acto
knife to enlarge it enough for the pre-
wired on/off push-button, be sure to
center it. Cut it just large enough so
that the treads on the button will have
slight resistance to hold it in place and
still allow you to remove it if needed.
Obviously the hand will hide it :)
Connect it's connector to the battery
harness. Both connections are marked
by a black dot.
Reed voice activation switch:
The Reed switch, labeled
PB
will go into the other hand. Drill a hole large enough for the reed
and wire to pass through. Connect it to light board connection
J2 Push-button.
When you install the hand, feed the wired reed switch inside up into the finger areas.
22
Содержание S-24MR-2
Страница 5: ...Photo Dual sound board Kit minus velcro and plastic sheet Easy labeled connections 5...
Страница 27: ...This example is from the 16 Robby Note how the light board is secured 27...
Страница 28: ...I hope you enjoy your 24 Masudaya Robby and thank you again for choosing our Life Force Kit Stanley J Koziol 28...


