71
Chapter 5: Using the Printer with Windows 3.1
This chapter contains specific information you need to know when using the printer
with Microsoft Windows 3.1. It also tells you how to install the printer driver on
your computer so that it can control the printer correctly. In this chapter, you will
learn:
❏
How to set up for printing with Microsoft Windows 3.1
❏
How to prepare for printing
❏
How to print a document
❏
How to install TrueType fonts
❏
How to select fonts from within an application
Setting up for printing with Microsoft Windows 3.1
This printer is designed to work best with computers running Microsoft Windows
3.1. If you are running an earlier version of Windows, we recommend that you
upgrade to 3.1.
Before you can use the printer with Windows, you must first use the procedure
outlined below to install the printer driver that is supplied on the 3.5” floppy disk
that comes with the printer. This procedure assumes that you are using a mouse and
that you are familiar with common mouse operations like click and double-click. If
you need information on mouse operations or if you want to install the printer driver
without using a mouse, refer to your Microsoft Windows User’s Guide.
❏
Insert the disk that contains the printer driver into one of your computer’s disk
drives. This explanation assumes you are using a drive named “A:”, but you
could use any drive. Just remember to change the “A:” in the following steps to
the name of the drive you are using.
❏
In the
Main
group, double-click on the
Control Panel
icon.
❏
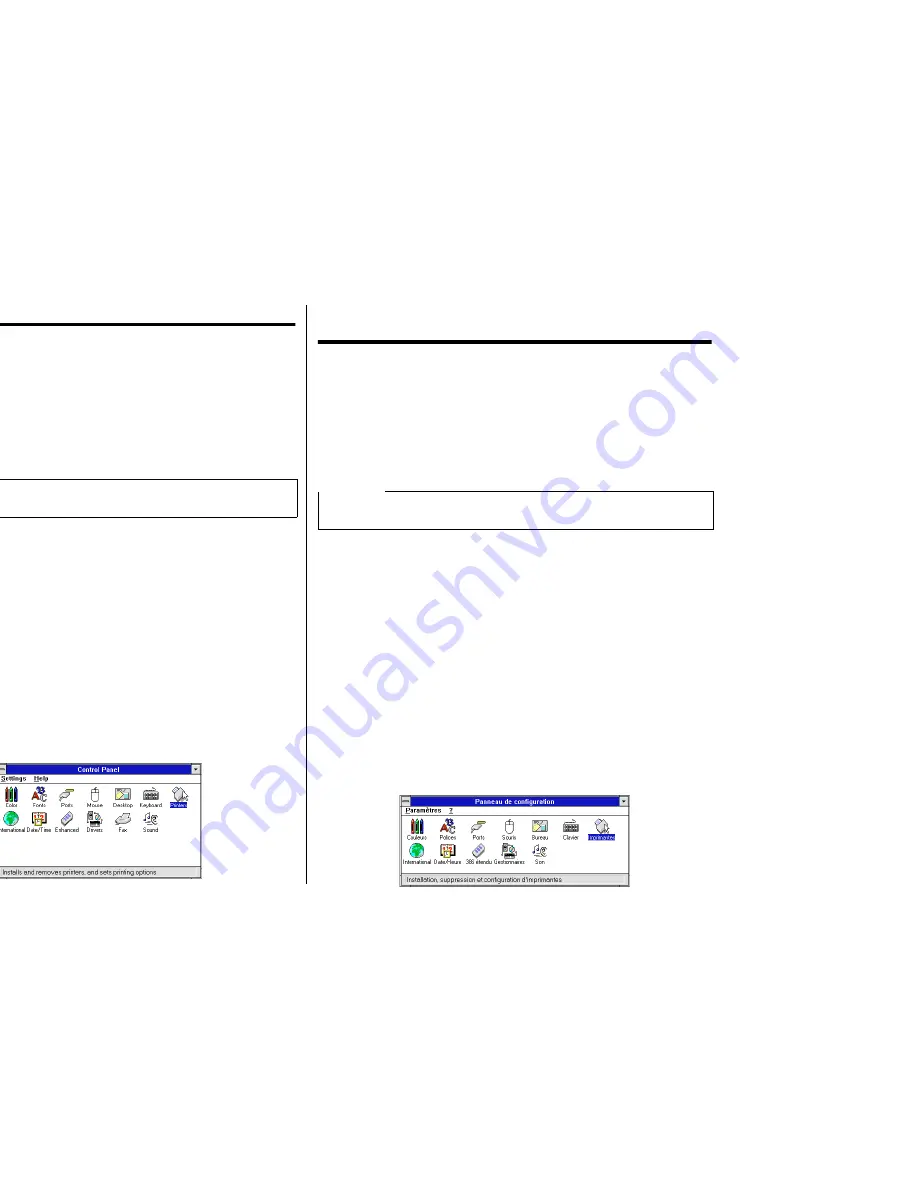
Double-click on the
Printers
icon in the
Control Panel
window.
Important!
See the “readme.txt” file for important information that became available after this
documentation was printed.
Chapitre 5: Utilisation de l’imprimante sous
Windows 3.1
Ce chapitre contient les informations dont vous pourrez avoir besoin pour utiliser
l’imprimante sous Microsoft Windows 3.1. Il explique aussi comment installer le
gestionnaire d’imprimante sur votre ordinateur pour lui permettre de gérer correctement
l’imprimante. Dans ce chapitre, vous allez vous familiariser avec les aspects suivants :
❏
Configuration de l’impression sous Microsoft Windows 3.1
❏
Préparation à l’impression
❏
Impression d’un document
❏
Installation des polices TrueType
❏
Sélection de polices dans une application
Configuration de l’impression sous Microsoft Windows 3.1
Cette imprimante est conçue tout spécialement pour fonctionner avec les ordinateurs
qui exploitent Microsoft Windows 3.1. Si vous utilisez une version antérieure de
Windows, nous vous recommandons d’effectuer la mise à niveau pour disposer de la
version 3.1.
Avant de pouvoir imprimer sous Windows, vous devez effectuer la procédure définie
ci-dessous pour installer le gestionnaire d’imprimante qui figure sur la disquette 3,5
pouces fournie avec l’imprimante. Cette procédure suppose que vous utilisez une
souris et que vous connaissez les opérations les plus courantes à la souris comme
cliquer ou faire un double-clic. Pour plus de détails sur les opérations avec souris, ou
pour savoir comment installer le gestionnaire sans utiliser de souris, reportez-vous
au Guide d’utilisation de Microsoft Windows.
❏
Insérez la disquette qui contient le gestionnaire d’imprimante dans un des
lecteurs de disquettes de l’ordinateur. Cette procédure suppose que vous utilisez
le lecteur «A:», mais vous pouvez naturellement utiliser tout autre lecteur en
remplaçant «A:» par le nom du lecteur dans les instructions suivantes.
❏
Dans le Groupe
Principal
, cliquez deux fois sur l’icône
Panneau de
configuration
.
❏
Cliquez deux fois sur l’icône
Imprimantes
dans la fenêtre
Panneau de
configuration
.
Important!
Veuillez lire le fichier “readme.txt”. Ce fichier vous fournira des informations non
disponibles au moment de l’impression de ce guide d’utilisation.
Содержание LC-8211
Страница 1: ...NUAL ILISATION GSHANDBUCH OPERATIVO 8211 PRINTER MATRICIELLE IX DRUCKER AD AGHI ...
Страница 173: ...162 ...


