77
Getting ready to print
Before printing, there are a number of things you must first do to set up the printer.
You must select the printer driver, and the paper source, size, and orientation. Use
the following procedure to make these selections.
❏
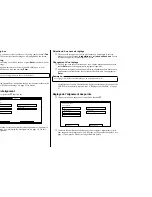
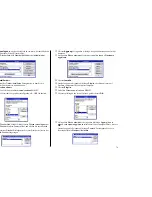
In the Windows Program Manager, open the
Main
group by clicking on its icon.
❏
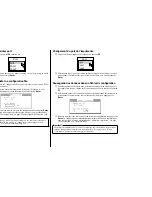
Double click on the
Control Panel
icon.
❏
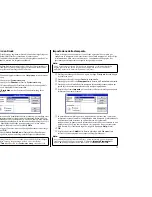
Double-click on the
Printers
icon in the
Control Panel
window.
❏
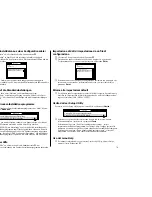
Double-click on the name of the printer model you selected above to choose it as
the default printer.
❏
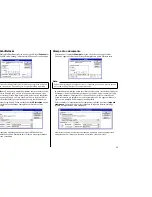
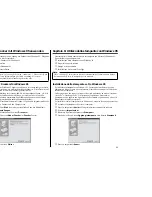
Click on
Setup
to display the window for setting up your printer.
❏
From this window you select buttons that let you control a wide variety of
printer setup parameters. This manual does not include any information about
how to do this because everything you need to know is included in an on-line
manual that tells you how to use all the buttons and menus that appear. To view
the on-line manual, click on the
Help
button.
❏
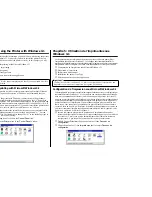
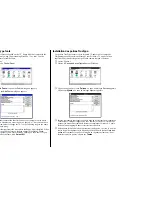
After the printer is set up the way you want it, click on
OK
.
❏
Click on the
Close
button in the
Printers
window to save your setup and return
to the Program Manager.
Note:
You do not need to perform printer driver and paper selections mentioned above
each time you print, but only if there are any changes to the last selections you made.
Note:
Depending on the application software you are using, settings similar to those in the
above procedure can be made using the
Print Setup
command of the
File
menu
instead of the
Control Panel
.
Préparation à l’impression
Avant de pouvoir imprimer, vous devez configurer l’imprimante en définissant
certaines informations. Vous devez sélectionner le gestionnaire d’imprimante,
l’alimentation de papier, son format et son orientation. Pour le faire, procédez
comme indiqué ci-dessous.
❏
Dans le Gestionnaire de programmes de Windows, ouvrez le Groupe
principal
en cliquant sur l’icône associée.
❏
Faites un double-clic sur l’icône du
Panneau de configuration
.
❏
Faites un double-clic sur l’icône
Imprimantes
dans la fenêtre du
Panneau de
configuration
.
❏
Faites un double-clic sur le nom du modèle d’imprimante que vous avez
sélectionné ci-dessus pour en faire l’imprimante par défaut.
❏
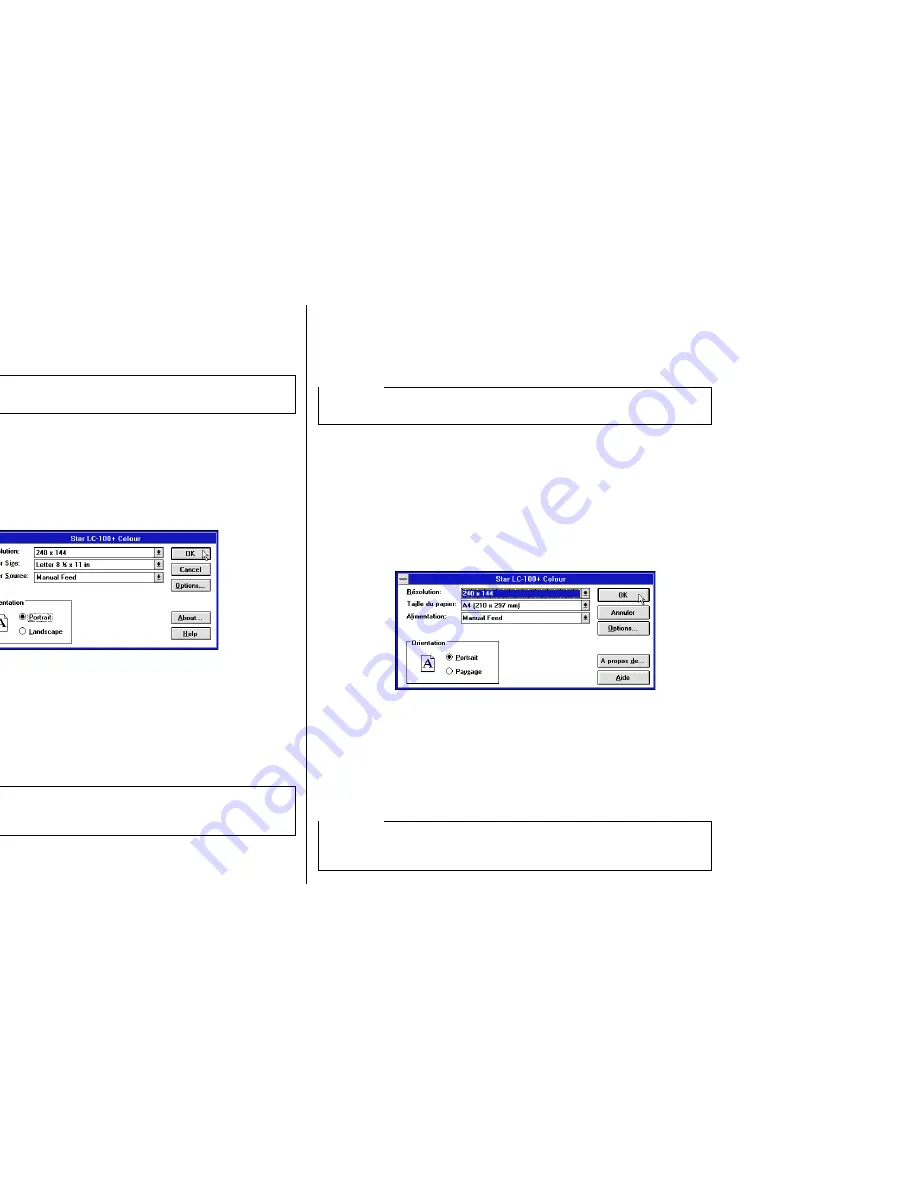
Cliquez sur
Configurer
pour afficher la fenêtre de configuration de
l’imprimante.
❏
Dans cette fenêtre, vous pouvez sélectionner des boutons permettant de contrôler
toute une variété de paramètres de configuration de l’imprimante. Ce manuel
n’explique pas comment le faire dans la mesure où tous les détails nécessaires sont
fournis dans l’aide en ligne qui décrit l’utilisation de tous les boutons et menus qui
apparaissent. Pour consulter l’aide en ligne, cliquez sur le bouton
Aide
.
❏
Une fois l’imprimante configurée, cliquez sur
OK
.
❏
Cliquez sur le bouton
Annuler
dans la fenêtre
Imprimantes
pour sauvegarder
la configuration et revenir au Gestionnaire de programmes.
Remarque:
Vous n’avez pas à effectuer ces procédures à chaque fois que vous avez besoin
d’imprimer, seulement lorsque les sélections effectuées ont été modifiées.
Remarque:
Selon l’application utilisée, des réglages similaires à ceux indiqués dans la procédure
ci-dessus peuvent être effectués au moyen de la commande
Configuration de
l’impression
du menu
Fichier
, au lieu du
Panneau de configuration.
Содержание LC-100+
Страница 1: ...NUAL ILISATION GSHANDBUCH OPERATIVO 100 COLOUR PRINTER MATRICIELLE IX DRUCKER AD AGHI ...
Страница 167: ...156 ...


