9
GB
Storage Recommendations
•
The best storage place is one that is cool and dry, and away
from direct sunlight and excess heat or cold.
•
Long storage will not harm the battery pack or power supply.
Fully charge the inspection camera prior to long-term storage.
•
Do not store the inspection camera in below freezing
temperature.
Components
The inspection camera provides the user with a minimally
invasive means to inspect hard to reach places. It includes
a 1 meter long illuminated camera wand with 4 adjustable LEDs,
multiple video output options, and accessories.
Figure A
1
Wand Connector
2
LCD Monitor
3
Camera/Handle
4
Battery Compartment
Door
5
Power/LED Brightness
Wheel
6
Camera Wand
7
LED Lens/Camera body
8
Camera Power Light
9
Power Port
10
Micro SD Card Slot
11
USB Port
12
Video Output Port
17
3.5 mm RCA Video Cable
18
Micro USB to USB Cable
19
Micro SD Card
Accessories (Figure D)
13
2 Hooks
14
Magnet
15
Mirror
16
Retaining Sleeve
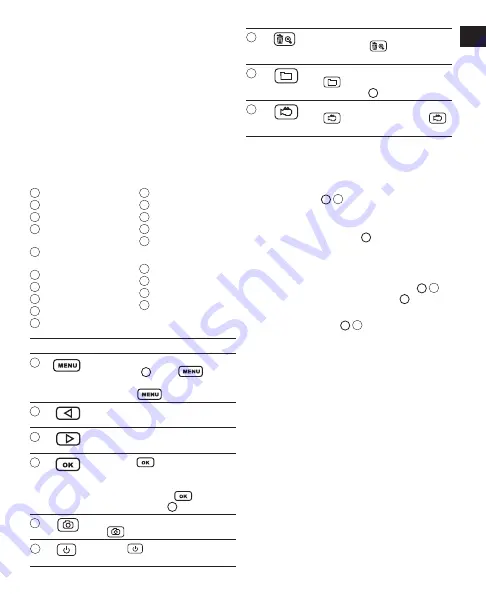
Key Button
Description
21
• When in real-time monitoring mode
(Figure
F
), press
to
display the setup screen.
• Press
to exit current screen.
22
Use as a toggle to highlight the previous
icon on a menu.
23
Use as a toggle to highlight the next
icon on a menu.
24
• Press
to select the highlighted
icon on a screen.
• When an image is displayed on
the screen, press
to flip the
screen, (Figure
G
).
25
In real-time monitoring mode, press
to take a photo.
26
Press
for 3 seconds to power on/
off the LCD monitor.
27
When an image is displayed on the
screen, press
to increase the
image size 1x, 1.5x, 2x, 2.5x, or 3x.
28
In real-time monitoring mode, press
to access saved photos and
videos (Figure
Q
).
29
In real-time monitoring mode, press
to start recording. Press
again to stop recording.
Powering the Inspection Camera
Loading AA Batteries in the Handle
1. Pull open the battery compartment door on the bottom of
the handle (Figure
B
4
).
2. Insert four new, high-quality, name brand AA batteries, making
sure to position the - and + ends of each battery as noted inside
the battery compartment (Figure
B
).
3. Close the battery compartment door.
Charging the Monitor’s Li-ion Battery
1. ALWAYS plug the power supply adapter (Figure
C
20
) into
an appropriate power outlet FIRST (Figure
C
).
2. Plug the 5VDC charger into the power port on the side of
the LCD Monitor (Figure
A
9
).
If the internal battery does not charge properly:
1. Plug a lamp or other appliance into the same electrical
receptacle to make sure it is working.
2. See if the receptacle is connected to a light switch which
turns power off when you turn off the lights.
3. Move the power supply and tool to a location where the
surrounding air temperature is approximately 18 °- 24 °C.
4. If charging problems persist, take the tool and power supply
to your local service center.
Содержание Fatmax FMHT0-77421
Страница 3: ...3 E 14 13 15 16 35 36 38 32 39 37 33 34 F 7 16 40 41 41 16 4 R ES ET B 20 C MENU OK D ...
Страница 4: ...4 2 2 2 2 1x 2x 3x 4x H I G ...
Страница 5: ...5 J K Yes No L M ...
Страница 6: ...6 Frame Rate Q N Time Stamp P O ...
Страница 196: ... 2017 Stanley Tools Egide Walschaertsstraat 14 16 2800 Mechelen Belgium 099528 September 2017 www 2helpU com ...


