10
GB
Turning on the Inspection Camera
1. Press
for 3 seconds to turn on the LCD monitor.
2. Turn the Power/LED Brightness Wheel (Figure
A
5
)
to the left to power ON the camera.
3
On the LCD Monitor, view the battery levels.
•
1 to 4 bars (Figure
F
38
) indicate the charge level of
the Li-ion battery that powers the LCD Monitor.
•
If only 1 or 2 bars appear, recharge the battery until all
4 bars appear.
Turning off the Inspection Camera
• If no buttons are pressed after 5 minutes, the display screen
will go black (enter sleep mode) automatically. Press any
button to exit sleep mode.
• If no buttons are pressed after 10 minutes, the display screen
will turn off automatically.
•
To manually power OFF the inspection camera, turn the
Power/LED Brightness Wheel (Figure
A
5
) to the right.
Setup
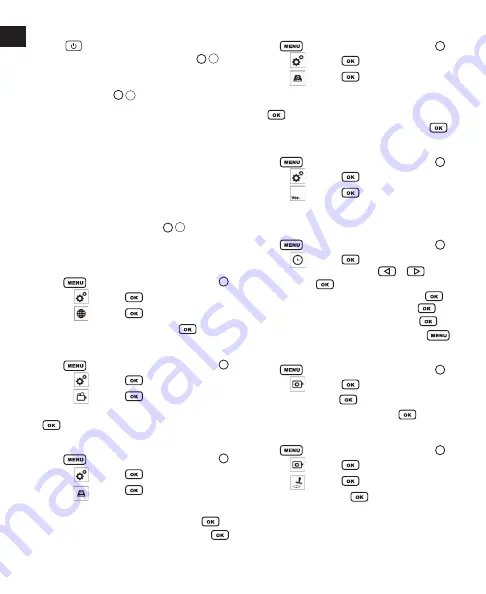
Setting the Language
1. Press
to display the System Settings (Figure
H
).
2. Highlight
and press
.
3. Highlight
and press
.
4. Highlight the desired language and press
.
Selecting the Video System
1. Press
to display th
e
System Settings (Figure
I
).
2. Highlight
and press
.
3. Highlight
and press
.
4. Highlight the desired system (NTSC or PAL) and press
.
Erasing All Saved Data
1. Press
to display th
e
System Settings (Figure
J
).
2. Highlight
and press
.
3. Highlight
and press
.
4. Are you sure you want to ERASE ALL saved data?
•
To ERASE ALL data, highlight YES and press
.
•
To retain the saved data, highlight NO and press
.
Restoring Factory Settings
1. Press
to display th
e
System Settings (Figure
K
).
2. Highlight
and press
.
3. Highlight
and press
.
4. Are you sure you want to RESTORE DEFAULTS?
•
To reset to factory settings, highlight YES and
p
ress
.
•
To retain current settings, highlight NO and press
.
Checking the Software Version
1. Press
to display th
e
System Settings (Figure
L
)
2. Highlight
and press
.
3. Highlight
and press
.
4. View software version and details of the product.
Setting the Date and Time
1. Press
to display th
e
System Settings (Figure
M
).
2. Highlight
and press
.
3. The current Year is highlighted. Use
or
to
change, or press
if it is correct.
4. The current Month is highlighted. Change or press
.
5. The current Day is highlighted. Change or press
.
6. The current hour is highlighted. Change or press
.
7. The current minute is highlighted. Change or press
.
Setting the Video Frame Rate
1. Press
to display th
e
System Settings (Figure
N
).
2. Highlight
and press
.
3. Highlight Fps and press
.
4. Highlight the desired frame rate and press
.
Using the Time Stamp
1. Press
to display th
e
System Settings (Figure
O
).
2. Highlight
and press
.
3. Highlight
and press
.
4. Highlight ON or OFF. Press
.
Содержание Fatmax FMHT0-77421
Страница 3: ...3 E 14 13 15 16 35 36 38 32 39 37 33 34 F 7 16 40 41 41 16 4 R ES ET B 20 C MENU OK D ...
Страница 4: ...4 2 2 2 2 1x 2x 3x 4x H I G ...
Страница 5: ...5 J K Yes No L M ...
Страница 6: ...6 Frame Rate Q N Time Stamp P O ...
Страница 196: ... 2017 Stanley Tools Egide Walschaertsstraat 14 16 2800 Mechelen Belgium 099528 September 2017 www 2helpU com ...


