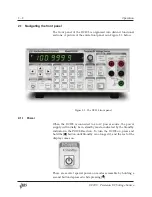
2.1 Navigating the front panel
2 – 3
Stanford Research Systems
Model DC205
Precision DC Voltage Source
Standby
±100 V
±10 V
±1 V
Floating
Ground
Pending
On
Armed
hold to arm
4-wire
2-wire
Remote
Error
Interlock
Overload
LO
OUTPUT
SENSE
Floating
HI
push to adj.
120 V
max
250 V
max
2 V
max
2 V
max
120 V
max
!
SELECT / ADJUST
NUMERIC ENTRY
POWER
CONFIG
SCAN
OUTPUT
SENSE
STATUS
SOURCE OUT
RANGE
V
Range
0
1
2
3
4
5
6
7
8
9
Cancel
Enter /
Start
Setup
Float /
Ground
2 or 4
Wire
On /
Off
.
+/–
Arm
Identify
Field
Cal
Factory
Reset
Comm.
Settings
Power /
Standby
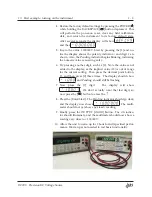
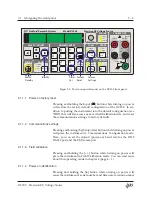
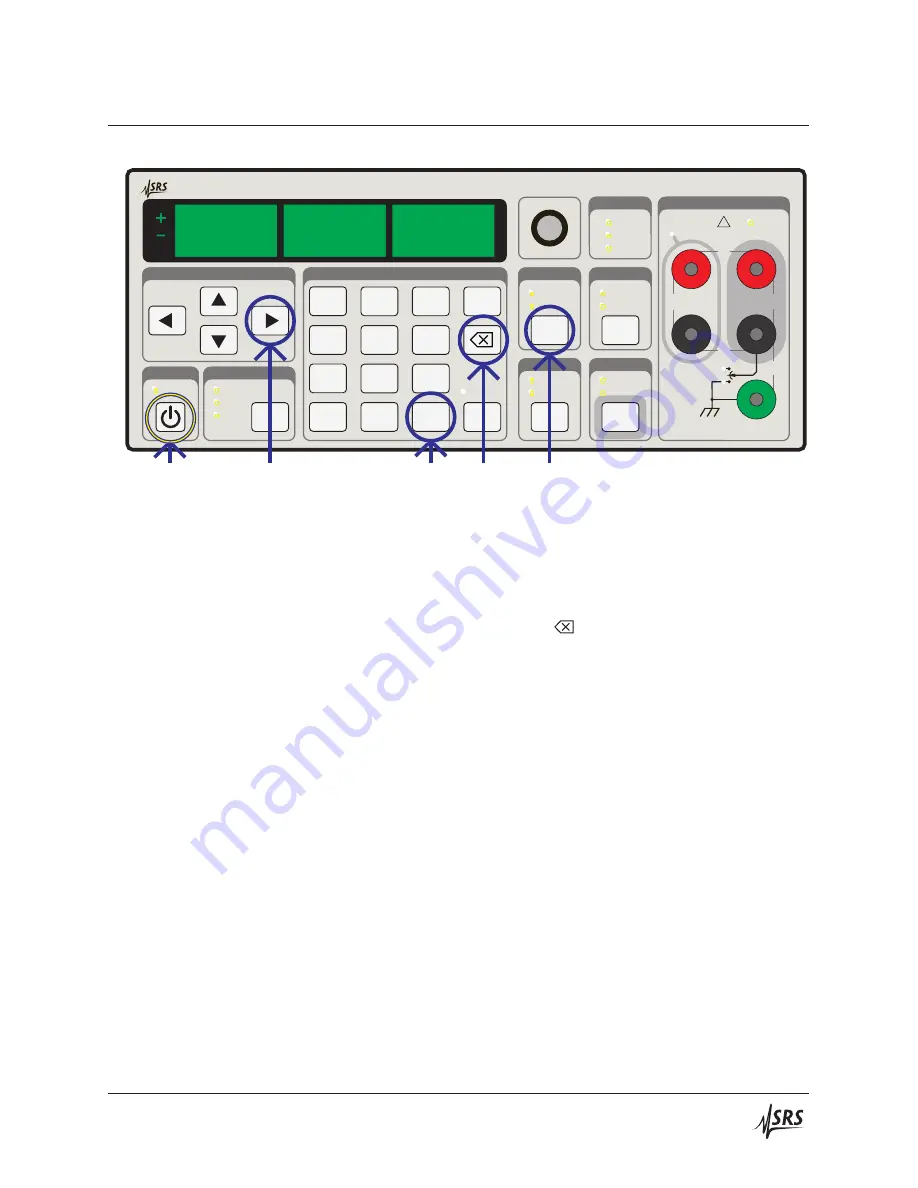
Figure 2.2: Power-on special modes on the DC205 front panel.
2.1.1.1 Power-on factory reset
Pressing and holding the Input [
] button while turning on power
will restore the factory default configuration of the DC205. In ad-
dition to putting the instrument into the default configuration (see
*RST
), this will also erase any saved field calibration data, and reset
the communications settings to factory defaults.
2.1.1.2 Communcations settings
Pressing and holding the [Setup
/
Arm] button while turning on power
will place the instrument in Communcations Configuration mode.
Here, you can set the default (power-on) baud rate for the DB-9
RS-232 port and the USB comm port.
2.1.1.3 Field calibration
Pressing and holding the [
+/
−
] button while turning on power will
place the instrument in Field Calibration mode. You can read more
about this operating mode in chapter 4 (page 4 – 1 ).
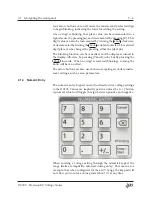
2.1.1.4 Power-on identification
Pressing ahd holding the [
] button while turning on power will
cause the instrument’s serial number and firmware revision number
DC205 Precision DC Voltage Source

