Page 113
GX2200E
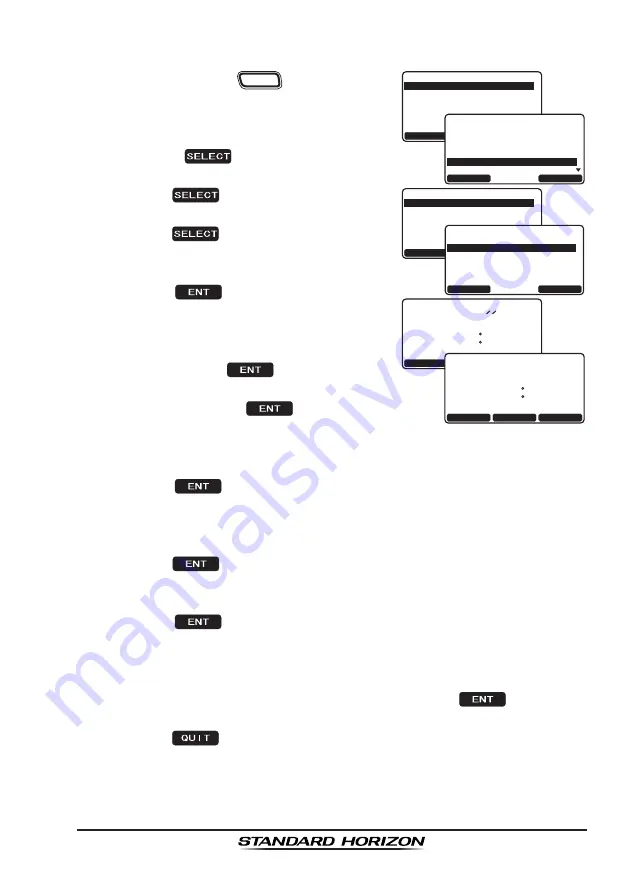
13.2 ADDING A WAYPOINT
1. Press and hold the
CALL
MENU
key until “
Setup
Menu
” appears.
37+6
5'.'%6
9C[RQKPV 5GVWR
9#;21+06 &+4'%614;
&KURNC[ 4CPIG
37+6
'06
$#%-
9C[RQKPV +PRWV
2QUKVKQP A
+&
A
926 0COG926
48,7
(17
%$&.
:D\SRLQW ,QSXW
,'
123456789
3RVLWLRQ
51 08.623N
000 02.085E
:37 1DPH)LVKLQJ 37
6HWXS 0HQX
&+ )XQFWLRQ 6HWXS
'6& 6HWXS
$,6&RPSDVV6HWXS
*366HWXS
:D\SRLQW 6HWXS
*(1(5$/ 6(783
48,7
6(/(&7
6HWXS 0HQX
&+ )XQFWLRQ 6HWXS
'6& 6HWXS
$,6&RPSDVV6HWXS
*HQHUDO6HWXS
*366HWXS
:$<32,176(783
48,7
6(/(&7
QUIT
SELECT
-Waypoint Directry-
ADD
Mark Position
Edit
Delete
2. Rotate the
CH
knob to select “
WAYPOINT
SETUP
”.
3. Press the
soft key, then select
“
WAYPOINT DIRECTORY
” with the
CH
knob.
4. Press the
soft key, then select “
ADD
”
with the
CH
knob.
5. Press the
soft key.
6. Enter the waypoint name by rotating the
CH
knob to select the first letter.
7. Press the
soft key to store the first
letter and to move to the second letter in
the name.
8. Repeat step 6 and 7 until the name is
shown. Press the
soft key to skip a
letter if needed.
9. Press and hold the
soft key, then
enter the coordinates of the waypoint posi-
tion by rotating the
CH
knob to select the
first digit in the latitude.
10. Press the
soft key to store the first number and to move to the
second number in the position.
11. Repeat step 9 and 10 until the latitude is shown including N or S in the
last digit.
12. Press the
soft key to select the first digit of the longitude is blink-
ing.
13. Rotate the
CH
knob to select the first digit in the longitude.
14. Press the
soft key to store the first number and to move to the
second number in the position.
15. Repeat step 13 and 14 until the longitude is shown including E or W in
the last digit.
16. After all information is entered, press and hold the
soft key to
store the waypoint into memory.
17. Press the
soft key three times to return to radio operation.


