29
HOW TO CONFIGURE THE CONSOLE continued
How to Save Custom Console Settings
The following custom console settings can be saved to
a USB drive:
• Unit of measurement
• KCAL Toggle
• Backlight duration
• Contrast level
• Auto pause setting
• USB port setting
The custom console settings will be saved in an
import.cfg file format.
1. Make sure that the USB port on the console is
enabled (see step 3 on page 27).
2. Insert your USB drive into the USB port on the
console.
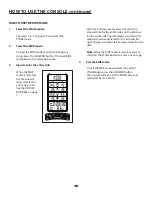
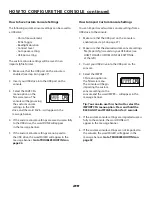
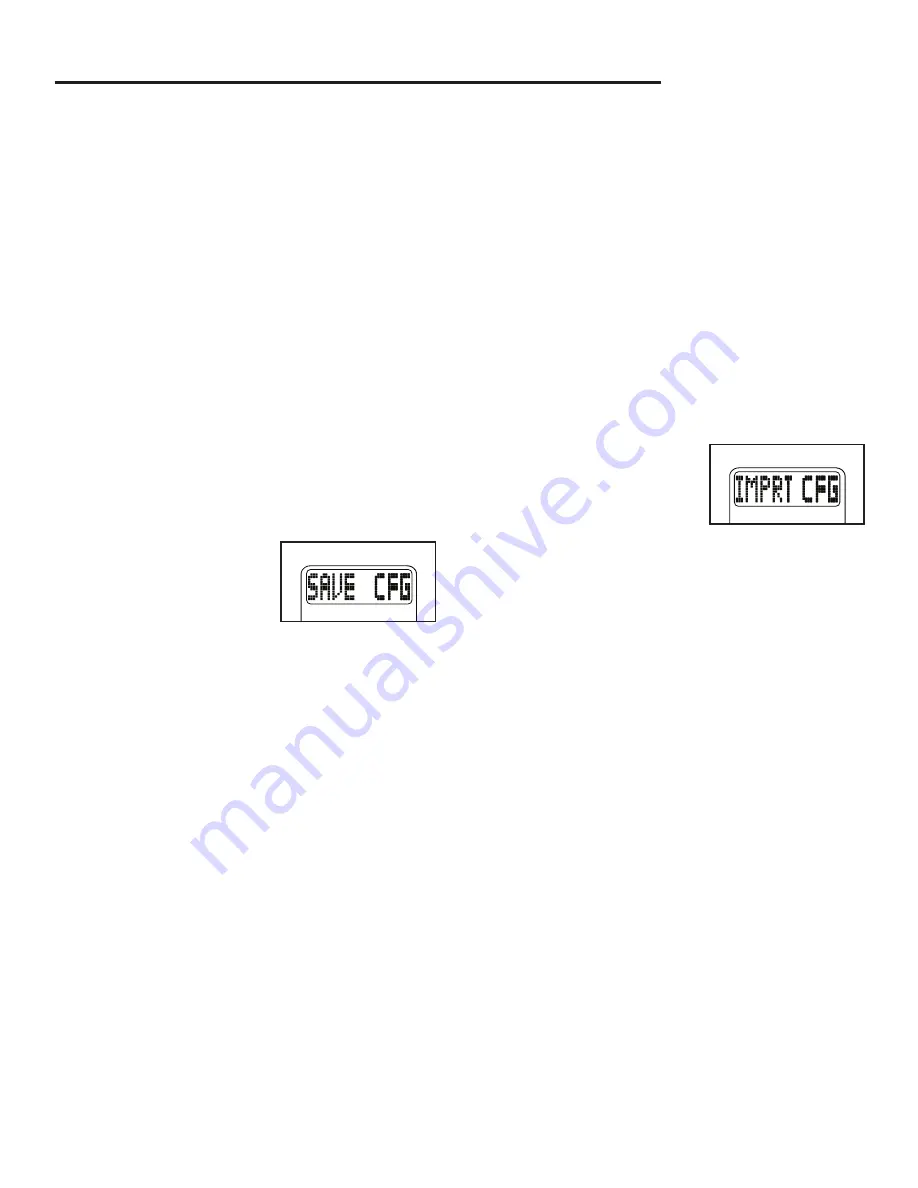
3. Select the SAVE CFG
menu option on the
firmware menu. The
console will begin saving
the custom console
settings to the USB
drive and the word SAVE--- will appear in the
message banner.
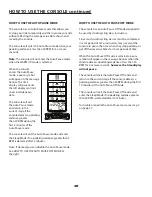
4. If the custom console settings are saved successfully
to the USB drive, the word DONE will appear
in the message banner.
5. If the custom console settings are not saved to
the USB drive, the word FAILED will appear in the
message banner.
Go to TROUBLESHOOTING on
page 32.
How to Import Custom Console Settings
You can import saved custom console settings from a
USB drive to the console.
1. Make sure that the USB port on the console is
enabled (see step 3 on page 27).
2. Make sure that the desired custom console settings
file (import.cfg) is saved on your USB drive (see
HOW TO SAVE CUSTOM CONSOLE SETTINGS
at the left).
3. Insert your USB drive into the USB port on the
console.
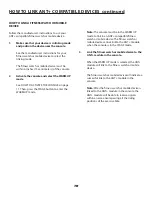
4. Select the IMPRT
CFG menu option on
the firmware menu.
The console will begin
importing the custom
console settings to the
console and the word IMPRT--- will appear in the
message banner.
Tip: You can also use this shortcut to select the
IMPORT CFG menu option: Press and hold the
BACKLIGHT and STAGE buttons for 3 seconds.
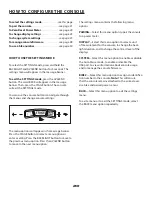
5. If the custom console settings are imported success
fully to the console, the word DONE will
appear in the message banner.
6. If the custom console settings are not imported to
the console, the word FAILED will appear in the
message banner.
Go to TROUBLESHOOTING on
page 32.

