25
When transmitting, an electric current of approx. 1.3 A flows, up
to 0.8 A when receiving at maximum volume and approx. 0.3 A
with activated squelch. The negative pole is connected to ground
(= chassis) as for almost all modern cars.
Prior to connecting the radio set, check polarity and voltage: If the
vehicle is older, the positive pole can also be connected to ground.
Some commercial vehicles are supplied with a voltage of 24 V
instead of 12 V. When in doubt, contact your specialized car dealer!
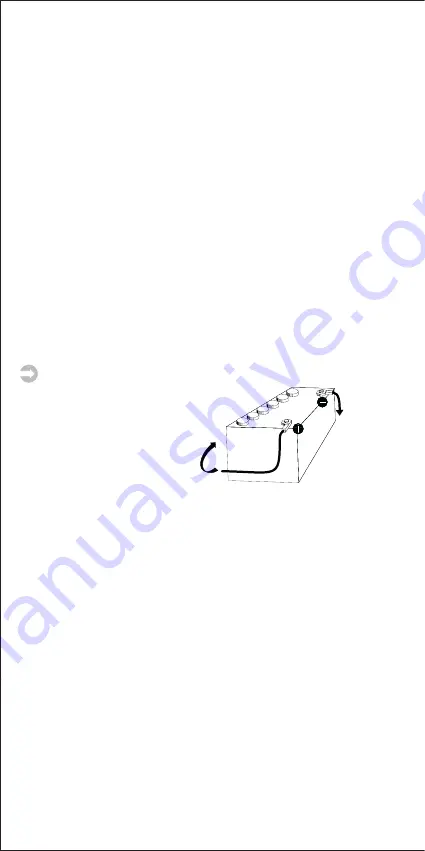
After having checked the voltage and polarity, proceed as follows:
a) Your radio set is provided with a power supply cable into which
a 2 A fuse is connected. Connect the cable directly to the
battery using the corresponding terminals:
Red
= positive pole,
black
= negative pole (ground).
b) Since the radio set must not be buffered by the vehicles supply
voltage, the power supply can also be achieved by connecting
the radio set to the radio connection of the ignition lock.
c) Lay the power supply cable in the car such that the interferences
resulting from the ignition system are as small as possible.
ATTENTION:
If the fuse in the power supply cable is blown, proceed
as follows: Find and eliminate the cause! Afterwards, replace the
blown fuse by a new 2 A fuse!
Always switch the radio set off before leaving the vehicle in order
to avoid that the battery is run down.
External loudspeaker
At the back side, the stabo xm 5003 is equipped with a jack for
connecting an external loudspeaker with an 8 ohms impedance.
For improving the fidelity of reproduction, a loudspeaker can be
connected using a 3.5 mm mono jack plug. Install the loudspeaker
such that all possibilities of injuries to you or your passengers are
excluded in case of an accident.
Microphone jack
Connect the supplied microphone to the microphone jack at the
right front side of the radio set. Make sure that the recess on the
plug is oriented downwards. A packet radio modem (TNC) can
also be connected to this jack.
Operation
The operation of the xm 5003 is almost self-explanatory. After
having established all connections, switch your CB radio set on
by using the inner control/switch
VOL
which is also used for setting
the volume. The display should be lit now and a channel should
appear on the display. If the display does not light up, please check
to the starter
ground


