


Display Type:
This setting adjusts whether to display temperature in Celsius or Fahrenheit.
LCD Theme:
This setting adjusts color scheme including background colors and font colors.
LCD Brightness:
This setting adjusts the brightness of the LCD backlighting.
System Time:
This setting adjusts the system clock's time. While setting the time use the Plus and Minus buttons to adjust
the hour. Pay careful attention while adjusting the hour to make sure the AM / PM is correct. Then press the
Enter button to advance to the minute
. A
djust the minute and press Enter to accept.
Menu Sounds:
Enables or disables the system beep during menu selection. Does not affect audible alerts.
GraphPeriod:
Adjusts the span of the history record time. The history records 100 data points spread across this time.
Passcode:
This setting creates a 4
-
digit Passcode that is required to be entered before menu access is granted. Use the
Plus and Minus buttons to toggle the individual digit and the Enter button to advance to the next digit. Entering
all zero's will disable the Passcode
.
If you forget this Passcode in order to regain access to the menu requires
the device to be reset to factory defaults. This can be done by holding down the Plus button while plugging the
Herpstat into power.
Keep the Plus button held down until you see a message asking if you want to Load
Factory Defaults. Press Enter to accept. This will clear the Passcode and reset all settings to factory defaults.
Master Reset:
Selecting this will reset all settings in the device to factory defaults.
Output Setup for Temperature Control
From the initial menu screen select an output using the Plus and Minus button and press Enter. The
number in the upper right indicates which output you are adjusting.
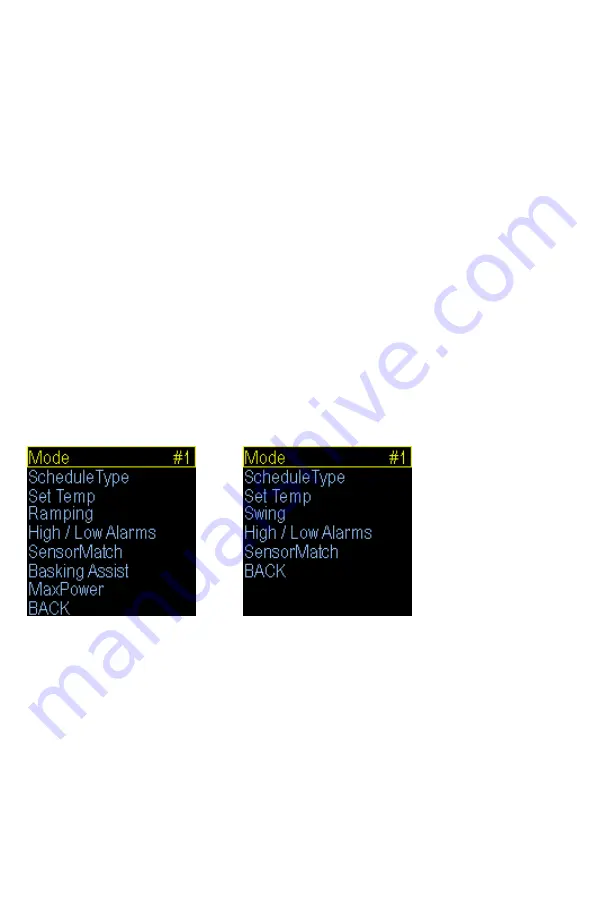
Heating menu.
Cooling menu.
Mode: (Heat (Dimming), Heat (Pulse), Cooling)
Note: When the Mode is changed all settings for the selected output will be set to the defaults for
that particular mode. Select the appropriate mode first in order for all the menu options to show.
Heat (Dimming) can adjust the voltage output to the heating device similar to a household dimmer. In most
cases this is the best performing mode of control.
Heat (Pulse) can provide varied lengths of pulsed power to the heating device. This method should only be used
with metal rack systems.
Plastic and wood racks should use Dimming mode.
The Cooling mode is a non
-
proportional mode that applies power when the set temperature is breached. The
Cooling mode then powers off the output when the temp drops below the Swing setting.
ScheduleType:
This setting selects how many different time periods you would like to use. If you want one temperature all the
time use the Constant option. If you want a separate day and night temp choose 2 periods. More advanced
setups can use up to 4 periods.
Set Temp:
This is where you will select the desired temperature and the time at which the unit will switch to this
temperature if you have multiple periods selected in the ScheduleType option. Use the Enter button to progress
through the options
.


