10
3.
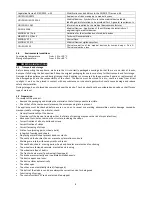
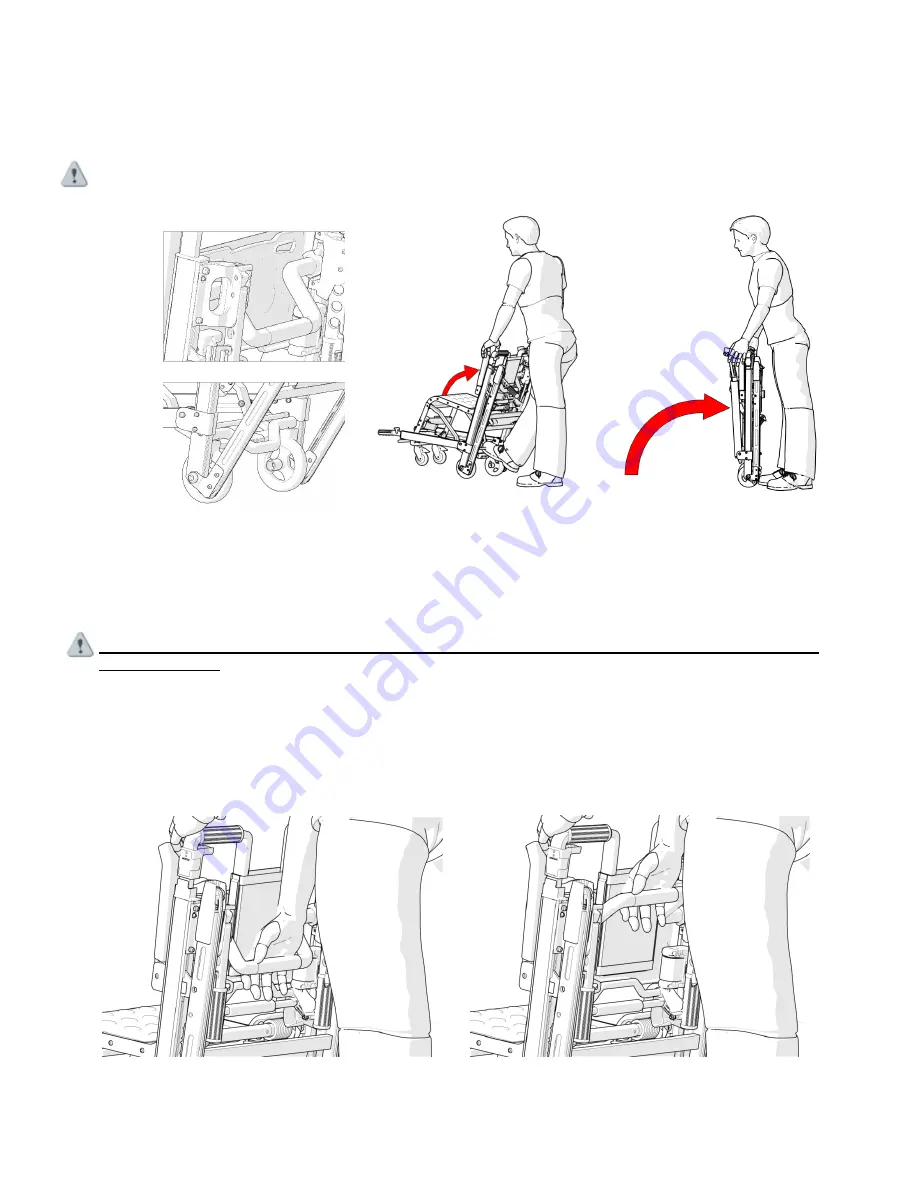
Tilt the chair a few degrees toward you, and verify that the self-positioning system of the front wheels, if any, function
properly (fig. 8).
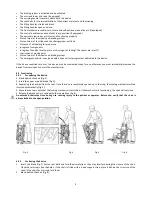
4.
Press with the foot the red plastic base closer to the ground, and make sure the seat automatically reaches the backrest
(fig. 8-9), when the closing of the device is exceptionally fast, accompany it with your free hand to avoid impacts to the
structure of the device.
Make sure that the self-positioning system is working perfectly.
Verify that the chair once closed maintains this position, if this does not happen, it could cause injures to the operator.
4.3.3
Functioning of manual or pedal the brake
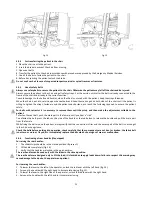
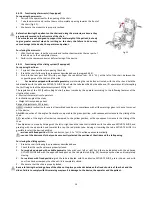
1.
To activate the brake, move down the lever up to a full stop (fig. 10-12).
2.
To release the brake, move the lever up to a full stop (fig. 11-13).
Insert the brake only when transferring patients to or from the chair or with empty chair.
If the chair was moved with locking devices included, it might tip over causing injury to the patient or the operator and/or
damage to the chair.
The brake prevents that the empty seat can move when it is not monitored and as an aid during the transfer of the
patient. The brake may not provide sufficient resistance on all surfaces or under load.
Apply the brakes in the phases of opening and closing of the chair.
Never leave the patient unassisted on the chair, because he could be injured. Keep the chair firmly if the patient is sitting.
Never use the brake on a chair with severely worn wheels. The use of the brake on a wheel with diameter of less than 150
mm could affect the sealing capability of the locking device and thereby cause possible injury to the patient or the
operator and damage to the chair or other equipment.
Fig. 7
Fig. 9
Fig. 8
Fig. 10
Fig. 11
Содержание EVA
Страница 6: ...6 Fig 1 Fig 2 ...


