SpectraPure®Inc
.
Fax 480.894.6109 Fax us toll-free 1.877.527.7873
E-mail: [email protected] Visit us on the web www.spectrapure.com
11
SpectraPure
®
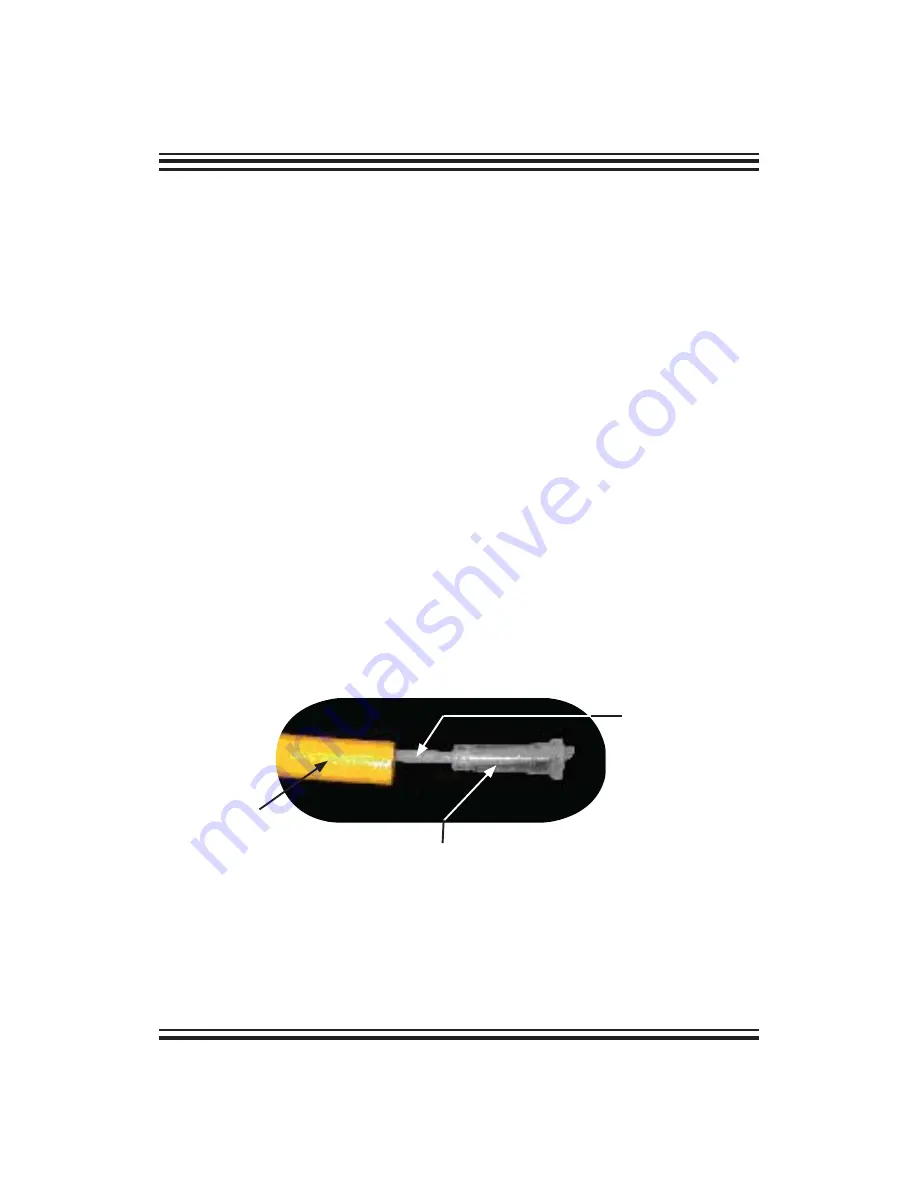
5. Re-insert the flow restrictor assembly into the yellow tubing and firmly
re-seat the insert into the end of the yellow tubing by carefully pressing on
the insert with your thumbnail. Care should be taken not to crush or other-
wise damage the end of the capillary tubing protruding from the end of
the
insert.
6. Re-insert the yellow tubing into its push-fitting in the RO membrane as
follows:
a.) Moisten the O-ring seal inside the concentrate outlet fitting by dripping
a few drops of clean water into the fitting.
b.) Grasp the yellow tubing near the flow restrictor end, and insert the
tubing into the push-fitting. Push the tubing into the fitting until
resistance is felt, approximately 1/2 inch (12.7 mm). The tubing is now
resting on the O-ring seal inside the fitting.
c.) Firmly push the tubing approximately an additional 1/4 inch
(6.35 mm) further into the fitting to completely seat the line into
the fitting and O-ring seal.
7. Turn on the system water supply and check for leaks prior to further
use or testing. If a leak is observed, you may not have pushed the
yellow tubing into the push-fitting far enough to seal the tubing against
the O-ring. Turn off the system water supply and re-seat the tubing as
described
above.
YELLOW TUBING:
(Disconnected
from membrane
housing’s fitting.
)
CAPILLARY TUBE:
(Specific diameters
are matched for
each size mem-
brane to restrict
the flow of waste
water leaving the
RO membrane’s
housing.)
PLASTIC INSERT: (Insert keeps
capillary tube in the yellow line and
prevents it from washing down the
drain. It also forces waste water to
flow through the capillary tubing to
restrict waste water as it leaves the
housing.)
Fig. E: Flow Restrictor Assembly


