


36
4.3 RECORD
To set up the RECORD menu,
Move the cursor to the RECORD icon using the
◀
,
▶
in the MENU screen.
Press the ENTER button when the cursor is on the RECORD icon and the following items appear.
User can select any item using
▲,▼
button from the remote.
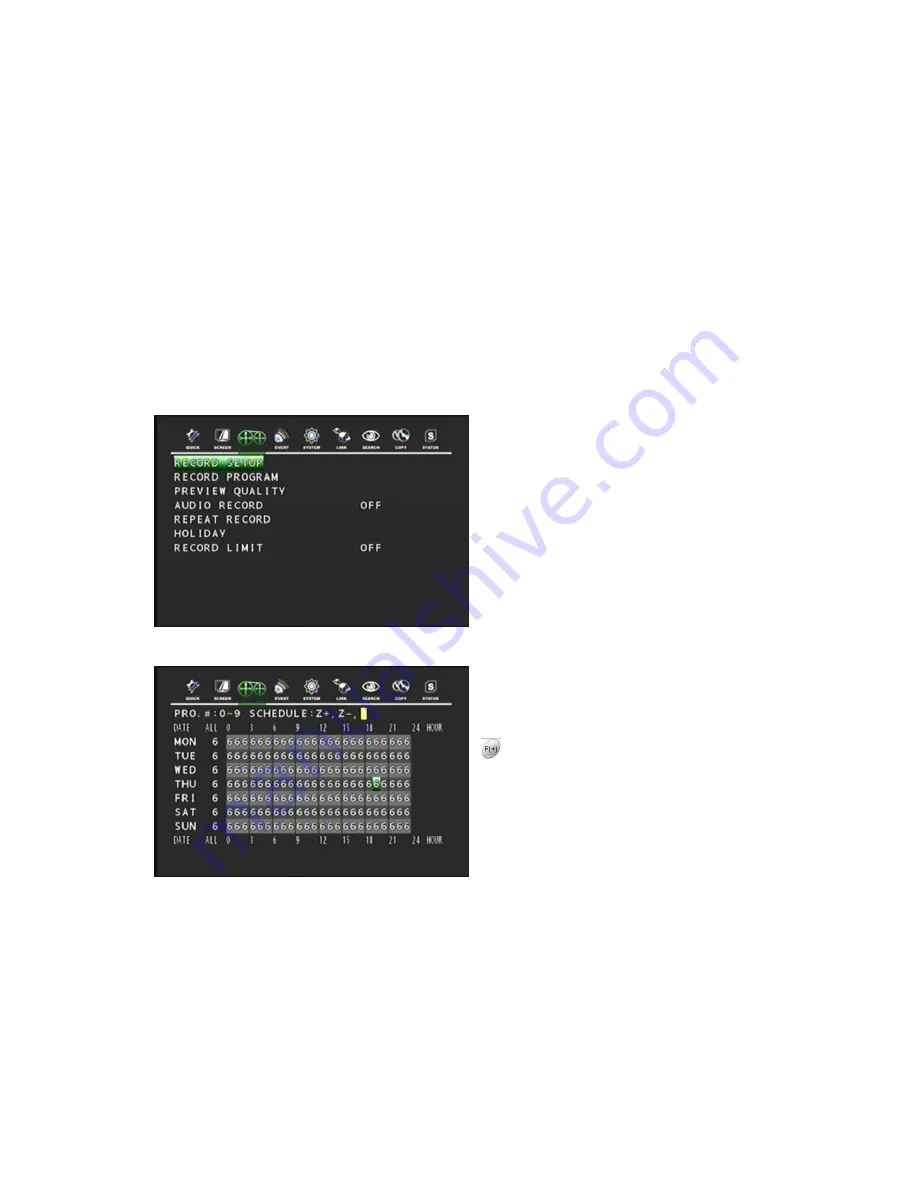
4.3.1 RECORD SETUP
This menu allows you to configure a weekly recording schedule. In the schedule you must use the
predefined programs (0-9) in order to set up the recording properly. You can use and combine different
predefined programs during the week according with your own needs. (See RECORD PROGRAM
section for more information)
At the RECORD menu,
Press the ENTER button when the cursor is on
the RECORD SETUP and the following screen
appears.
Move the cursor to choose the desired time
using the
▲, ▼,
◀
,
▶
buttons.
Select the desired program among PROGRAM
0~9 and POWER OFF using the
button.
Turn right the shuttle ring to set up the schedule
of programmed time and the program number
will be green.
Turn the left the shuttle ring to release the
schedule mode. Or move the cursor to the
desired position and then click the green square
next to “SCHEDULE” using the Mouse.
Press the ESC button to exit this RECORD SETUP menu or press the ENTER button to enter the
RECORD PROGRAM menu.
4.3.2 RECORD PROGRAM
This feature is uses predefined recording modes to create new ones according to your own needs.
This means you can create different programs modes using the existing predefined programs. You
can have up to 10 different programs (0-9) available. These programs will be used to setup the


