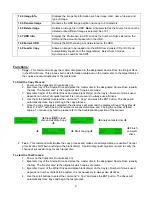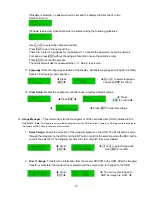
a. Once all tracks to be copied have been selected, press
j
to select “OK” on the display.
Press
ENT
to confirm and begin the copy process.
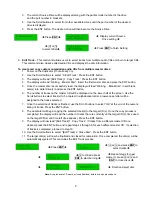
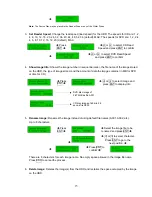
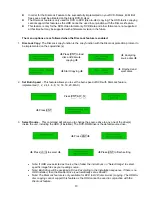
b. Once the track selection is entered, the LCD screen will read
“Copying Audio Tracks…”
,
and display the track number, total time of current track and the current copying status.
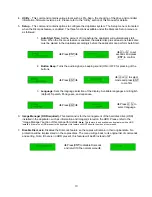
c. Once the copy process is completed, the LCD screen will display the total number of tracks
on target CD(s), total time used and total time remained.
d. Repeat the track selection and copy process until all desired tracks have been copied to target
disc(s). Proceed with disc closing process.
Note:
Once disc closing process is performed, no more track(s) can be added to target CD(s).
10.
Utility
– This command contains various tools to check functionality of the drive(s), information of the
components, and other system information.
1.
Prescan:
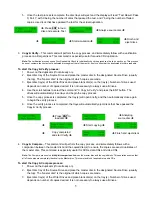
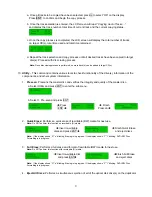
Prescans the master disc and verifies the integrity and quality of the master disc.
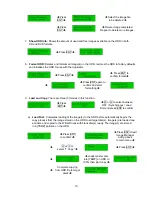
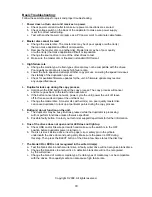
a. Select Utility and press ENT to enter the sub-menu.
b. Select 1. Pre-scan and press ENT
Î
Press
ENT
Î
Î
Finish
Prescan
Î
2.
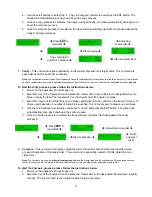
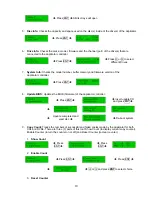
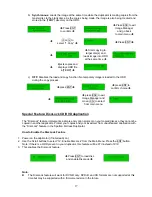
Quick Erase:
Performs a quick erase of rewritable (RW) media for next use.
Note:
Do NOT perform this function on recordable (R) media.
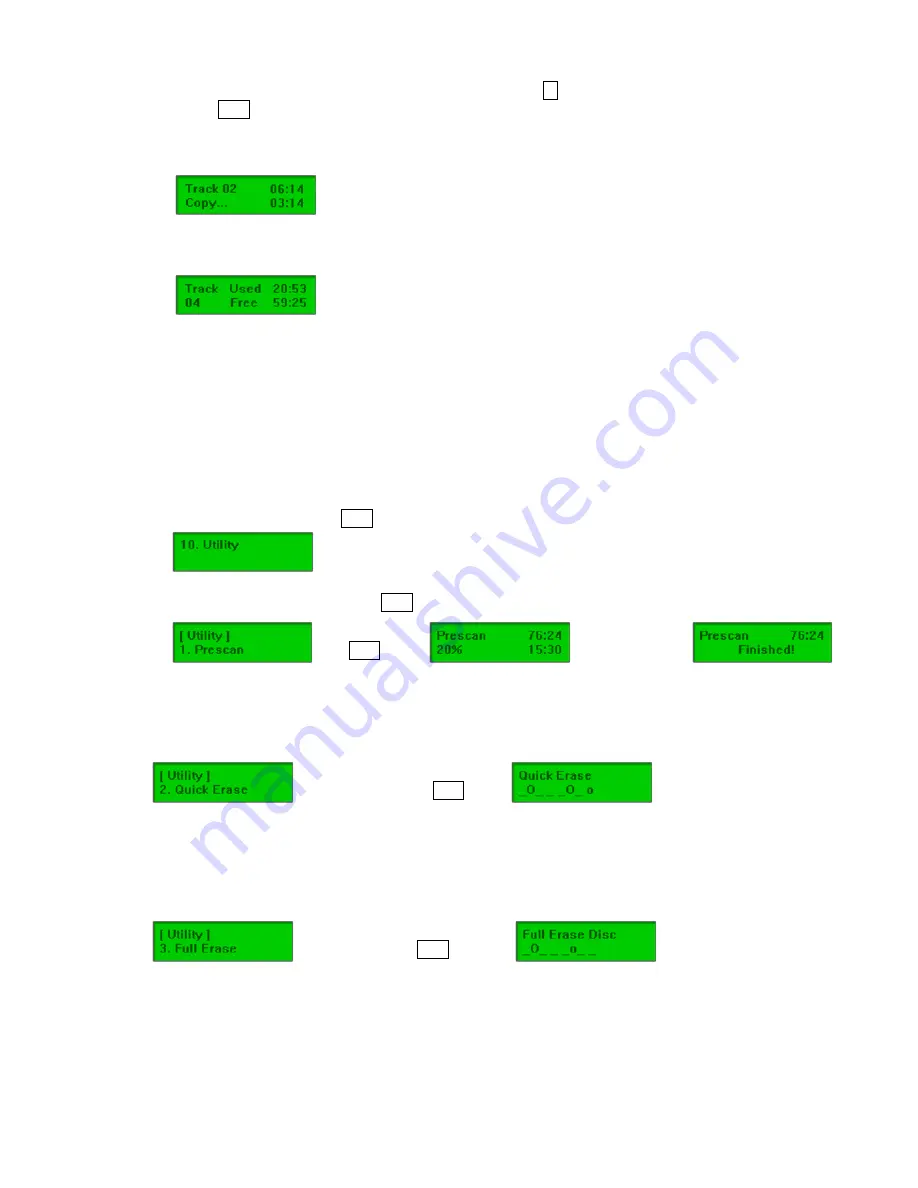
Î
Insert re-writable
discs and press ENT
Î
Î
Finish Quick Erase
and eject discs
Note:
If the display shows “O” “o” blinking, Erasing is in progress. If the display shows “F” “f” blinking, DVD+RW Disc
Formatting is in progress.
3.
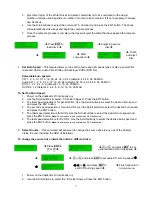
Full Erase:
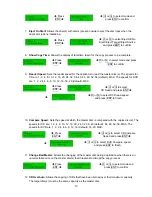
Performs a full erase and format of rewritable (RW) media for next use.
Note:
Do NOT perform this function with recordable (R) media.
Î
Insert re-writable disc
and press ENT
Î
Î
Finish Full Erase
and eject discs
Note:
If the display shows “O” “o” blinking, Erasing is in progress. If the display shows “F” “f” blinking, DVD+RW Disc
Formatting is in progress.
4.
Eject All Discs:
Performs a simultaneous ejection of all of the optical disk drive(s) on the duplicator.
9


