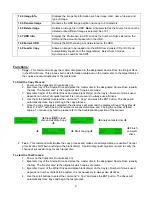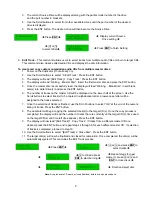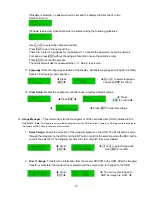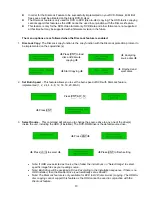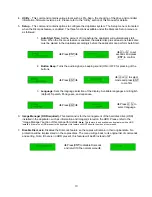
3. The current Source Drive will be displayed along with the partial model number of the drive
and the port number in brackets.
4. Use the Scroll buttons to select from other available drives until the port number of the desired
drive is displayed.
5. Press the ENT button. The desired drive will then become the Source Drive.
Î
Press
ENT
Î
Î
Display current Source
Drive setting
Î
Î
i
or
j
to select drive
Î
Î
Press
ENT
to finish Setting
9.
Edit Track
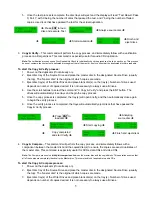
– This command allows users to select tracks from multiple audio CDs and burn to target CDs.
This command also closes edited audio CDs and displays the disc information.
To create and copy custom compilation audio CDs from multiple master discs:
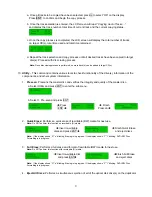
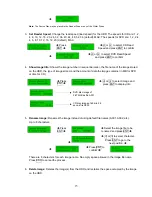
1. Power on the duplicator (if not already on).
2. Use the Scroll buttons to select “9. Edit Track”. Press the ENT button.
3. The display will read “[Edit Track] 1. Copy Track”. Press the ENT button.
4. The display will read “Waiting….Master Disc”. Insert the first master disc and press the ENT button.
5. Once the master disc is successfully read, the display will read “Waiting….Blank Disc”. Insert blank
disc(s) into writer drive(s) and press the ENT button.
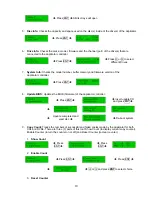
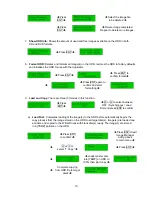
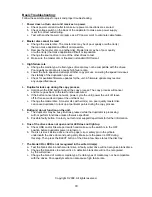
6. The number of tracks on the master CD will be displayed on the lower half of the screen. Use the
Scroll buttons to select track(s) to be copied. In alphabetical order, a lower-case letter will be
assigned to the tracks selected.
7. Once the selection of tracks is finished, use the Scroll buttons to select “OK” at the end of the numeric
listing of tracks. Press the ENT button.
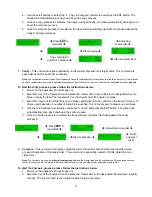
8. The duplicator will begin copying the selected track(s) to the target CD(s). Once the copy process is
completed, the display will read the number of tracks that are currently on the target CD(s), time used
on the target CD(s) and time left (free spaces). Press the ENT button.
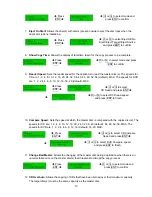
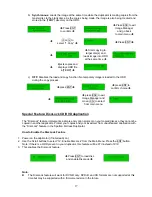
9. The display will now read “[Edit Track] 1. Copy Track”. If tracks from a different master CD are
desired, press the ENT button and repeat steps 4 through 8 for each different master CD. If selection
of tracks is completed, proceed to step 10.
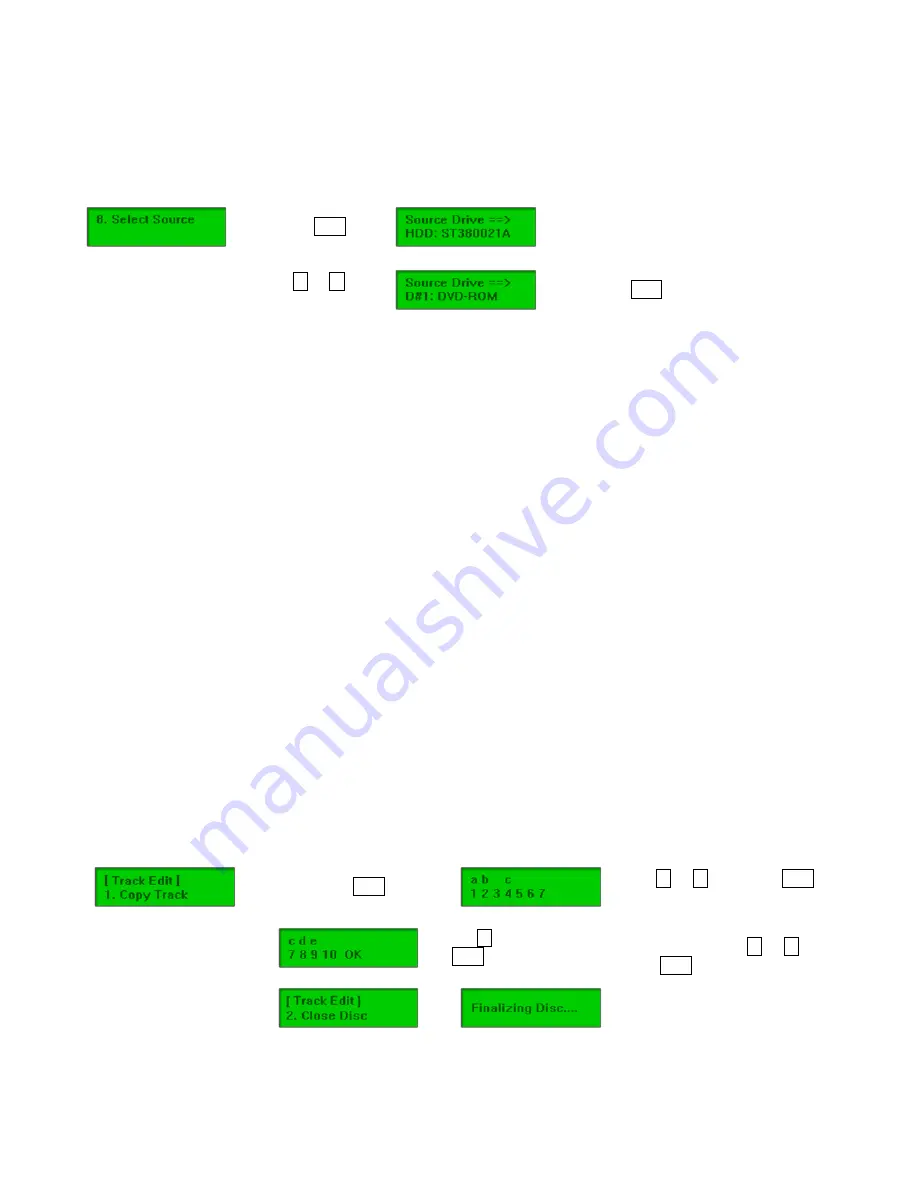
10. Use the Scroll buttons to select “[Edit Track] 2. Close Disc”. Press the ENT button.
11. The target disc(s) will now be finalized and closed for completion. Once completed, the disc(s) will be
automatically ejected. This concludes the Edit Track process.
Î
Press
ENT
Î
Î
i
or
j
and press
ENT
to
select tracks
Î
Î
Î
j
to OK and press
ENT
to start burning
Î
Î
Repeat steps for next
master or press
i
or
j
and
ENT
to close discs
Î
Î
Î
Finish and eject disc
Note:
A copied audio CD must be closed (finalized) before it can be played back.
8


