3.
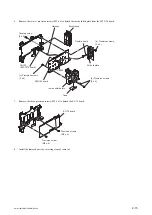
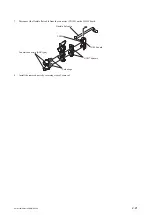
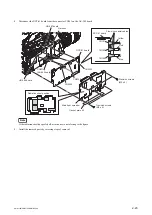
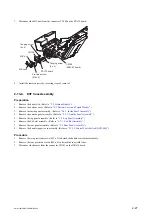
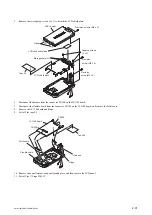
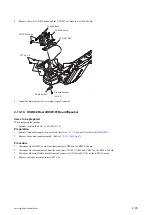
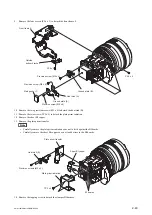
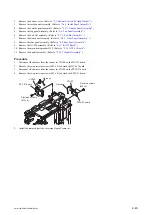
Remove the two precision screws (M2 x 4) and the two precision screws (M2.6 x 5) to detach the LCD
assembly.
Tape(BT)
Tape(BT)
CN402
KSW-62 board
LCD assembly
Harnesses
Precision screws
(M2.6 x 5)
Precision screws
(M2 x 4)
CN403
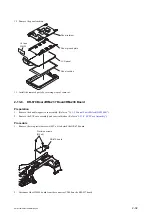
4.
Install the removed parts by reversing steps of removal.
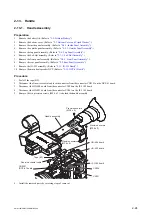
2-13-6. DET-55 Board
Preparation
1.
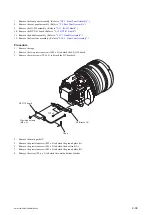
Remove the handle (upper) case assembly. (Refer to
“2-13-2. Control Switch Block (GZ92000)”
.)
2.
Remove the control panel assembly. (Refer to
.)
3.
Remove the LCD assembly. (Refer to
Procedure
1.
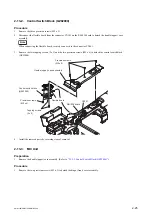
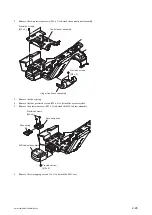
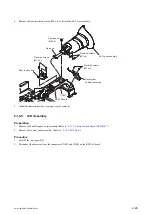
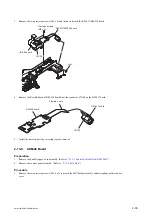
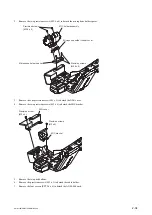
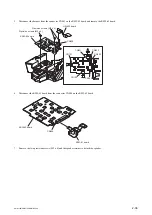
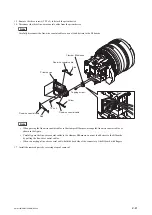
Remove the two precision screws (M2 x 5) and the two claws to detach the panel hinge cabinet T and the panel
hinge cabinet B.
2.
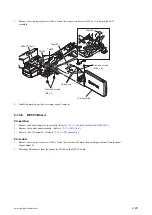
Disconnect the harness from the connector CN100 on the DET-55 board.
PMW-160/PMW-150/PMW-EX260
2-29
Содержание XDCAM PMW-160
Страница 1: ...SOLID STATE MEMORY CAMCORDER PMW 160 PMW 150 PMW EX260 SERVICE MANUAL 1st Edition ...
Страница 4: ......
Страница 8: ......
Страница 10: ......
Страница 30: ......
Страница 38: ...3 Install the removed parts by reversing steps of removal PMW 160 PMW 150 PMW EX260 2 8 ...
Страница 92: ......
Страница 128: ......
Страница 130: ......
Страница 131: ......

