Cha
p
te
r 7
Men
u
s
118
7-5 System Menu
To display disc status and clip status
Insert a disc and proceed as follows.
1
Hold down the SHIFT button and press the MENU
button.
The system menu appears in the video panel or on an
external monitor.
2
Press the
F
button or
f
button to select “DISC
MENU,” then press the
g
button.
The DISC MENU page appears.
3
Press the
F
button or
f
button to select “STATUS,”
then press the
g
button.
The “STATUS” menu item appears.
4
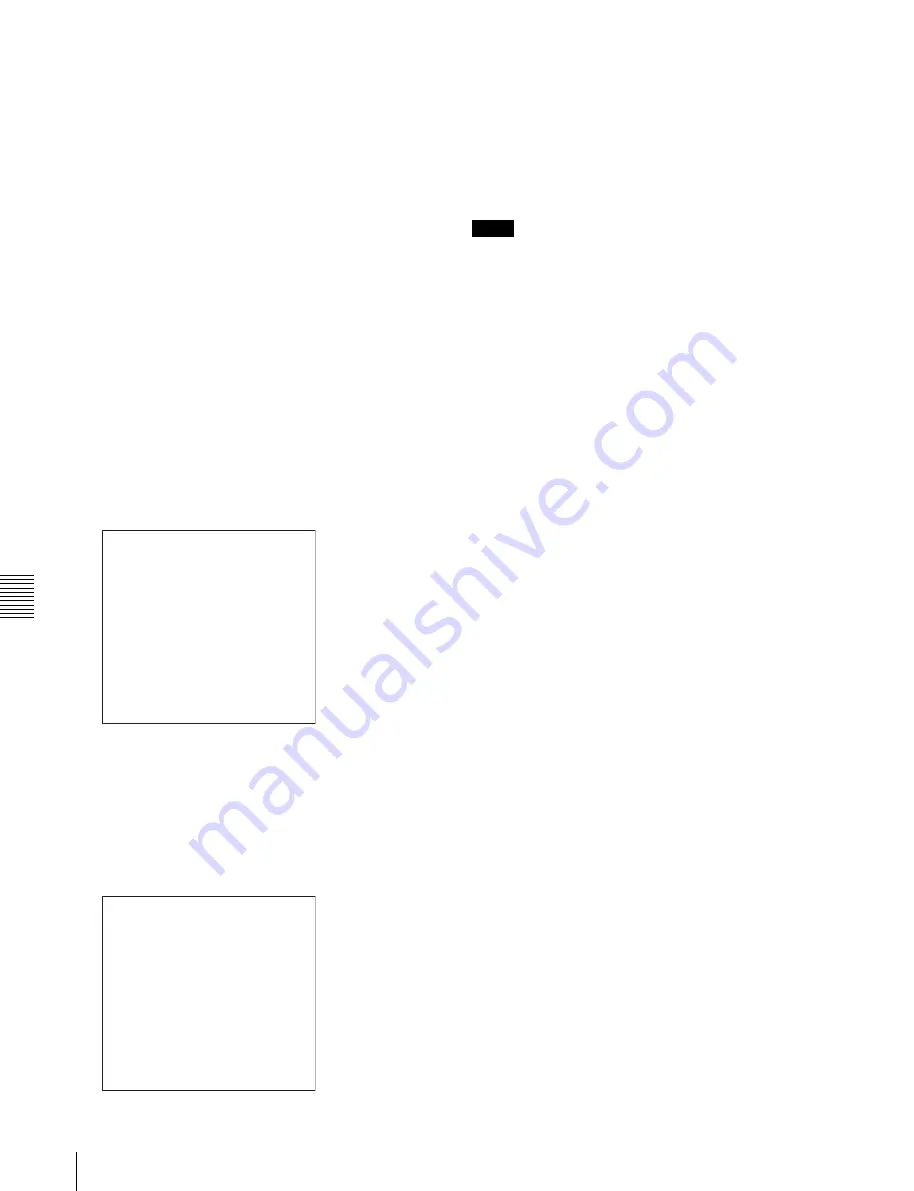
Display the disc status or the status of the current clip.
To display the disc status
Press the
F
button or
f
button to select “DISC,” then
press the
g
button.
The status of the loaded disc appears.
To display the status of the current clip
Press the
F
button or
f
button to select “CLIP,” then
press the
g
button.
The status of the clip at the current position appears.
(When the current clip changes because of playback or
a search, the display switches to the status of the new
clip.)
To return to the previous menu page
Press the MENU button.
To exit the menu system
Press the MENU button twice.
To delete clips
Notes
• Clips cannot be deleted when the Write Inhibit tab of the
disc is set to the recording disabled position, or when
extended menu item 310 “REC INHIBIT” is set to “on.”
• Locked clips
are not deleted.
Proceed as follows.
1
Carry out steps
1
and
2
in the previous section “To
display disc status and clip status.”
2
Press the
F
button or
f
button to select “DELETE,”
then press the
g
button.
The “DELETE” menu item appears.
3
Delete the last clip or all clips.
To delete the last clip
Press the
F
button or
f
button to select “LAST CLIP,”
then press the
g
button.
The name of the clip to be deleted appears.
To cancel the deletion and return to the previous page,
press the MENU button.
To delete all clips
Press the
F
button or
f
button to select “ALL CLIP,”
then press the
g
button.
The message “ALL DELETE OK?” appears.
To cancel the deletion and return to the previous page,
press the RESET button.
To cancel the deletion and exit the menu system, press
the MENU button.
4
Press the SET button.
The last clip is deleted, or all clips are deleted.
You can use the THUMBNAIL MENU to delete the
selected clip or all clips. For details, see page 56.
To format discs
See 3-6-5 “Formatting a Disc” (page 39).
USER ID: (no ID)
TITLE : (no name)
REMAIN : 029 min
REWRITE : 0002 times
SALVAGE : OK
FILE SYSTEM : OK
TO MENU : MENU KEY
DISC STATUS
NAME : C0001
TITLE: (no name)
RECORD DEVICE: PDW-R1
SERIAL: 10001
DATE : 01/01/06
TIME : 19:54:38
TO MENU : MENU KEY
CLIP STATUS
CLIP NO : 001/010
Содержание XDCAM PDW-R1
Страница 1: ...PROFESSIONAL DISC RECORDER PDW R1 OPERATION MANUAL English 1st Edition Revised 1 ...
Страница 119: ...Chapter 7 Menus 119 7 5 System Menu To set the date and time See 3 4 Setting the Date and Time page 34 ...
Страница 155: ...Sony Corporation 2006 PDW R1 SY 3 991 786 02 1 http www sony net ...


