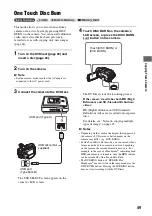
42
4
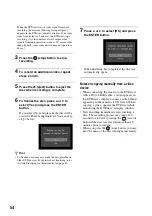
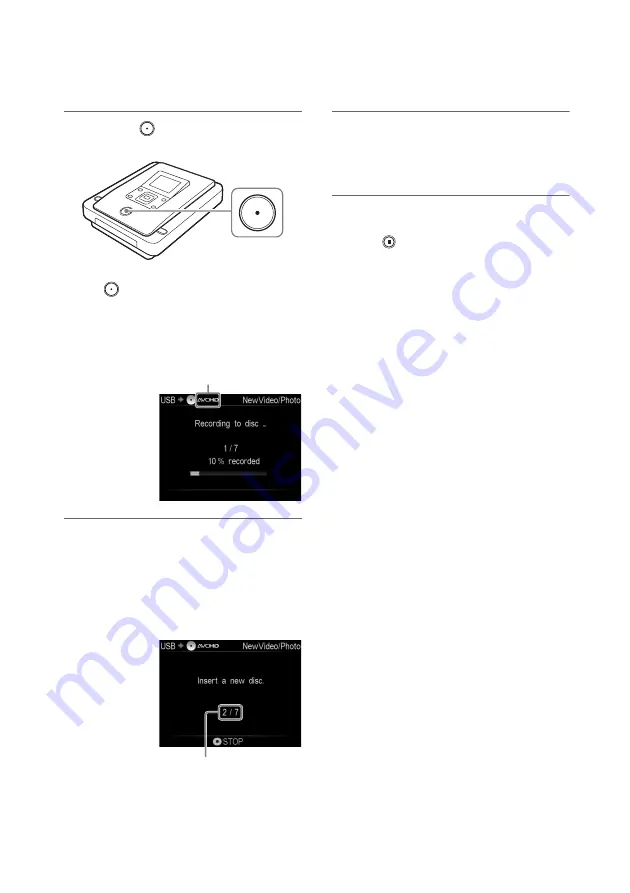
Press the
(record) button to start
recording.
The DVDirect starts the recording process.
The
(record) button lights up during
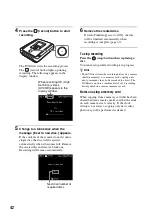
recording. The following appears in the
display window.
5
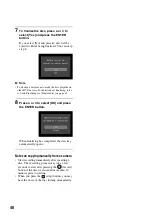
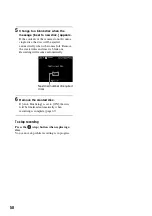
Change to a blank disc when the
message [Insert a new disc.] appears.
If the contents of the camera do not fit onto a
single disc, the disc will be ejected
automatically when it becomes full. Remove
the created disc and insert a blank one.
Recording will resume automatically.
6
Remove the created disc.
If [Auto Finalizing] is set to [ON], the disc
will be finalized automatically when
recording is complete (page 67).
To stop recording
Press the
(stop) button when replacing a
disc.
You cannot stop while recording is in progress.
z
Hint
• The DVDirect stores the recording history of a camera
(built-in memory), or a memory card, copying only
newly-recorded video (to be recorded to a disc). The
DVDirect can store a combined total of 10 recording
history stored in a camera or memory card.
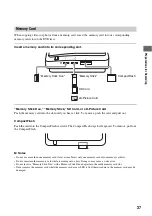
Notes on using a memory card
When copying from a memory card that has been
shared between cameras, make sure that the clock
on each camera is set correctly. If the clock
setting is not correct, copying only new video/
photo may not be performed as desired.
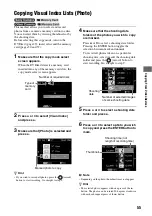
When recording HD (High
Definition) videos,
[AVCHD] appears in the
display window.
Next disc/number of
required discs


