Connecting a multimedia device
You can connect a multimedia device, such as a multimedia computer monitor or projector, to your computer. Connecting a
multimedia device enables you to display images on your computer screen (LCD), the multimedia device, or both.
For information on connecting a TV to your computer, see
Playing DVDs on a TV.
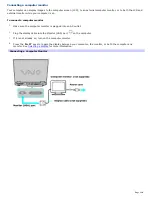
To connect a multimedia computer monitor or projector
1.
Plug the device into an AC outlet.
2.
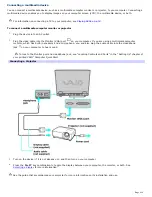
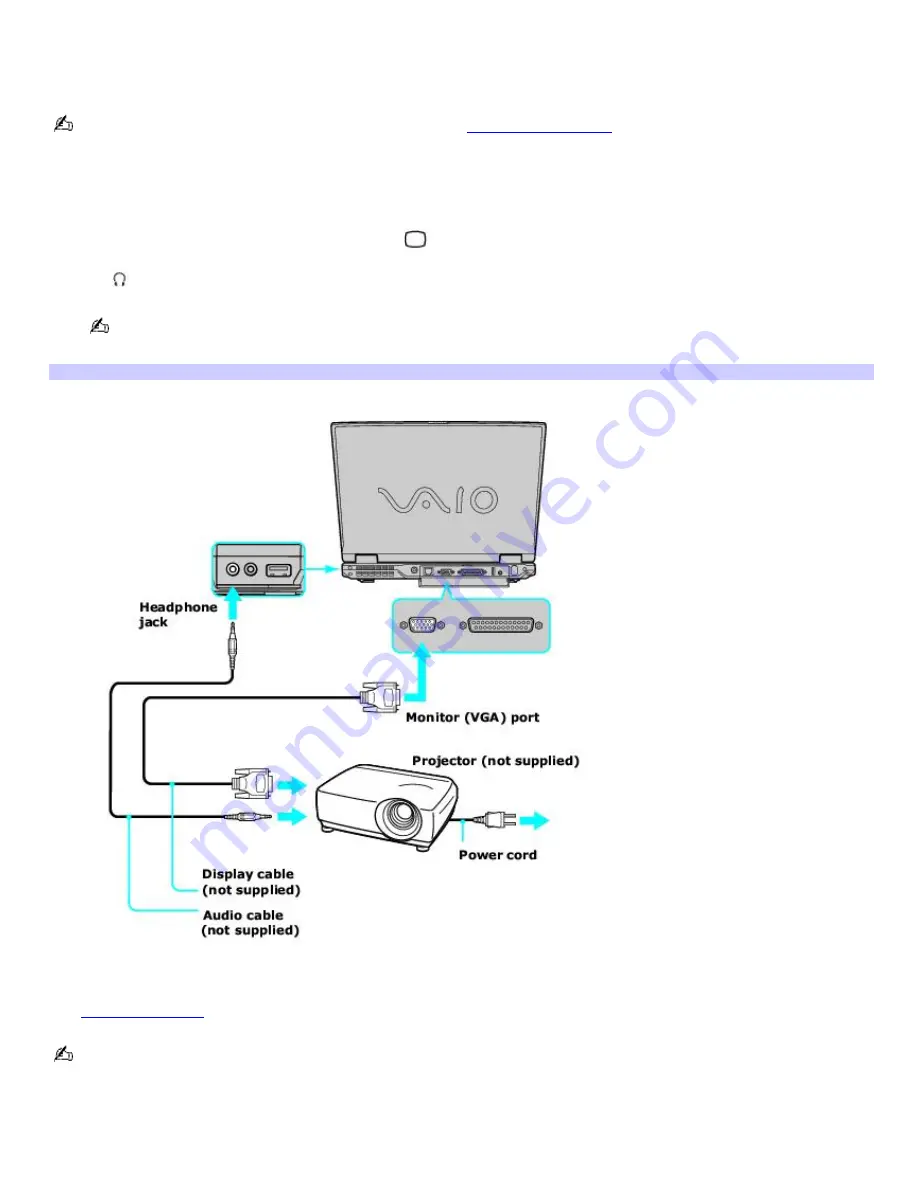
Plug the video cable into the Monitor (VGA) port
on your computer. If you are using a multimedia computer
monitor, which has built-in speakers and a microphone, you and also plug the audio cable into the Headphone
jack
on your computer to hear sound.
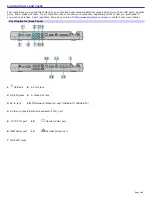
To locate the Monitor port and Headphone jack, see "Locating Controls and Ports" in the "Setting Up" chapter of
your printed VAIO
®
Computer Quick Start.
Connecting a Projector
3.
Turn on the device (if it is not already on), and then turn on your computer.
4.
Press the
Fn
+
F7
key combination to toggle the display between your computer, the monitor, or both. See
Selecting a display
for more information.
See the guide that accompanied your projector for more information on its installation and use.
Page 111
Содержание VAIO PCG-GRV670
Страница 35: ...CDs and DVDs Inserting and Ejecting CDs or DVDs Copying and Playing CDs Copying and Playing DVDs Page 35 ...
Страница 40: ...Page 40 ...
Страница 52: ...Printer Connections Printing With Your Computer Page 52 ...
Страница 55: ...See the guide that accompanied the printer for more information on its installation and use Page 55 ...
Страница 74: ...Mice and Keyboards Using the Keyboard Connecting External Mice and Keyboards Page 74 ...
Страница 84: ...Page 84 ...
Страница 87: ...Floppy Disks PC Cards and i LINK Connections Using a Floppy Disk Drive Using PC Cards Page 87 ...
Страница 99: ...Port Replicators Locating Ports and Jacks Connecting a Port Replicator Disconnecting a Port Replicator Page 99 ...
Страница 125: ...Preinstalled Programs Programs On Your Computer DVgate Program Notes Program Support Information Page 125 ...


