Menu
40
15
Press the
b
or
B
control button to select OK, and
then press the ENTER button.
The SETUP menu returns.
To return to a previous screen during
configuration
You can return to a previous screen and change settings
at any time during screens 2 through 6 of the Frame
Settings screen. To return to a previous screen, press the
v
control button to select PREV, and then press the
ENTER button.
Using an additional frame
You can use the ID PHOTO FRAME list to enable
additional frame. For details, see “Setting up a Frame for
Display During Printing” on page 37.
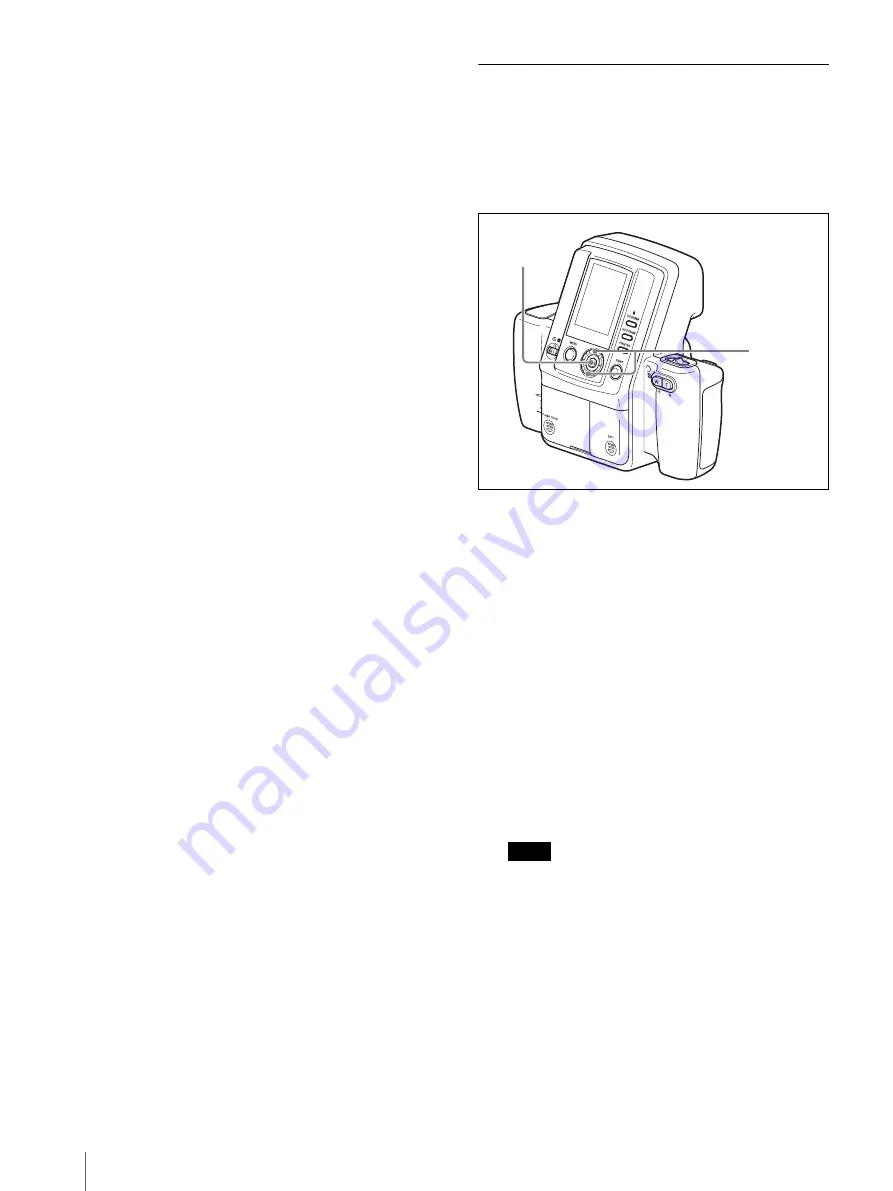
Using the Die-cut Print Function
The die-cut print function allows you to print a captured
image at a size about 3 mm larger than the selected
frame size so that it becomes the target size when the
image is cut. (This is call “die-cut print”.) To use this
function, follow the steps below to enable the die-cut
mode.
1
Display the SETUP menu.
For details on how to display this menu, see
“Displaying the SETUP Menu” on page 28.
2
Press the
v
or
V
control button to select DIE-CUT
MODE.
3
Press the ENTER button.
The DIE-CUT MODE screen appears.
4
Press the
v
or
V
control button to select ON.
5
Press the ENTER button.
The SETUP menu returns.
From now on, captured images are printed to a size
about 3 mm larger than the selected ID photo frame
size.
Note
When the die-cut print function is enabled, the
number of images printed on a single sheet of paper
may be less than with normal printing.
3, 5
2, 4
Содержание UPX-C300
Страница 140: ...Index 140 ...
Страница 211: ......


