


70
Installation and Adjustment
2
Press the MENU button, then select INPUT SETUP menu by pressing the
◊
or
√
button.
Switch IN to green by pressing the
◊
or
√
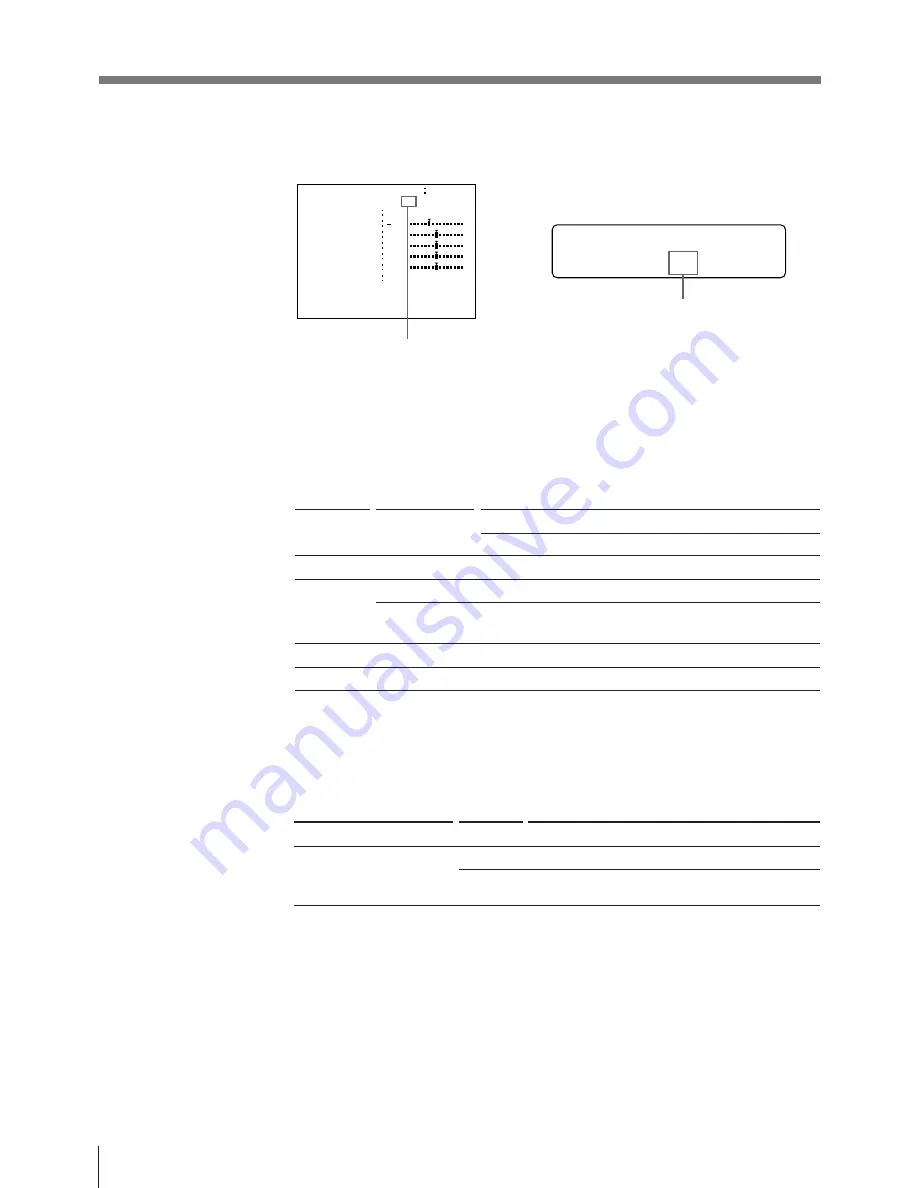
button. INPUT SETUP menu
appears.
Display IN in capital letters by pressing the
◊
or
√
button. INPUT SETUP appears.
I NP U T S E T U P
/ c / I / p / I N / o /
I NP U T SE T UP CO L OR n n n
G A I N
I NP U T SE L
/ COL / LA Y / PRN / I N / OUT /
H U E
CO L OR
O F F S E T
Q 1 A
1
S
0
0
0
2
V/ SV / RGB
A GC
O F F
/
O F F
3
Perform the adjustments as follows.
1
Select the adjustment item by pressing the
◊
or
√
button.
2
Perform the adjustment by pressing the
ı
or
∫
button.
To adjust the color intensity, hue and contrast
a) Adjust the color such that skin tones appear natural. For the COLOR and HUE adjustment, you
can correct the color intensity and hue of an NTSC composite video signal or a separated
luminance (Y) and chrominance (C) signal.
Adjustment
Hue
Color intensity
Contrast
Brightness
Menu adjustment
item
HUE
a)
COLOR
a)
OFF
GAIN
OFFSET
Button and operation result
∫
button
The hue becomes greenish.
The color intensity strengthens.
In case of the black and white
image
The contrast strengthens.
Becomes brighter
ı
button
The hue becomes purplish.
The color intensity weakens.
The contrast weakens.
Becomes darker
When the printout or monitor image appears blackish or whitish
Adjust the input signal to the optimum level for printing.
Menu adjustment item
AGC (Automatic Gain Control)
Selection
ON
OFF
When selecting
Normal (when the proper signal is input)
When the printout or monitor image appears blackish
or whitish.
Setting Up the Printer (continued)
Содержание UP-2300
Страница 115: ...115 Others ...


