


A
d
mini
s
tra
ting
t
he
Came
ra
Setting the User — User setting Menu / Setting the Security — Security setting Menu
30
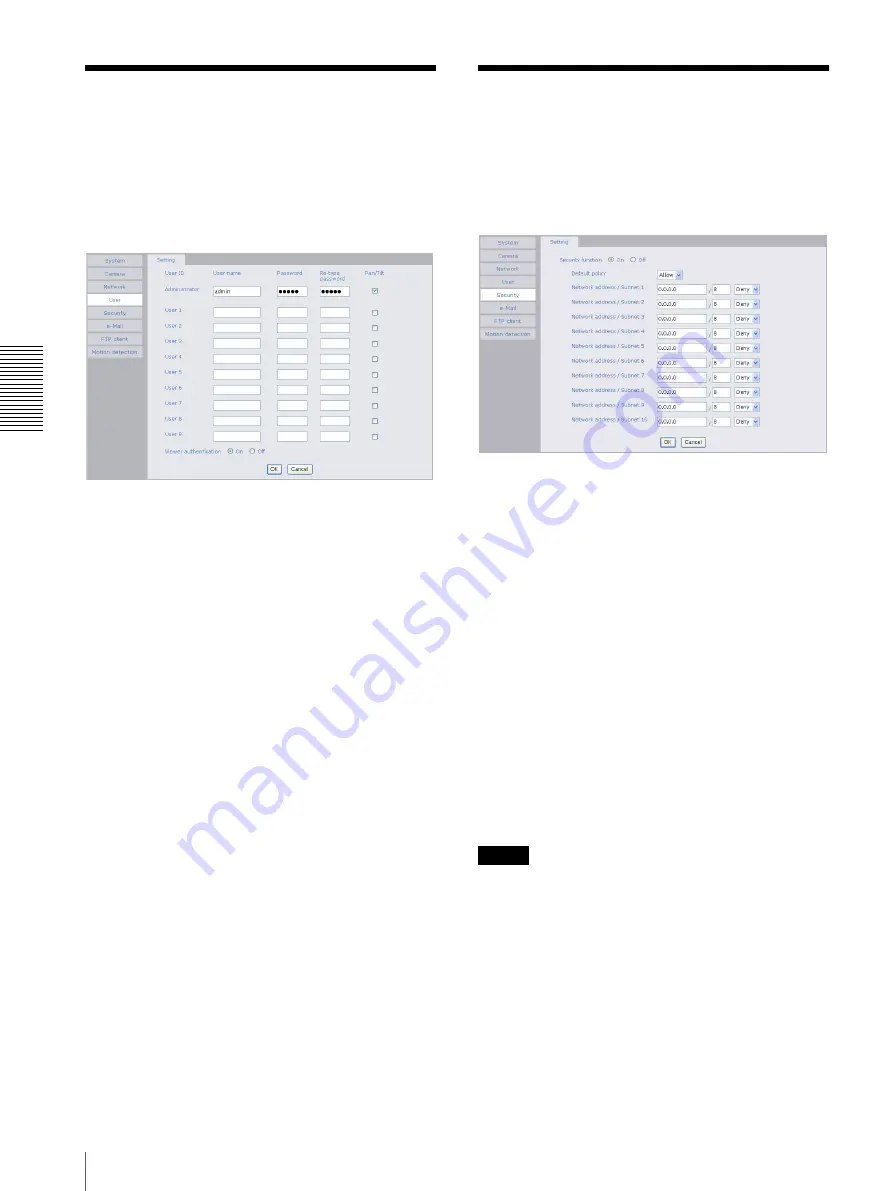
Setting the User
— User setting Menu
When you click
User
on the Administrator menu, the
User setting menu appears.
Use this menu to set the user names and passwords of
Administrator and up to 9 kinds of users (User 1 to User
9), and the access right of each user.
Administrator, User 1 to 9
Specify
User name
,
Password
,
Re-type password
and
Pan/Tilt
for each user ID.
User name
Type a user name between 5 and 16 characters.
Password
Type a password between 5 and 16 characters.
Re-type password
To confirm the password, type the same characters as
you typed in the Password box.
Pan/Tilt
Set whether or not to permit use of the Pan/Tilt function
of the camera. Check it to permit it.
Viewer authentication
Set whether the user is authenticated or not when the
main viewer is displayed.
When you select
On
, the main viewer is displayed to suit
the authenticated user. When you select
Off
, the main
viewer page can be displayed without authentication.
OK/Cancel
See “Buttons common to every setting menu” on page
19.
Setting the Security
— Security setting Menu
When you click
Security
on the Advanced mode menu,
the Security setting menu appears.
Use this menu to limit the computers that can access the
camera.
Security function
To activate the security function, select
On
.
If you do not wish to use the security function, select
Off
.
Default policy
Select the basic policy of the limit from Allow and Deny
for the computers specified on the Network address/
Subnet 1 to Network address/Subnet 10 menus below.
Network address/Subnet 1 to Network
address/Subnet 10
Type the IP addresses and subnet mask values you want
to allow or deny access to the camera.
You can specify up to 10 IP addresses and subnet mask
values. For a subnet mask, type 8 to 32.
Select
Allow
or
Deny
from the drop-down list on the
right for each IP address/subnet mask .
Tip
The subnet mask value represents the bit number from
the left of the network address.
For example, the subnet mask value for “255.255.255.0”
is 24.
If you set “192.168.0.0/24” and “Allow,” you can allow
access from the computers having an IP address between
“192.168.0.0” and “192.168.0.255”.


