– 18 –
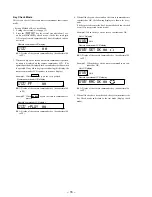
• Adjustment method of Vrem PWM Duty (H)
(item number: 766)
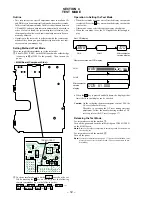
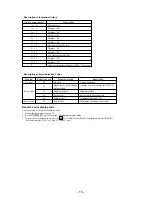
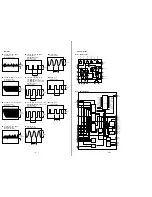
1. Connect a digital voltmeter to the TP919 (VR) on the MAIN
board, and adjust
[VOL +]
key (voltage up) or
[VOL --]
key
(voltage down) so that the voltage becomes 2.6 V.
2. When press the
X
key to write the adjusted value, LCD
displays as follows and power supply manual adjustment has
completed.
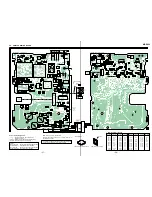
Adjustment and Connection Location: MAIN board
(see page 19)
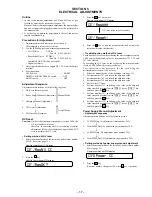
Charging Manual Adjustment
• Adjustment sequence
Adjustment must be done with the following order.
1. Charging detection set value adjustment (item number 757)
r
2. Normal charging current adjustment (item number 721)
r
3. Trickle charging current adjustment (item number 722)
• Adjustment method of charging detection set value
(item number 757)
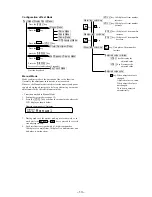
1. Connect a resistor 2.4
Ω
between TP901 (BATT+) and TP902
(BATT-) on the MAIN board.
2. Apply 2 V across TP901 (BATT+) and TP904 (SET GND),
and across TP903 (2V IN) and TP904 (SET GND) on the
MAIN board respectively.
3. Select the manual mode of the test mode, and set item number
757 (see page 13).
4. Adjust with
[VOL +]
key or
[VOL --]
key so that the adjusted
value becomes 1.
If the adjusted value is already attained, go to the next
adjustment item without pressing the
X
key.
5. Press the
X
key to write the adjusted value.
Adjustment and Connection Location: MAIN board
(see page 19)
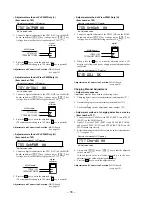
• Adjustment method of Vc PWM Duty (L)
(item number: 762)
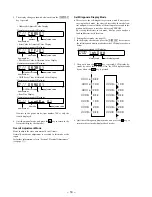
1. Connect a digital voltmeter to the TP918 (VC) on the MAIN
board, and adjust
[VOL +]
key (voltage up) or
[VOL --]
key
(voltage down) so that the voltage becomes 2.305 V.
2. Press the
X
key to write the adjusted value.
(The item number changes to 764 when
X
key is pressed)
Adjustment and Connection Location: MAIN board
(see page 19)
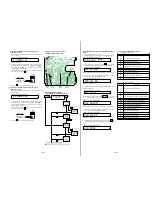
• Adjustment method of Vrem PWM Duty (L)
(item number: 764)
1. Connect a digital voltmeter to the TP919 (VR) on the MAIN
board, and adjust
[VOL +]
key (voltage up) or
[VOL --]
key
(voltage down) so that the voltage becomes 2.24 V.
2. Press the
X
key to write the adjusted value.
(The item number changes to 765 when
X
key is pressed)
Adjustment and Connection Location: MAIN board
(see page 19)
• Adjustment method of Vc PWM Duty (H)
(item number: 765)
1. Connect a digital voltmeter to the TP918 (VC) on the MAIN
board, and adjust
[VOL +]
key (voltage up) or
[VOL --]
key
(voltage down) so that the voltage becomes 2.715 V.
2. Press the
X
key to write the adjusted value.
(The item number changes to 766 when
X
key is pressed)
Adjustment and Connection Location: MAIN board
(see page 19)
digital
voltmeter
MAIN board
TP919 (VR)
TP904 (SET GND)
+0.06
–0
digital
voltmeter
MAIN board
TP918 (VC)
TP904 (SET GND)
+0.03
–0
digital
voltmeter
MAIN board
TP918 (VC)
TP904(SET GND)
digital
voltmeter
MAIN board
TP919 (VR)
TP904 (SET GND)
762
Vc1PWM **
Remote commander LCD display
**
: Adjusted value
764
Vr1Vc1
**
Remote commander LCD display
**
: Adjusted value
765
VchPWM
**
Remote commander LCD display
**
: Adjusted value
+0.075
–0
766
VrhVch
**
Remote commander LCD display
**
: Adjusted value
036
ADJ
OK
Remote commander LCD display
+0.02
–0.01
757
Chg-dV **
Remote commander LCD display
**
: Adjusted value

