


113
Selecting the Input Picture and Sound
C
h
a
p
te
r 3:
B
a
si
c
C
o
nn
ect
ion
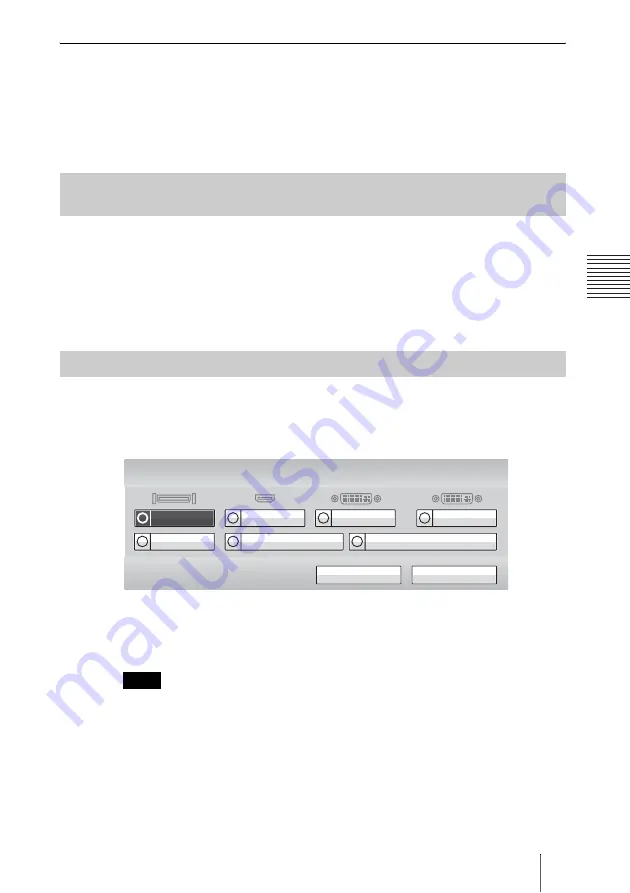
To change the video input name displayed in the Video Input menu
You can label the desired name for each video input on the Custom Input Label
page in the Video setup menu. When you switch the video input in step 2
above, the name you set is displayed in the Video Input menu.
For example, you can label: Camera1, PC, None, etc.
For details, see“Custom Input Label” in the Video setup menu on page 49.
If you assign the video input (Camera or HDMI-IN(PC)) to any of the F1 to F4
buttons on the Remote Commander in “Function Keys in Communication” of
the General setup menu, you can quickly switch the video input only by
pressing one of the F1 to F4 buttons.
For details, see “Function Keys in Communication” in the General setup
menu on page 56.
You can switch the picture output from the remote system during
communication.
Press the VIDEO INPUT button, then F1 button on the Remote Commander.
The Video Input > Far menu appears.
Use the
V
,
v
,
B
or
b
button on the Remote Commander to select the picture
output from the equipment connected to the remote system, then press the
ENTER button. The selected picture is input to the local system and is
displayed on the monitor screen.
You can only select the picture that can be output from the remote system.
Selecting the Video Input Using the F1 to F4 (Function) Buttons on
the Remote Commander
Switching the Picture from the Remote System
Note
Save
Cancel
Sub Document Camera
Document Camera
Sub Camera
CAMERA
Video Input > Far
DVI-I 2
DVI-I 1
HDMI
Содержание Ipela PCS-XC1
Страница 190: ...Sony Corporation ...


