1-12
50
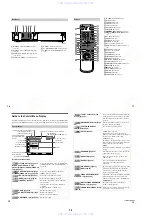
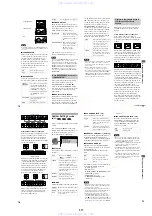
When you select
“
AUDIO,
”
the channels
being played are displayed on the screen.
For example, in Dolby Digital format,
multiple signals ranging from monaural to
5.1 channel signals can be recorded on a
DVD. Depending on the DVD, the number of
the recorded channels may differ.
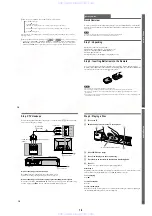
*
“
PCM,
”
“
DTS,
”
or
“
DOLBY DIGITAL
”
is
displayed.
In the case of
“
DOLBY DIGITAL,
”
the
channels in the playing track are displayed
by numbers as follows:
For Dolby Digital 5.1 ch:
**The letters in the program format display
mean the following sound component:
L:
Front (left)
R :
Front (right)
C :
Center
LS : Rear (left)
RS : Rear (right)
S :
Rear (monaural): The rear
component of the Dolby Surround
processed signal or the Dolby
Digital signal.
LFE :Low Frequency Effect signal
The display examples are as follows:
•
PCM (stereo)
•
Dolby Surround
•
Dolby Digital 5.1ch
“
LFE
”
is always enclosed in a solid line
regardless of the LFE signal component
being output.
•
DTS
“
LFE
”
is always enclosed in a solid line
regardless of the LFE signal component
being output.
Notes
•
When the signal contains rear signal components
such as
“
LS,
”
“
RS
”
or
“
S,
”
the surround effect is
enhanced (page 51).
•
If
“
DTS
”
is set to
“
OFF
”
in
“
AUDIO SETUP
”
(page
75), the DTS track selection option will not appear
on the screen even if the disc contains DTS tracks.
Displaying the audio information of
the disc
DVD
1: ENGLISH
1 8 ( 3 4 )
1 2 ( 2 7 )
T 1 : 3 2 : 5 5
L
R
C
DOLBY DIGITAL 3/2.1
PROGRAM FORMAT
LFE
LS
RS
PLAY
Current audio format
*
Currently playing program format
**
DOLBY DIGITAL 3 / 2
.
1
LFE (Low Frequency
Effect) component 1
Rear
component 2
Front component 2 +
Center component 1
PCM 48kHz 24bit
PROGRAM FORMAT
DOLBY SURROUND
DOLBY DIGITAL 2/0
L
R
C
S
PROGRAM FORMAT
L
R
C
DOLBY DIGITAL 3/2.1
PROGRAM FORMAT
LFE
LS
RS
L
R
C
DTS 3/2.1
PROGRAM FORMAT
LFE
LS
RS
So
und Adj
u
s
tme
nt
s
51
TV Virtual Surround Sound
Settings
(TVS)
When you connect a stereo TV or 2 front
speakers, TV Virtual Surround lets you enjoy
surround sound effects by using sound
imaging to create virtual rear speakers from
the sound of the front speakers (L: left, R:
right) without using actual rear speakers.
This function is designed to work with the
LINE OUT L/R (AUDIO) 1/2 jacks.
Note that if you select one of the TVS settings
while playing a DVD, the player does not
output Dolby Digital signals from the
DIGITAL OUT (COAXIAL and OPTICAL)
jacks (when you set
“
DOLBY DIGITAL
”
in
“
AUDIO SETUP
”
to
“
D-PCM
”
) (page 75).
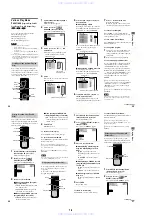
1
Press DISPLAY during playback.
The Control Menu appears.
2
Press
X
/
x
to select
(TVS), then press ENTER.
The options for
“
TVS
”
appear.
3
Press
X
/
x
to select one of the TVS
(TV Virtual Surround) sounds.
Refer to the following explanations
given for each item.
•
TVS DYNAMIC
•
TVS WIDE
•
TVS NIGHT
•
TVS STANDARD
4
Press ENTER.
To reset the TVS setting
Select
“
OFF
”
in Step 3.
To turn off the Control Menu
Press DISPLAY repeatedly until the Control
Menu is turned off.
TVS (TV Virtual Surround) DYNAMIC
Uses sound imaging to create virtual rear
speakers from the sound of the front speakers
(L/R) without using actual rear speakers
(shown below). The sound imaging effect is
distinct and clearly reproduces each aural
element of the audio track.
This mode is effective when the distance
between the front L and R speakers is short,
such as with built-in speakers on a stereo TV.
ENTER
X
/
x
DISPLAY
SURROUND
TVS DYNAMIC
OFF
TVS WIDE
OFF
1 8 ( 3 4 )
1 2 ( 2 7 )
T 1 : 3 2 : 5 5
DVD
VIRTUAL 3D SURROUND
PLAY
TV
continued
52
TVS (TV Virtual Surround) WIDE
Uses sound imaging to create virtual rear
speakers from the sound of the front speakers
(L/R) without using actual rear speakers. The
virtual speakers are reproduced as shown in
the illustration below. This gives the sound
an expanded effect that fills the area
surrounding the listener.
This mode is effective when the distance
between the front L and R speakers is short,
such as with built-in speakers on a stereo TV.
TVS (TV Virtual Surround) NIGHT
t want to disturb other people but still
want to hear the dialog and enjoy the
surround sound effects of TVS WIDE.
TVS (TV Virtual Surround) STANDARD
Uses sound imaging to create virtual rear
speakers from the sound of the front speakers
(L/R) without using actual rear speakers. The
virtual speakers are reproduced as shown in
the illustration below. Use this setting when
you want to use TVS with 2 separate speakers
and retain the sound quality.
z
You can select
“
TVS
”
directly by pressing
SURROUND on the remote or player.
Each time you press the button, the item changes.
If you select any TVS setting other than
“
OFF,
”
the
indicator on the player lights up.
Notes
•
When you select an effect, the sound cuts off for a
moment.
•
When the playing signal does not contain a signal for
the rear speakers (page 50), the surround effects may
be difficult to hear.
•
When you select one of the TVS modes, turn off the
surround setting of the connected TV or amplifier
(receiver).
•
Make sure that your listening position is between
and at an equal distance from your speakers, and that
the speakers are located in similar surroundings.
Otherwise, the TVS effect may be hard to discern.
TVS NIGHT only works with Dolby Digital discs.
However, not all discs will respond to the TVS
NIGHT function in the same way.
If you use the DIGITAL OUT (OPTICAL or
COAXIAL) jacks, the sound output from your
speakers will not have the TVS effect.
L : Front speaker (left)
R : Front speaker (right)
: Virtual speaker
TV
L
R
E
n
joying M
o
v
ies
53
Enjoying Movies
Changing the Angles
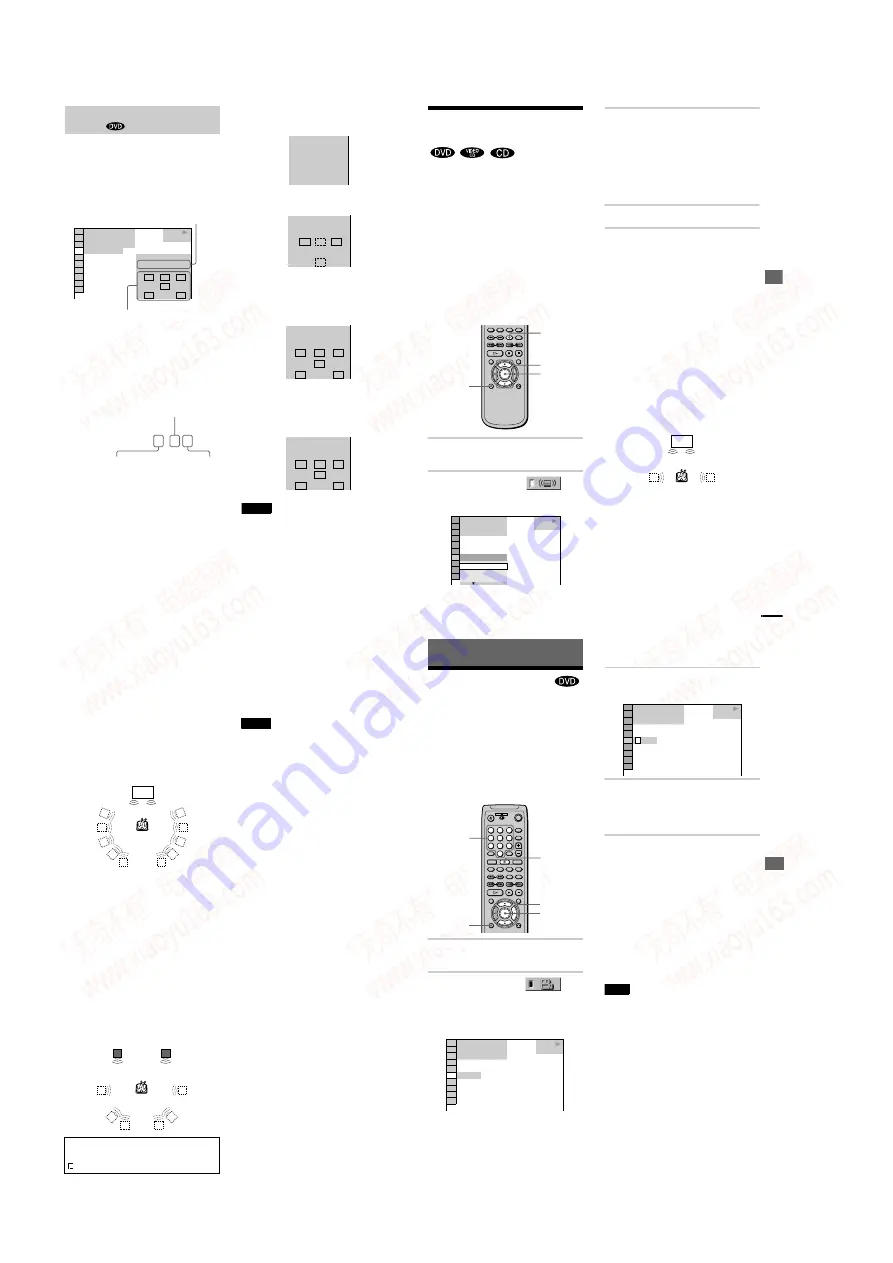
If various angles (multi-angles) for a scene
are recorded on the DVD,
“
ANGLE
”
appears
in the front panel display. This means that
you can change the viewing angle.
For example, while playing a scene of a train
in motion, you can display the view from
either the front of the train, the left window of
the train, or from the right window without
having the train
’
s movement interrupted.
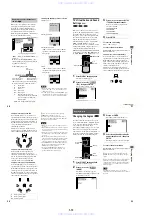
1
Press DISPLAY during playback.
The Control Menu appears.
2
Press
X
/
x
to select
(ANGLE).
The number of the angle appears.
The number in parentheses indicates the
total number of angles.
3
Press
c
or ENTER.
The number of the angle changes to
“
-.
”
4
Select the angle number using the
number buttons or
X
/
x
, then press
ENTER.
The angle changes to the selected angle.
To turn off the Control Menu
Press DISPLAY repeatedly until the Control
Menu is turned off.
z
You can select the angle directly by pressing
ANGLE. Each time you press the button, the angle
changes.
z
You can display all the angles recorded on the disc
on the same screen, and start playback directly in
continuous mode from the chosen angle. The angles
are displayed on a screen divided in 9 sections. For
details, see page 43.
Note
Depending on the DVD, you may not be able to
change the angles even if multi-angles are recorded on
the DVD.
1
2
3
4
5
6
7
8
9
0
ENTER
X
/
x
/
c
Number
Buttons
ANGLE
DISPLAY
1 8 ( 3 4 )
1 2 ( 2 7 )
T 1 : 3 2 : 5 5
DVD
1 ( 9 )
PLAY
1 8 ( 3 4 )
1 2 ( 2 7 )
T 1 : 3 2 : 5 5
DVD
PLAY
–
( 9 )
www. xiaoyu163. com
QQ 376315150
9
9
2
8
9
4
2
9
8
TEL 13942296513
9
9
2
8
9
4
2
9
8
0
5
1
5
1
3
6
7
3
Q
Q
TEL 13942296513 QQ 376315150 892498299
TEL 13942296513 QQ 376315150 892498299


