1-7
41
English
Resetting the data to the factory preset levels
There are three options for resetting the adjustment data to the
factory preset levels.
GEOM RESET: Resets ZOOM, H/V SIZE and H/V CENT
currently in use.
COLOR RESET: Resets CONTRAST, PHASE and CHROMA
currently in use.
ALL RESET:
Resets all user adjustment items to the factory
preset data and clears the memory contents.
The operation procedures are the same for the three options.
1
Press the MENU button.
The MENU 1 screen appears.
2
Press the CENT
◊
/
√
button to move the cursor (
z
) to
GEOM RESET, COLOR RESET or ALL RESET, and press the
ENTER button.
3
Press the CENT
◊
/
√
button to move the cursor to
EXECUTE, and press the ENTER button.
The adjustment data are reset to the factory preset levels.
To cancel resetting
Press the MENU button, or select CANCEL in step 3 above and
press the ENTER button.
Using the test pattern
You can use the built-in test patterns to adjust the monitor or
prejector screen.
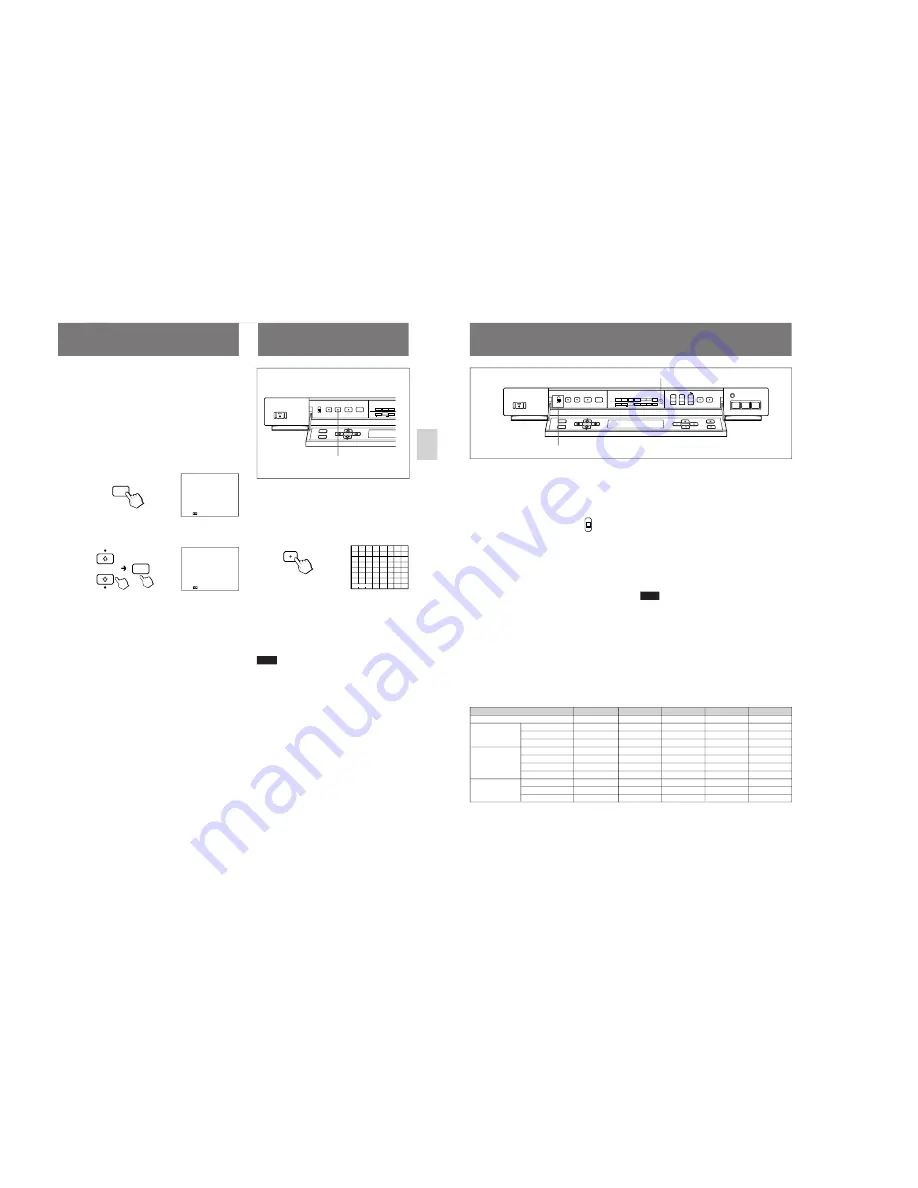
Press the TEST PATTERN button.
Each time you press TEST PATTERN, the following test
patterns appear in sequence.
Hatch
m
Box
m
Color bar
m
Gray scale
m
OFF (input signal)
m
Hatch
m
...
The selected test pattern name is displayed on the screen for
about 3 seconds.
To restore the normal screen
Press the TEST PATTERN button repeatedly until no test
pattern is displayed. Pressing the ON/OFF switch, INPUT
SELECT buttons or OUTPUT FORMAT button also restores
the normal screen.
Note
When the test pattern is displayed, only the ON/OFF switch,
and the INPUT SELECT, OUTPUT FORMAT, MENU and
CENT
◊
/
√
buttons will function.
Example: Hatch
TEST PATTERN button
MENU
MENU 1
z
MEM LOAD
MEM SAVE
GEOM RESET
COLOR RESET
ALL RESET
INDEX NO.
LANGUAGE
USE: ENTER NEXT:MENU
ENTER
CENT
ALL RESET
z
CANCEL
EXECUTE
USE: ENTER CANCEL: MENU
NTSC
NTSC
IN
OUT
PAL
PAL
31.5k
31.5k
SIGNAL FORMAT
OUTPUT
FORMAT
LINE
DOUBLER
TEST
PATTERN
DISPLAY
ON/OFF
TV
PJ
OFF
COMMAND
MODE
ON/OFF
MENU
ENTER
CENT
S
GEN-LOCK
TEST
PATTERN
HATCH
42
Remote commander model
RM-854
RM-1271
RM-PJ1292
RM-PJ350
RM-PJC520
COMMAND MODE setting
TV
PJ
PJ
PJ
PJ
Input selection
INPUT SELECT 1
LINE1
VIDEO
VIDEO
VIDEO1
1
INPUT SELECT 2
LINE2
A
A
VIDEO2
2
INPUT SELECT 3
LINE3
B
B
RGB
3
Menu operation
MENU
MENU
PAGE or
?
PAGE or
?
PAGE or
?
PAGE
ENTER
ENTER
/
/
/
M SEL
CENT
◊
>
>
>
>
>
CENT
√
.
.
.
.
.
Picture adjustment
CONTRAST
CONTRAST
CONTR
CONTR
CONTR
CONTR
CHROMA
CHROMA
COLOR
COLOR
COLOR
–
PHASE
PHASE
HUE
HUE
HUE
–
Using the remote commander
This unit accepts wireless or wired remote commanders for
Sony monitors, TVs and projectors.
Setting the type of the remote commander
Set the COMMAND MODE selector according to the type of
the remote commander.
TV: Sony monitors' or TVs'
commander
PJ: Sony projectors' commander
OFF: When not using the remote
commandder, set to this
position to avoid malfunction.
Available remote commander operations
The following operations can be controlled by the remote
commander.
• Power on/off
• Input selection
• Picture adjustments: contrast, phase and chroma
• On-screen display on/off (only for video monitors and TVs)
• Menu operations (See the right column.)
• Direct memory loading (See the right column.)
The available operations and the buttons to be used for each
operation are limited depending on each remote commander.
See the table below.
Direct memory loading
The remote commander can quickly call up the adjustment
data stored in the memory.
1
Press buttons 7, 7, 7 and ENTER on the remote
commander in sequence at intervals of one second.
The “MEMORY LOAD READY” appears on the screen.
2
Select the memory number (1 to 5) you want to call up
using the number button.
The converter is adjusted to the selected memory data.
To cancel the operation
Press buttons 0, 0, 0 and ENTER on the remote commander in
sequence at intervals of one second. The “MEMORY LOAD
EXIT” appears on the screen.
The direct memory load operation is also cancelled by turning
off the unit.
Note
Be sure to press buttons 7, 7, 7 and ENTER, or 0, 0, 0 and
ENTER at intervals of about one second.
If more than 3 seconds elapse between two presses, the
operation will be cancelled. In this case, start again.
Menu operation using the remote commander
The menu screens for the remote commander are different
from those for the main unit.
When you press the menu button (MENU, PAGE or
?
) on the
remote commander once or twice, the GEOM MENU or
COLOR MENU appears respectively.
Select the item with the
>
/
.
button and press the enter button
(ENTER,
/
or M SEL) on the remote commander. Then
adjust the selected item using the
>
/
.
button.
Remote sensor
COMMAND MODE selector
NTSC
NTSC
IN
OUT
PAL
PAL
31.5k
31.5k
37k
37k
48k
48k
64k
OTHERS
64k
1080i
SIGNAL FORMAT
CHROMA
CONTRAST
APERTURE
OUTPUT
FORMAT
LINE
DOUBLER
OVER FLOW
STILL
OPEN
SCAN CONVERTER DSC-1024HD
INPUT SELECT
PHASE
1
2
3
TEST
PATTERN
DISPLAY
ON/OFF
TV
PJ
OFF
COMMAND
MODE
ON/OFF
MENU
ENTER
CENT
ZOOM
SIZE
V
V
H
H
S
GEN-LOCK
TV
PJ
OFF
COMMAND
MODE
Содержание DSC-1024HD
Страница 20: ...DSC 1024HD 3 5 MEMO ...
Страница 43: ...DSC 1024HD MEMO 5 3 ...


