


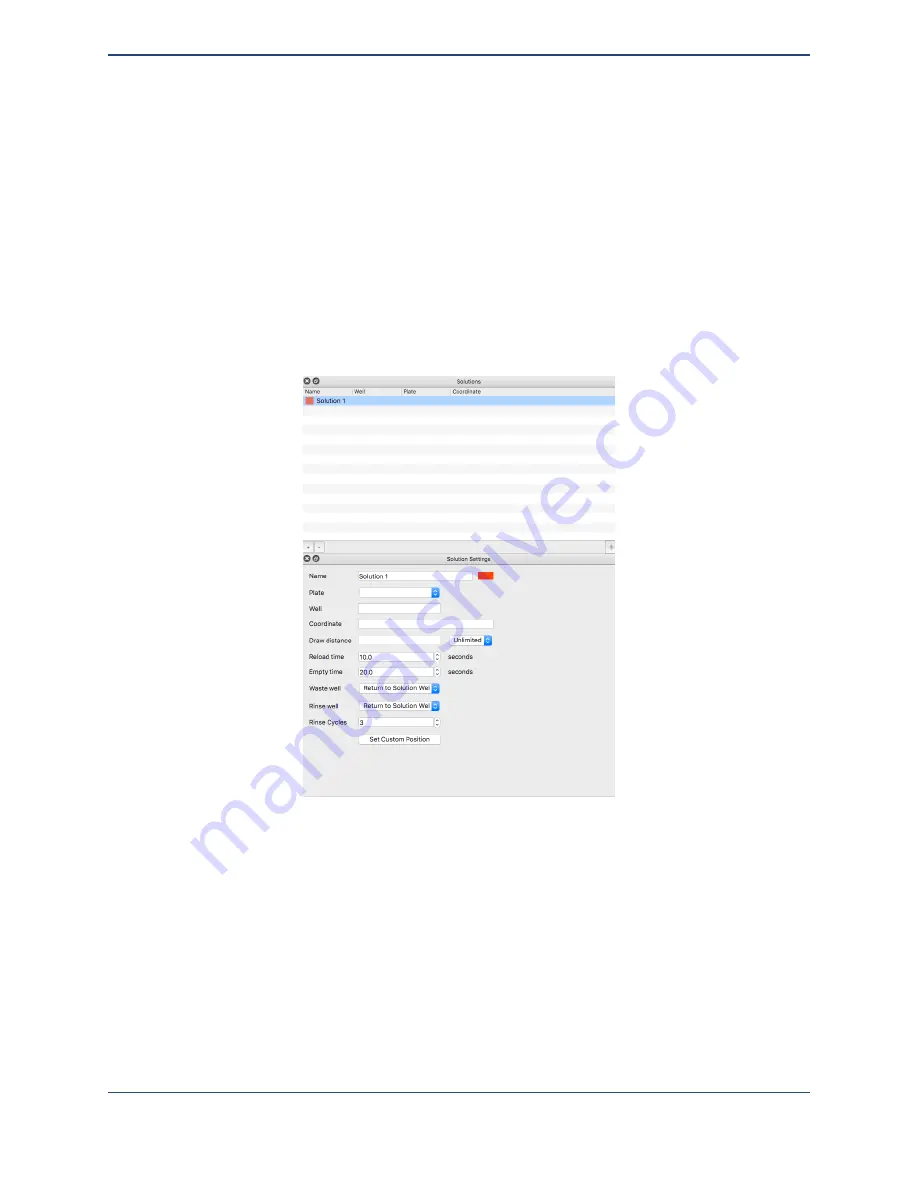
The first window is a list of solutions. Each solution can be selected by clicking on its name.
New solutions can be added to the list by clicking the plus button, and old solutions can be
removed by clicking the minus button. When first adding a solution, you will be given the chance
to edit its name. If you want to edit a solution’s name after that, click twice on the name in the
list.
When a solution has been selected, its properties will appear on the Solution Settings window.
In addition to solution wells, locations for rinse solvents and waste wells can be set. These can
be shared between solutions, or they can be different for each solution.
The easiest way to set up many solutions is to place those solutions within a 96- or 384-well
micro titer plate. If you have done this, then all you need to do to specify their position in the
Solution Plates window. Right click on the desired well and the list of solutions will appear.
Select the desired solution to set the well for that solution.
46
Содержание MICROPLOTTER Proto
Страница 2: ......
Страница 4: ...Dispenser refurbishing 58 Revision History 60 3...
Страница 6: ......
Страница 10: ......
Страница 16: ...Select the components to install 13...
Страница 17: ...Select where you would like to create SonoGuide s shortcut SonoGuide is ready to be installed 14...
Страница 21: ...Fully installed Microplotter Proto system 18...
Страница 22: ......
Страница 58: ......
Страница 62: ......
Страница 64: ......
Страница 66: ...59...


