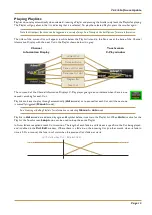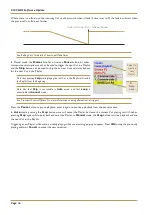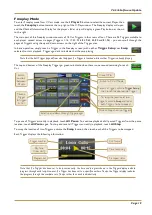
V4.2/6 Software Update
Page 17
Creating and Editing Playlists
To edit a Playlist (or to create a new Playlist based on an old one), use the
Master
Scroller to select the Playlist, then touch
Playlist Edit
.
Note that if you are creating a new Playlist based on an old one, remember to use the
Save As
function, to avoid losing
the original Playlist!
To create a Playlist from scratch, use the
Master
Scroller to select the
< new playlist>
option in the Playlist list.
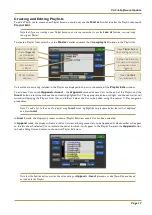
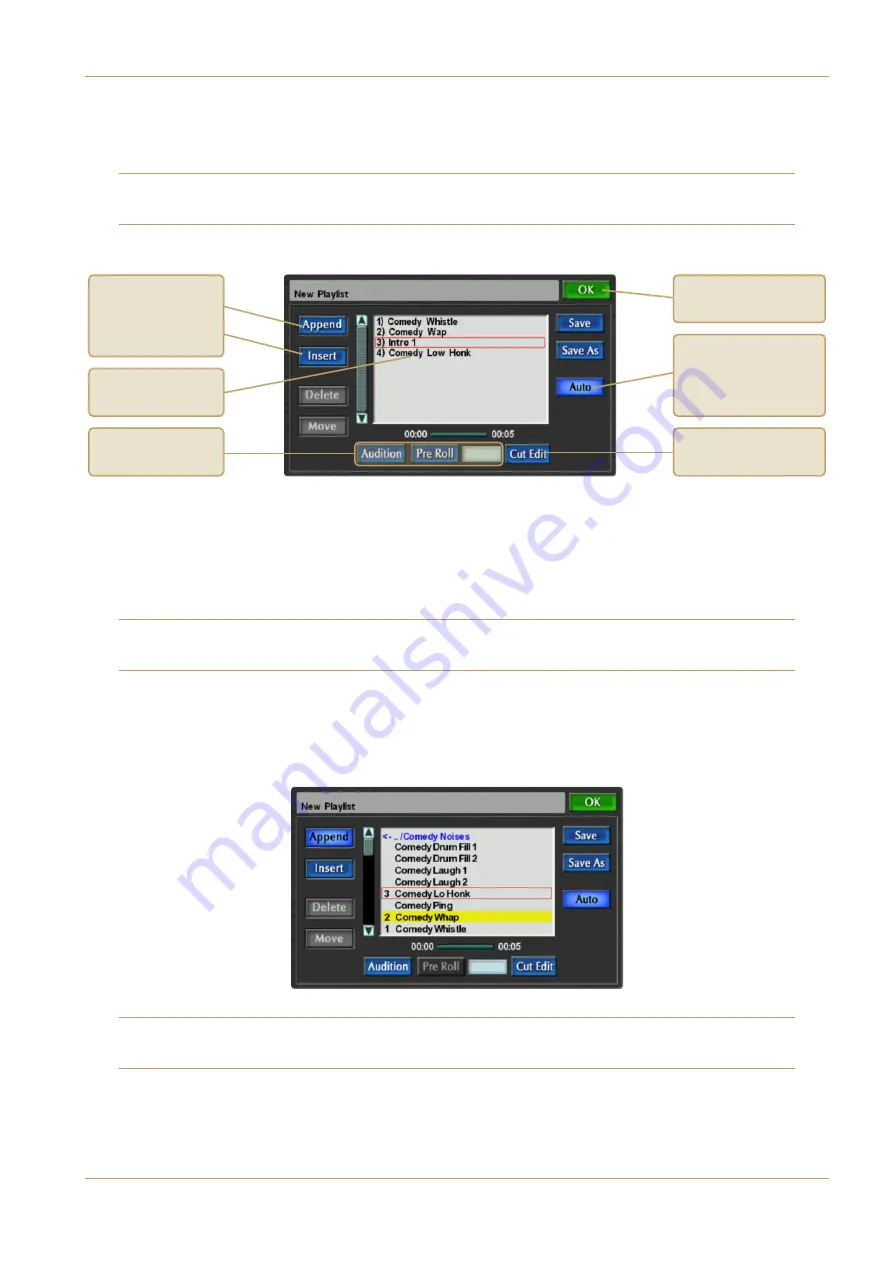
Cuts which are currently included in the Playlist are displayed in the list in the centre of the
Playlist Edit
window.
To add new Cuts, touch
Append
or
Insert
– the
Append
button adds new Cuts to the end of the Playlist, and the
Insert
button inserts them above the currently highlighted Cut. The appropriate button will light, and the central list will
switch to displaying the Player’s Cuts files and folders. Select the Cut to be added, using the normal C-Play navigation
procedures.
Note: To add a Cut to the end of a playlist using
Insert
mode, highlight the empty space below the last Cut displayed
and press
Insert
.
In
Insert
mode, the display will revert to normal Playlist Edit view once a Cut has been selected.
In
Append
mode, the display will remain in Cut List view, allowing more Cuts to be Appended. A black number will appear
to the left of each selected Cut to indicate the order in which it will appear in the Playlist. Re-press the
Append
button
to finish adding Cuts and return to the normal Playlist Edit view.
Note that the Audition button must not be active during an
Append
or
Insert
procedure, or else files will be auditioned,
not added to the Playlist.
Cuts currently
in Playlist
Close
Playlist Edit
, or
finish adding new Cuts
Playlist Audition
controls
Add Cuts to Playlist,
at end (
Append
)
or at selected
location (
Insert
)
Define whether each
Cut plays automatically
or requires manual
triggering
Open
Cut Edit
for selected Cut


