Lit. No. 43755/43757/43873, Rev. 01
19
March 15, 2016
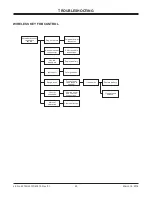
WIRELESS CONTROL PROGRAMMING AND PAIRING
PROGRAMMING AND PAIRING THE
WIRELESS KEY FOB CONTROL
Resetting the Wireless Control Module
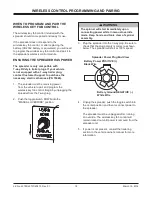
Push and hold the
toggle switch UP into the
"LEARN MODE" position
for 15 seconds and then
release. This erases
all previously paired
wireless key fob controls
from memory.
A wireless key fob control
must be paired before the
spreader will operate.
Programming the
Wireless Key Fob Control
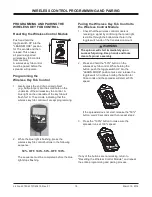
1. Gently press the end of a pointed object
(e.g., ballpoint pen) into the small hole on the
underside of the wireless key fob control. A
blue light on the underside of the key fob will
flash for 10–15 seconds, indicating that the
wireless key fob control will accept programming.
2.
While the blue light is flashing, press the
wireless key fob control buttons in the following
sequence:
50%, OFF, 100%, 50%, OFF, 100%
.
The sequence must be completed before the blue
light stops flashing.
Light
Button
Pairing the Wireless Key Fob Control to
the Wireless Control Module
1. Check that the wireless control module is
receiving a signal by confirming that a red light
is visible through the bottommost hole in the
toggle switch‑side of the transmission mount.
2. Press and hold the "50%" button on the
wireless key fob control. While holding the
button, push the toggle switch UP into the
"LEARN MODE" position twice and release the
toggle switch. Continue holding the button for
30 seconds and the spreader will start at 50%
speed.
If the spreader does not start, release the "50%"
button, wait 20 seconds and then repeat step 2.
3. Press the "100%" button to make sure the
spreader runs at 100% speed.
If any of the buttons are not working, return to
"Resetting the Wireless Control Module," and repeat
the entire programming and pairing process.
WARNING
The spinner will start immediately upon
successful pairing. Keep hands and tools
clear of spinner assembly.

