17 • EN
Return to contents
( S6800 & S8100 V1.0 EN 3/21 )
Satellite Navigation
1. Starting Up
First make sure your vehicle is parked in as open a space as possible, clear of tall trees and
buildings so that the built in GPS antenna has a clear view of the sky above. Next switch ON the
unit by pressing and holding the standby power switch on the top of the unit for 2 seconds.
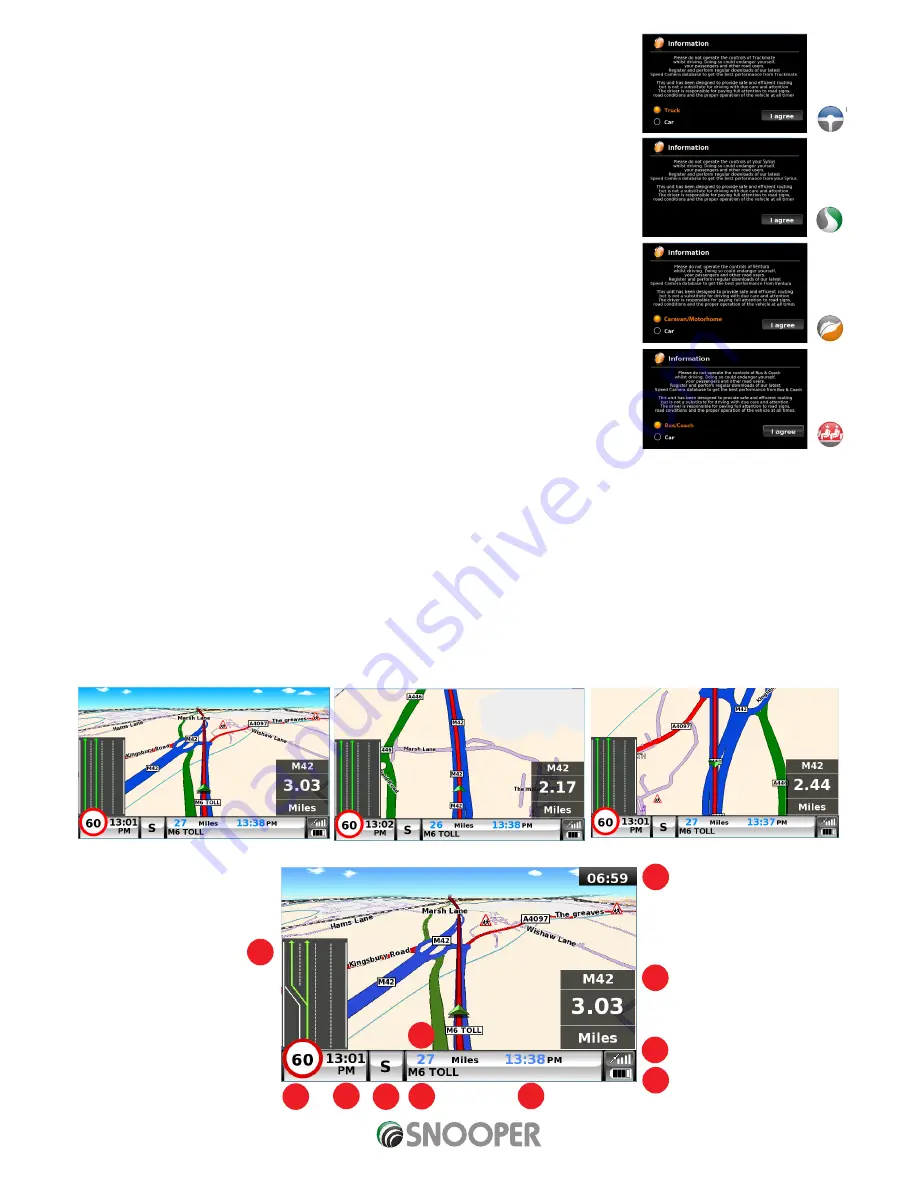
The following warning will be displayed.
Please do not operate the controls of Snooper whilst driving. Doing so could
endanger yourself, your passengers and other road users. Snooper has been
designed to provide safe and efficient routing but is not a substitute for driving with
due care and attention. The driver is responsible for paying full attention to road
signs, road conditions and the operation of the vehicle at all times.
Please read the warning ‘and select the relevant vehicle type (where applicable).
Press “I Agree” to continue.
Whilst Snooper software is loading, a start-up display will be shown for just a few seconds and
then the screen will show a section of a map. Note: the factory default location is ‘Toft Road’.
Snooper needs to acquire a minimum of four satellites in order to work. Once this has been
achieved Snooper will ascertain your position and this will be indicated by a green arrow icon on the on-screen map and the GPS
signal strength will be shown in the bottom right hand corner of the display. Snooper is now ready to navigate.
As the GPS engine and antenna have never been used before, the first ‘Cold’ start can take anywhere from 15 – 30 minutes to
establish a satellite connection. Once initialised, subsequent start ups will take less time and eventually should take only a matter
of minutes.
2. Easy Set Up
2.1 Screen settings
There are a number of map views or different types of information that can be displayed on the screen at any one time:-
Screen views
3D
2D
North
1
2
3
4
5
6
7
8
9
10
11


