3
unit assembly
6
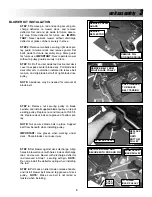
STEP 7:
Slip tube of locking pin bracket into blow-
er mount, and secure with T-handle pin, making
sure pin goes through both upper and lower holes
in blower mount. Then align base of pin bracket
parallel with rear of deck, and, using bracket as a
template, drill two 7/16” holes through deck. Insert
two 3/8-16 x 1” hex bolts up through deck and
bracket, securing with hex flange lock nuts.
Tighten securely.
IMPORTANT:
Use gloves when
working under deck. Sharp blades can cause
injury.
STEP 8:
Lay supplied pulley guard onto deck,
aligning holes in guard with holes in deck. Install
with bolts securing original guard, tightening
securely.
NOTE:
48” deck shown; 52” and 61” deck guard
configurations may differ.
STEP 6a:
Remove bolts securing impeller pulley
cover to blower, and remove cover.
STEP 6b:
Check to see that blower belt is routed
around impeller pulley and idler pulleys after belt is
installed onto deck pulley. Replace cover, tighten-
ing bolts securely.
IMPORTANT:
Never operate
any mower without a pulley guard securely in
place.
REMOVE BOLTS,
THEN REMOVE
COVER
CHECK TO SEE
THAT BELT IS
ON PULLEYS
INSERT
PIN
DRILL
HOLES &
INSTALL
BOLTS
ALIGN
BRACKET
WITH REAR
OF DECK
INSTALL
BOLTS
Содержание 7011299
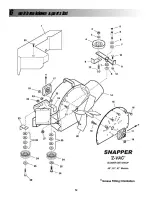
Страница 12: ...6 unit breakdown parts list 12 ...
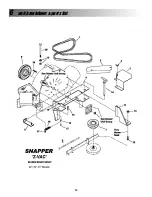
Страница 14: ...6 unit breakdown parts list 14 ...
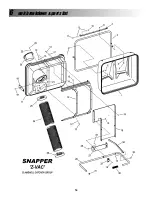
Страница 16: ...6 unit breakdown parts list 16 ...
Страница 18: ...6 unit breakdown parts list 18 ...
Страница 20: ...6 unit breakdown parts list 20 ...
Страница 22: ...6 unit breakdown parts list 22 ...


