10
INSTALLATION
Make sure that the supply voltage is 230 volt and a minimum
of 30 amp service. When mounting a plug, make sure it has
an adequate capacity, and that the
"yellow/green
conductor"
of the power supply cable is connected to the
ground or “earth” terminal. The blue and brown wires need
to be connected to the “hot leg” terminals
WARNING
Only skilled personnel should install the machine. All
connections must be carried out according to current
regulations.
See complete listing of safety messages at the beginning of
this manual.
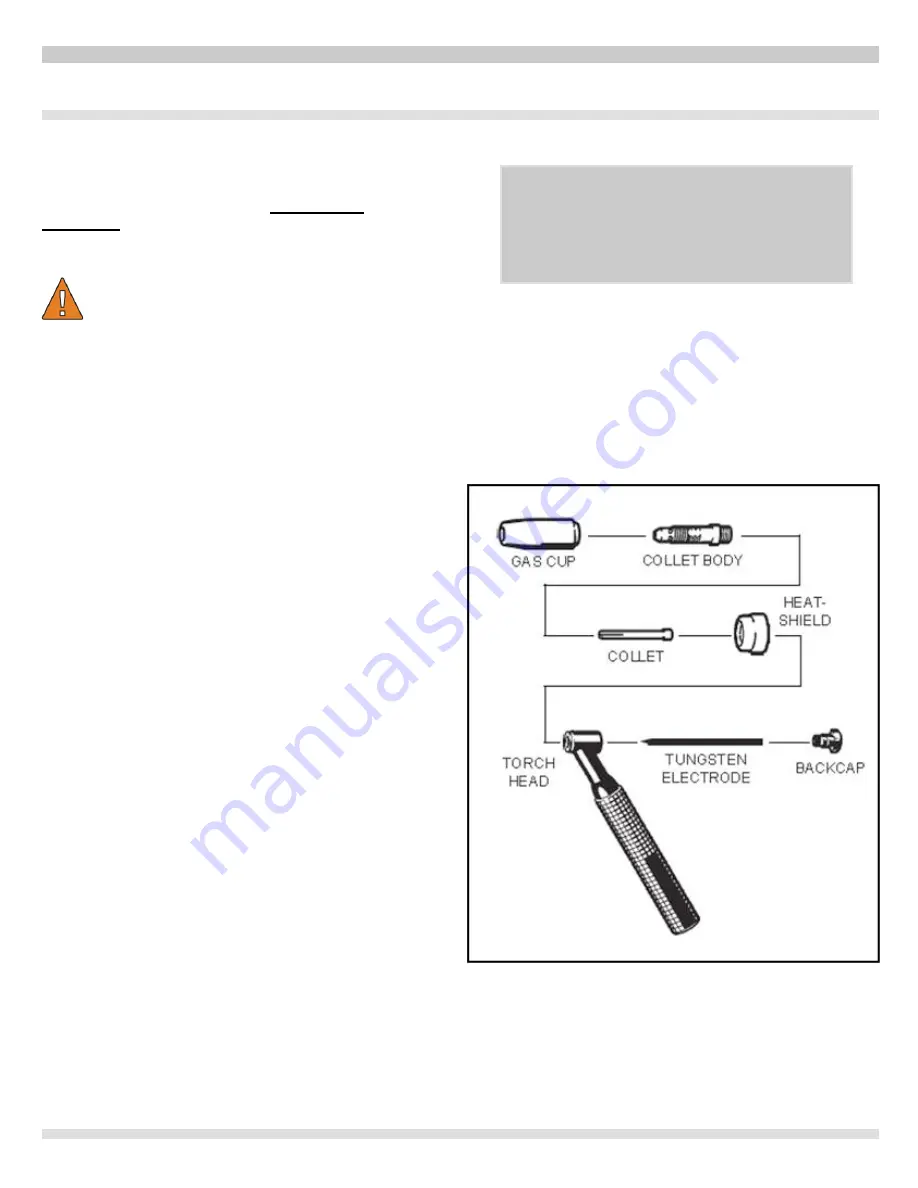
TORCH HEAD ASSEMBLY
1. Select the size tungsten electrode to be used
– see table A
2. Make sure the Teflon heat shield is in place.
3. Locate the matching size Collet and Collet body.
4. Drop the Collet, slit-end down, into the Collet body.
5. Screw assembly into the torch head, heat shield side,
and tighten firmly.
6. Install a Gas cap, screw into place seating the cup
against the Teflon heat shield.
7. Insert tungsten electrode, prepped end first, thru the
torch head, Collet and center hole of the Collet body.
8. Allow tungsten electrode to extend past the cup ~ 3
times the electrode diameter.
9. Screw Backcap into torch head and tighten firmly.
Review the exploded view on the next page.
ASSEMBLING THE UNIT/START UP GUIDE
For detailed machine start up see
“SETTING UP YOUR NEW
TIG WELDING SYSTEM”
.


