background image


Cleaning the burner assembly 

 
Follow these instructions to clean 
1.


Turn gas off at control knob and LP Tank. 

2.


Remove cooking grates, grease tray and grease cup. 

3.


Remove screw at end of burner using a screwdriver. 

4.


Carefully lift each burner up and away from valve openings. 

5.


Wire brush entire outer surface of burner to remove food residue and dirt. 

6.


Clean any blocked ports with a stiff wire such as an open paper clip. 

7.


Check burner for damage, due to normal wear and corrosion some holes may become enlarged. If any large cracks 
or holes are found replace burner. 

8.


Carefully refit burners. 

9.


Replace screw at the end of burner. 

10.


Replace grease tray and cooking grates. 


Inspect burner for any damage (cracks or holes).    If damage is found, replace with a new burner.    Reinstall the 
burner, check to ensure that the Gas valve orifices are correctly positioned and secured inside the burner inlet. 


We suggest three ways to clean the burner tubes. Use the one easiest for you. 


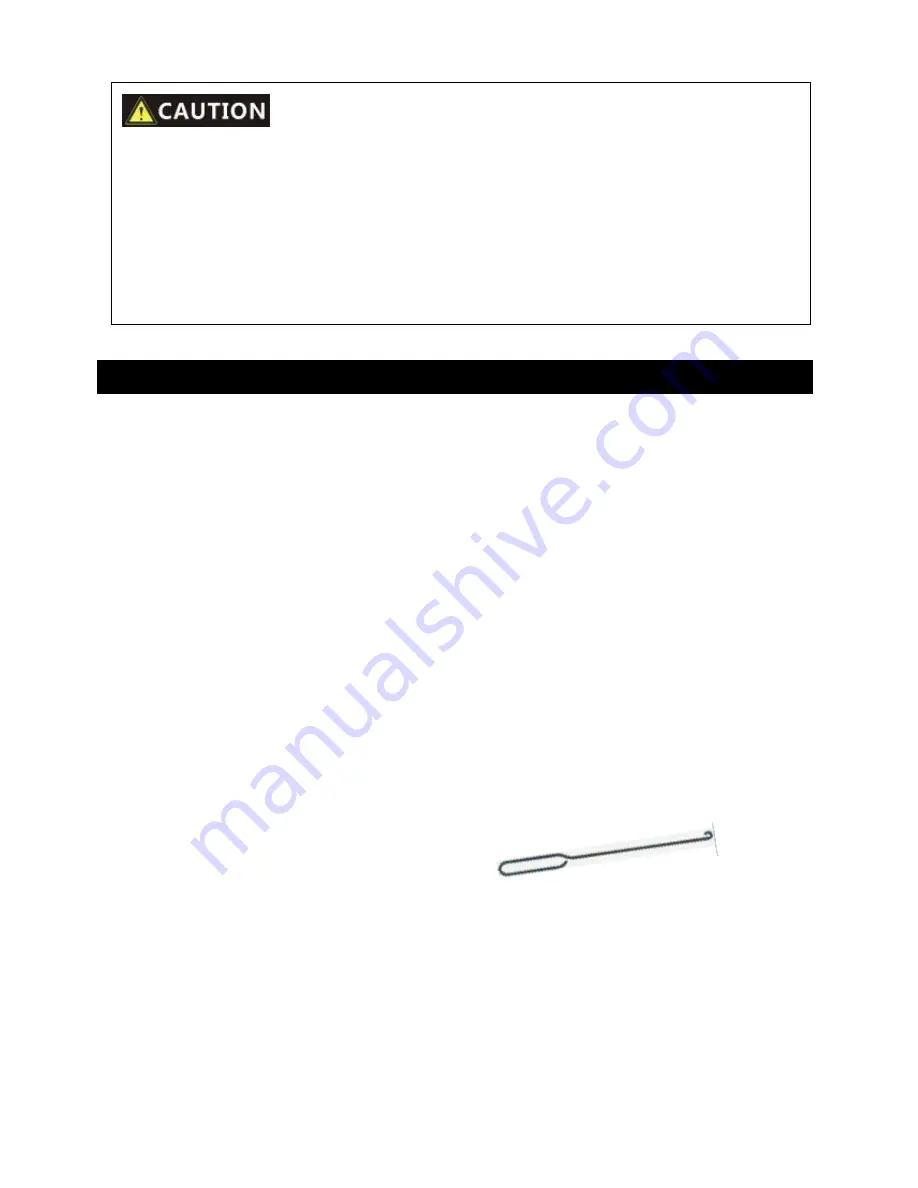
(A)


Bend a stiff wire( a light weight coat hanger works well) 

        into a small hook. Run the hook through each burner tube 

and burner several times. 

 
(B)


Use a narrow bottle brush with a flexible handle (DO NOT use a brass wire brush), run the brush through each 
burner tube and burner several times. 

 
(C)


Wear eye protection: use an air hose to force air into the burner tube and out the air ports. Check each port to 
make sure air comes out each hole. 


1.DO NOT use stone over on an open flame 
2. Avoid extreme temperature change to the stone. DO NOT place frozen foods on a hot stone


3. The stone is fragile and can break if bumped or dropped 
4. Pizza  stone  is  very  hot  during use and keep hot for a longtime after use. Please use it until


it has cool down


5. DO NOT cool the pizza stone by water when the pizza stone is hot


6. After clean the pizza stone with water, please dry the stone before use


Содержание PB304

Страница 1: ...BBQS AND PIZZA OVENS 3 in 1 PORTABLE BBQ USER MANUAL AND INSTALL INSTRUCTION ...

Страница 2: ...al wall area is completely open and At least 30 of the remaining wall area is open and unrestricted See Figure 4 5 l In the case of balconies at least 20 of the total of the side back and front wall areas shall be and remain open and unrestricted The following diagrams provide a diagrammatic representation of outdoor areas Rectangular areas have been used in these figures the same principles apply...

Страница 3: ...ighten all connections before placing the gas cylinder back in its enclosure The gas leak testing procedure should be conducted every time the gas cylinder is refilled and reconnected to the appliance before using the appliance Regulator Connection 1 Check the control knob is in the Off position 2 Make sure the cylinder valve is off 3 Remove the protective cap from the cylinder if present 4 Leak t...

Страница 4: ...lways keep upright Use appliance indoors Modify the constructions of the appliance or the size of any burner injector orifice or any other components Move the appliance during using Obstruct any ventilation of the appliance Allow the flexible gas supply hose or any electrical cord to come in contact with any heated surface of the appliance Use charcoal or any other solid fuel in this appliance Dis...

Страница 5: ... the fuel supply turned OFF at the gas cylinder after each time use DO NOT mistake brown or black accumulation of grease and smoke for paint Interiors of gas bbqs are not painted at the factory and should NEVER be painted Apply a strong solution of detergent and water or use a bbq cleaner with scrub brush on insides of grill lid and bottom Rinse and allow to completely air dry DO NOT apply a caust...

Страница 6: ...orifices are correctly positioned and secured inside the burner inlet We suggest three ways to clean the burner tubes Use the one easiest for you A Bend a stiff wire a light weight coat hanger works well into a small hook Run the hook through each burner tube and burner several times B Use a narrow bottle brush with a flexible handle DO NOT use a brass wire brush run the brush through each burner ...

Страница 7: ...4 The minimum cylinder size for use with this appliance is 9kgs The thread type of this appliance is G1 4B 19 NATURAL HAZARD SPIDERS FACT sometimes spiders and other insects climb into the grill tubes attached to the burners The spiders spin webs build nests and lay eggs The webs or nests can be very small but they are very strong and can block the flow of gas Clean burners prior to use after stor...

Страница 8: ...LY TOOLS REQUIRED Philips screwdriver not included 1 Leg Assembly 2 Temperature gauge assembly No Description Qty 1 Temperature gauge 1 2 Lid 1 3 Cast iron plate 1 4 Pizza Stone 1 5 Cooking grid 1 6 Main body 1 7 Grease tray 1 8 Feet 4 ...

Страница 9: ...3 Pizza grid assembly 4 Cast iron plate assembly 5 Pizza Stone assembly 6 For Grease pan ...

Страница 10: ...6 Clean the fire box bottom 7 Connecting to gas tank 8 For lid ...

Страница 11: ...SMITHS BBQs T A Smiths Cooking Systems P L 3 Barmedman Road Temora NSW 2666 Australia Ph 61 2 69772700 Email info smithsbbq com au ABN 18092300902 www smithsbbqs com au ...

Отзывы: