


N OT E
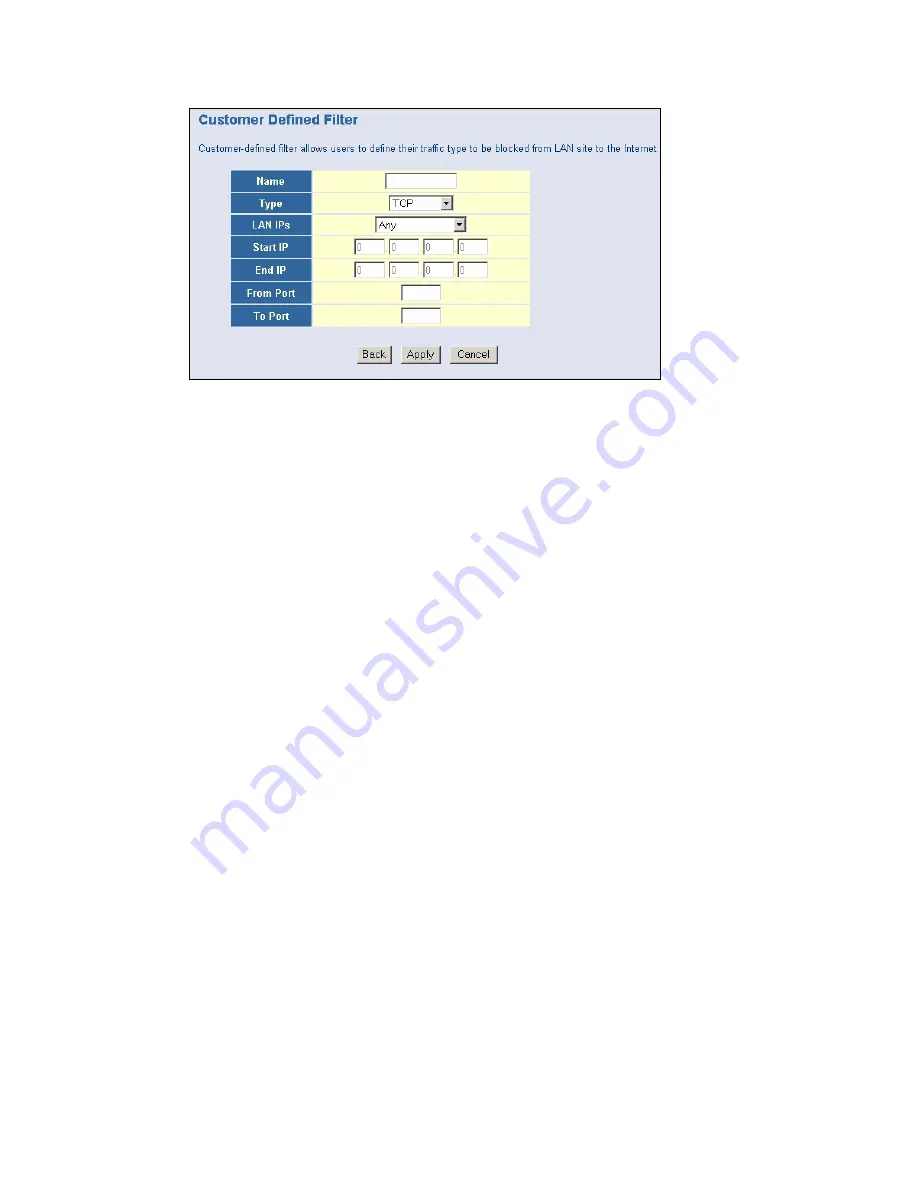
: The Name is only for reference purposes.
4.
Then select the protocol type from the pull-down menu that they would like to block.
The options are
TCP | U D P | TCP/ U D P.
5 .
Select the [ L AN IP s] that you want this access rule to apply to. Y ou can choose to apply
this rule to Any IP Address, a Single IP Address, or a R ange of IP Addresses.
If you choose [ Any] for the L AN IP s you don’ t need to configure the [ Start IP ] or [ E nd IP ]
options.
If you choose [ Single address] enter in the L AN IP address of the P C into the [ Start IP ]
section.
If you choose [ Address R ange] enter in the starting L AN IP address in the [ Start IP ]
section and enter in the ending L AN IP address of the range you want in the [ E nd IP ]
section.
6 .
To complete the configuration enter in the [ F rom P ort] and [ To P ort] information will
be blocked on the network.
N OT E
: U sually every application has its own corresponding port number. U sers should
find out the correct port number from the application vendor. F or ex ample, if you are
trying to block access to a P eer-2-P eer file sharing application then you should visit
that applications web site to see the ports it works with.
7 .
W hen your configuration is complete, click the [ Apply] button to save your changes and
return to the main Access Control page.
S pe c ia l Appl ic a tion
(Note: Depending on your cable operator, this option may not be available)
Some applications, such as Internet gaming, videoconferencing, Internet telephony and others,
req uire multiple connections. R ules are based on the port or range of ports that the
application sends data to the server on. W hen the gateway sees traffic sent to the configured
port(s), it dynamically allows all incoming traffic from the server on any port for the specified
time.
To access the Special Application configuration page, on the Side Navigation bar, click on
[ F irewall] link and then click on the [ Special Application] link.
To enable this option, click the [ E nable Triggering] checkbox .


