8
3 Getting to Know the Adapter
3.1 The Ethernet Interface
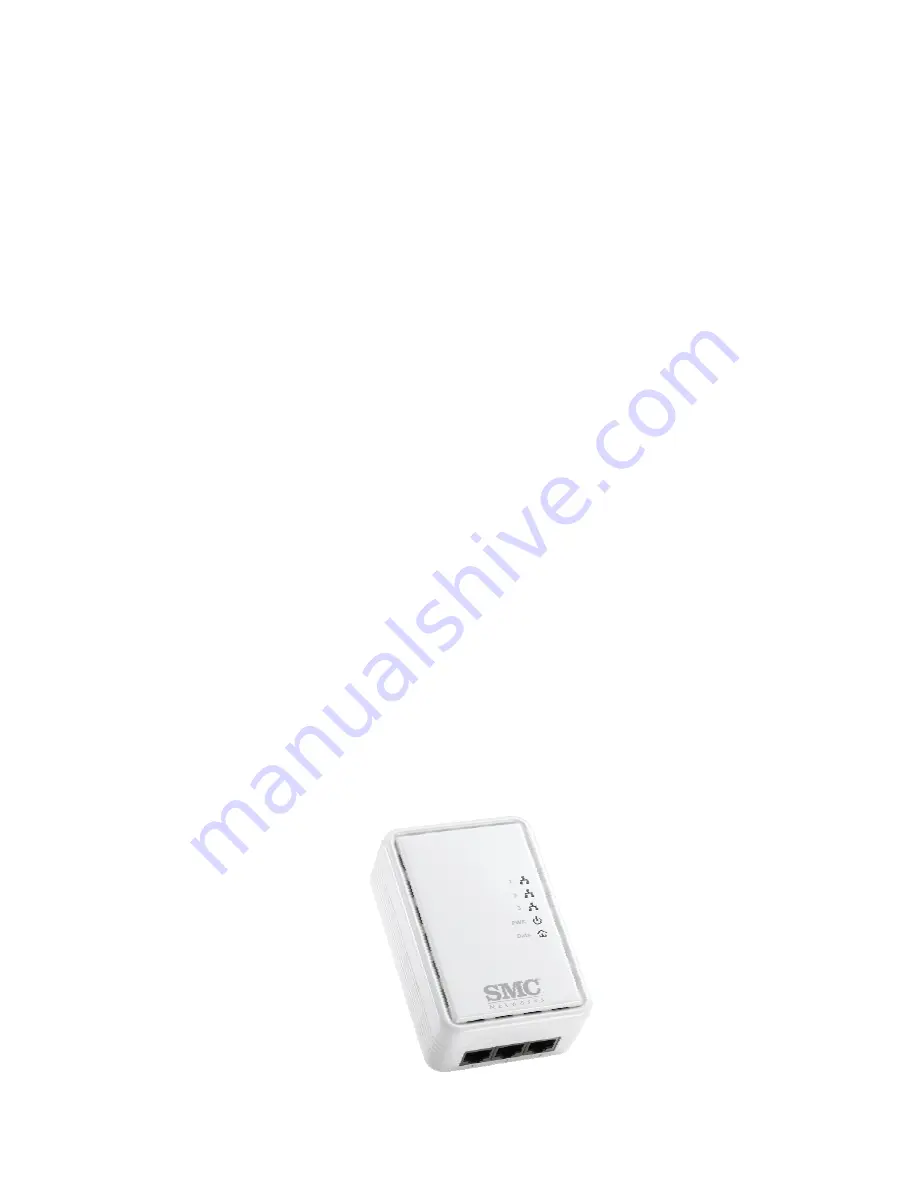
Ethernet 1~3
: The Ethernet port connects to an Ethernet network cable. The other end of the cable will connect
to your computer or other Ethernet-enabled network device.
3.2 The Adapter's Buttons
Reset
: The button can restore the factory defaults and reset the device.
Pressing and holding the RST button for 0.3 to 3 seconds to restore the factory defaults;
Security
: The button is used to set the private network name.
y
Pressing and holding the NMK button for more than 10 seconds randomizes the NMK value.
y
Pressing and holding the NMK button for 0.5 to 3 seconds makes the adapter a member of the
existing Powerline network.
Note: For more information about the security button please see chapter 6.
3.3 The Adapter's LEDs
All adapters’ LEDs are located on the front panel; there are 5 LEDs to indicate the adapter’s status.
Ethernet 1~3
:
-
Green
LED
: The Ethernet connection is ready.
-
Blinking:
The Ethernet connection is transmitting or receiving data.
-
OFF
: No Ethernet network activity.
Power
:
-
Green LED
: Power on.
-
OFF
: Power off.
Data
:
-
Blinking
: The Powerline connection is transmitting or receiving data.
-
Red LED
:
Low link speed (Data rate is slower than 30Mbps)
-
Yellow LED
:
Normal link speed (Data rate is between 30-50Mbps)
-
Green LED
: Excellent link speed (Data rate is faster than 50Mbps)
-
OFF
: No Powerline network activity
Содержание EZ Connect Powerline SMCHPAV-ESW
Страница 1: ......
Страница 11: ...10 Figure 4 3 Installation Complete Figure 4 4 Installation complete Click Close to complete installation...
Страница 24: ......


