17
6 SYNC button Usage
This section describes how to add or remove devices from a Powerline network by using the SYNC button on the
devices. This process allows to create a Powerline network without using the configuration utility for Windows and
works independent from the operating system.
6.1 Creating a private network
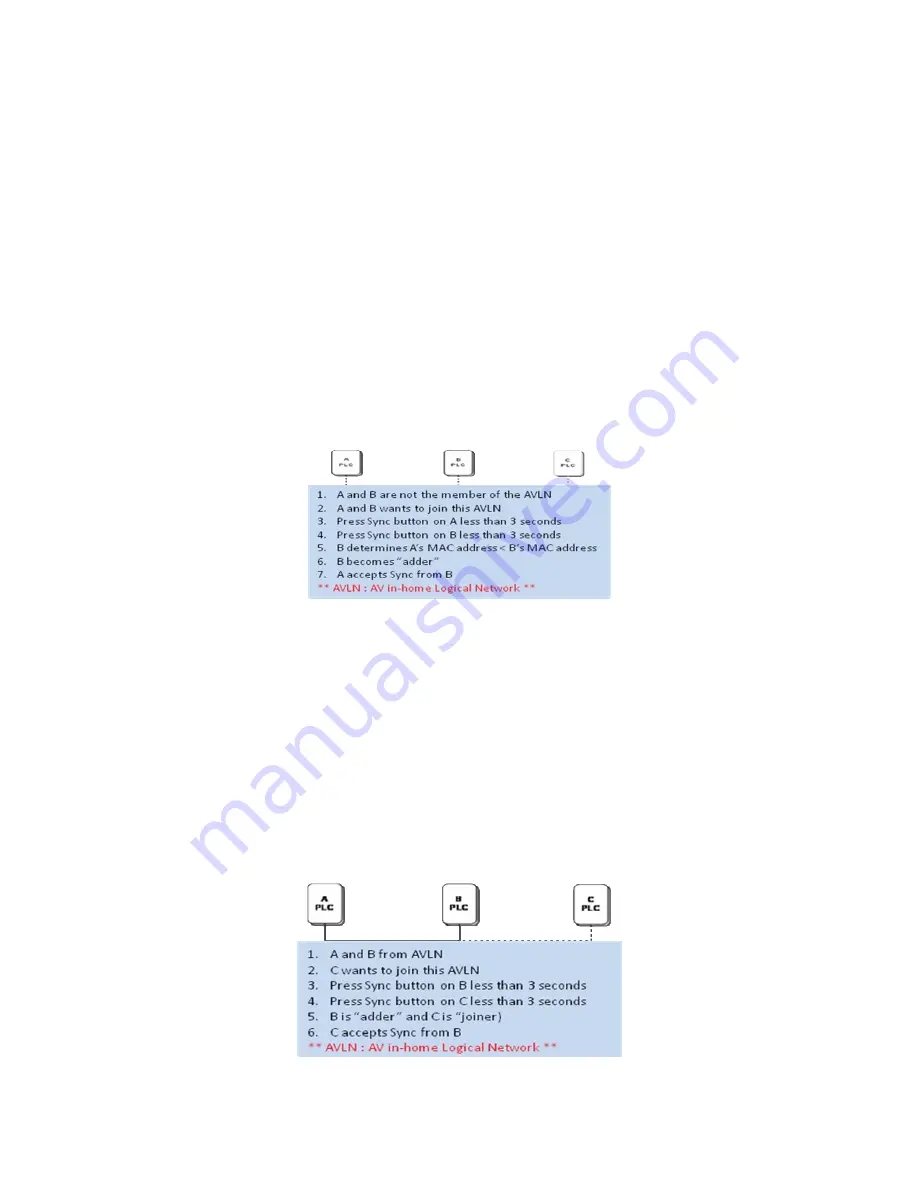
When two devices with different SYNC values are connected to the same Powerline private network, they need to be
synchronized to be able to communicate:
1.
Press the SYNC button on device A for less than 3 seconds.
2.
Press the SYNC button on device B for less than 3 seconds. The button on device B must be pressed
within 1 minute.
3.
Wait for the SYNC process to complete.
The Power LED on both devices will blink evenly at 1-second intervals until the operation succeeded or failed. If the
connection succeeded, it illuminates steadily. If an error occured, the Power LED on the ‘adder’ (Device B) blinks
unevenly until the SYNC button on the ‘adder’ (Device B) is pressed again or the ‘joiner’ (Device A) is reset by
pressing the SYNC button down for more than 10 seconds.
Figure 6-1: Creating a Homeplug AV private network
6.2 Joining a Network
In this scenario a Powerline private network exists and a new device, the ‘joiner’, should join the network. Any device
on the existing Powerline network can become the ‘adder’.
1.
Press the SYNC button on the ‘joiner’ (new device) for at least 3 seconds.
2.
Press the SYNC button on any network device for less than 3 seconds, making it the ‘adder’ (existing
device). Please press this SYNC button within 1 minute.
3.
Wait for the connection to complete.
The Power LED on both devices will blink evenly at 1-second intervals until the operation succeeded or failed. If the
connection succeeded, it illuminates steadily. If an error occurred, the Power LED on the ‘adder’ blinks unevenly until
the SYNC button on the ‘adder’ is pressed again or the ‘joiner’ is reset by pressing the RESET button down for more
than 10 seconds.
Figure 6-2: Joining a network
Содержание EZ Connect Powerline SMCHPAV-ESW
Страница 1: ......
Страница 11: ...10 Figure 4 3 Installation Complete Figure 4 4 Installation complete Click Close to complete installation...
Страница 24: ......


