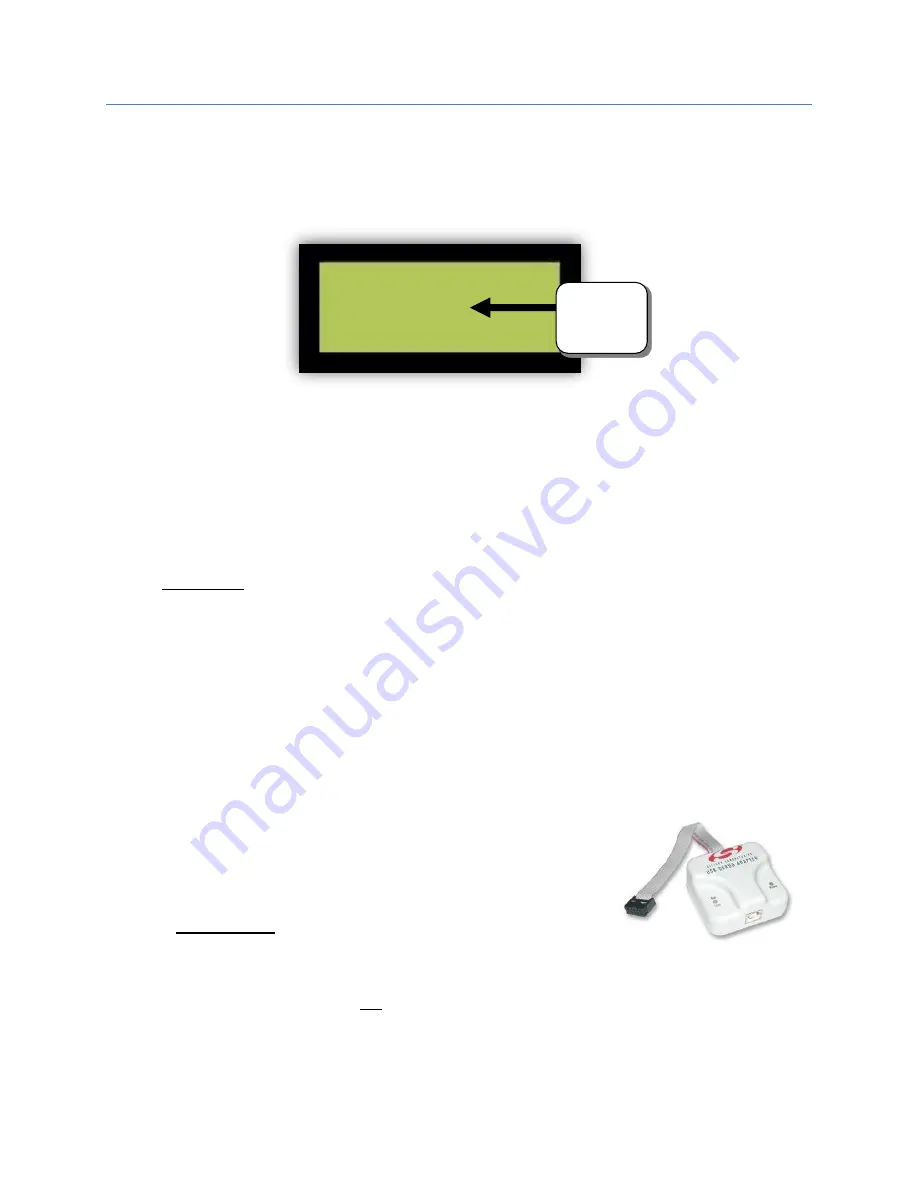
background image


Access Code 

Some software versions required an access code to be inputted when powering up a SRU board 
for the first time. The access code is “xFFFF” and when prompted, press and hold the UP arrow 
button on the SRU board until the display reads “xFFFF”, then press the enter key. 

Tips to Preserve Your Settings During Board Replacement 

The  Machine  Room  (

MR

)  board  sends  all  settings  and  parameters  to  the  Cartop  (

CT

) and  Car 

Operating Panel (

COP

) boards. These settings are stored in each board. If the Machine Room SRU 

goes out then the only way to save your jobs settings (Slowdowns, Floor Levels, Parameters, etc.) 
is to replace it and reprogram it with either the 

COP

 board or the 

CT

 board. Follow these steps: 

1.


Replace the 

MR

 board with either the 

CT

 or 

COP

 board 

2.


Reprogram it as the 

MR

 board.  

** DO NOT USE “DIP SWITCH 1” + “DEFAULT ALL” AFTER PROGRAMMING ** 

3.


Install the new board as the 

CT

 or 

COP

 board and program it as such. 

The previous settings in the reprogrammed 

MR

 board will then transfer to the new board and 

the car should operate as before with all the original settings.  

You can replace either the 

CT

 or 

COP

 board anytime as they will retrieve the settings from the 

MR board when powered up.   

USB Debug Adapter 

To program an SRU board you will need:  


Smartrise Programming Pod (USB Debug Adapter). 


A fully charged laptop with either of the following operating 
systems: Windows XP, Vista, 7, or 8. 


The software for your specific job is provided by Smartrise in two ways: a Smartrise CD 
included in the job binder OR by online download. Contact Smartrise if you don’t have 
the software for your particular jobsite. 


Enter Access Code 

X0000 

Enter 

“xFFFF” 

Содержание SRU

Страница 1: ...PROGRAMMING INSTRUCTIONS for SRU Boards www smartrise us 1235 N Union Bower Rd Irving TX 75061 916 457 5129 ...

Страница 2: ... Revision 5 7 Board POWER TERMI NAL DIP SWITCH Inputs 525 532 Inputs 517 524 Inputs 501 508 Inputs 509 516 Outputs 601 608 Outputs 601 608 LCD SCREEN Drive Port AUX Port NET Ports JTAG PROGRAMMING PORTS LCD NAVIGATION Dip Switch 1 ...

Страница 3: ... SCREEN JTAG PROGRAMMING PORTS Inputs 525 532 Drive Port AUX Port NET Ports Inputs 517 524 Inputs 533 540 Inputs 501 508 Inputs 509 516 Inputs 549 552 Outputs 601 608 Outputs 601 608 DIP SWITCH B sSWITC HES Inputs 541 548 Outputs 617 624 LCD NAVIGATION ...

Страница 4: ... board with either the CT or COP board 2 Reprogram it as the MR board DO NOT USE DIP SWITCH 1 DEFAULT ALL AFTER PROGRAMMING 3 Install the new board as the CT or COP board and program it as such The previous settings in the reprogrammed MR board will then transfer to the new board and the car should operate as before with all the original settings You can replace either the CT or COP board anytime ...

Страница 5: ...lity to extract the file to a location of your choosing If not you will need to download a free program from the internet to process this file 2 Navigate to the location you saved the file and double click on it to show the contents 3 Some laptops won t allow the Smartrise programmer to run directly from a zip file To resolve this you need to copy all the contents of the zip file to a folder on yo...

Страница 6: ...tware If not install the application by doing the following 1 Open the 5 New Smartrise Programmer Folder in your software package 2 Open the 1 Programmer Installer Folder 3 Install the Smartrise Programmer 4 Once the Smartrise Programmer is installed go back to the index of folders shown below and open the 1 Controller Software folder with the JCF Software file inside shown below ...

Страница 7: ...b is 6 Open the JCF file by double clicking on it If it doesn t open then the Smartrise Programmer might not be correctly installed Please see previous page for installation instructions The Smartrise Programmer interface Note All the controller software is located on this interface except the group software ...

Страница 8: ... appears then open My Computer and click on the CD ROM drive 2 Click on the Open folder to view files option to explore the Smartrise CD folders A list of folders with the software will appear The software is located in the 1 Controller Software folder It is imperative that you install the correct software onto the correct JTAG port To do this first connect your Smartrise programmer to your laptop...

Страница 9: ...rd 5 Notice the progress report bar when programming is finished you will see a a Progress Done when programming is finished b NOTE You will also want to verify that the POWER and RUN LED s on the programming pod itself are off before disconnecting from a controller 6 Next move your programming pod from port J21 to J22 then click on the J22 check box and begin programming 7 When programming is fin...

Страница 10: ...ng interface to begin programming the board Notice the progress report bar when programming is finished the display will show Progress Done NOTE Verify that the POWER and RUN LED s on the programming pod itself are off before disconnecting from the controller Next move the programming pod from port J21 to J22 click on the J22 check box and then Begin Programming When programming is finished CYCLE ...

Страница 11: ...gin programming the board 5 Notice the progress report bar when programming is finished the LCD display will show Progress Done NOTE Verify that the POWER and RUN LED s on the programming pod itself are off before disconnecting it from a controller 6 Next move the programming pod from port J21 to J22 click on the J22 check box and the Begin Programming button 7 When programming is finished CYCLE P...

Отзывы: