


69
9.6 OSD SETUP menu
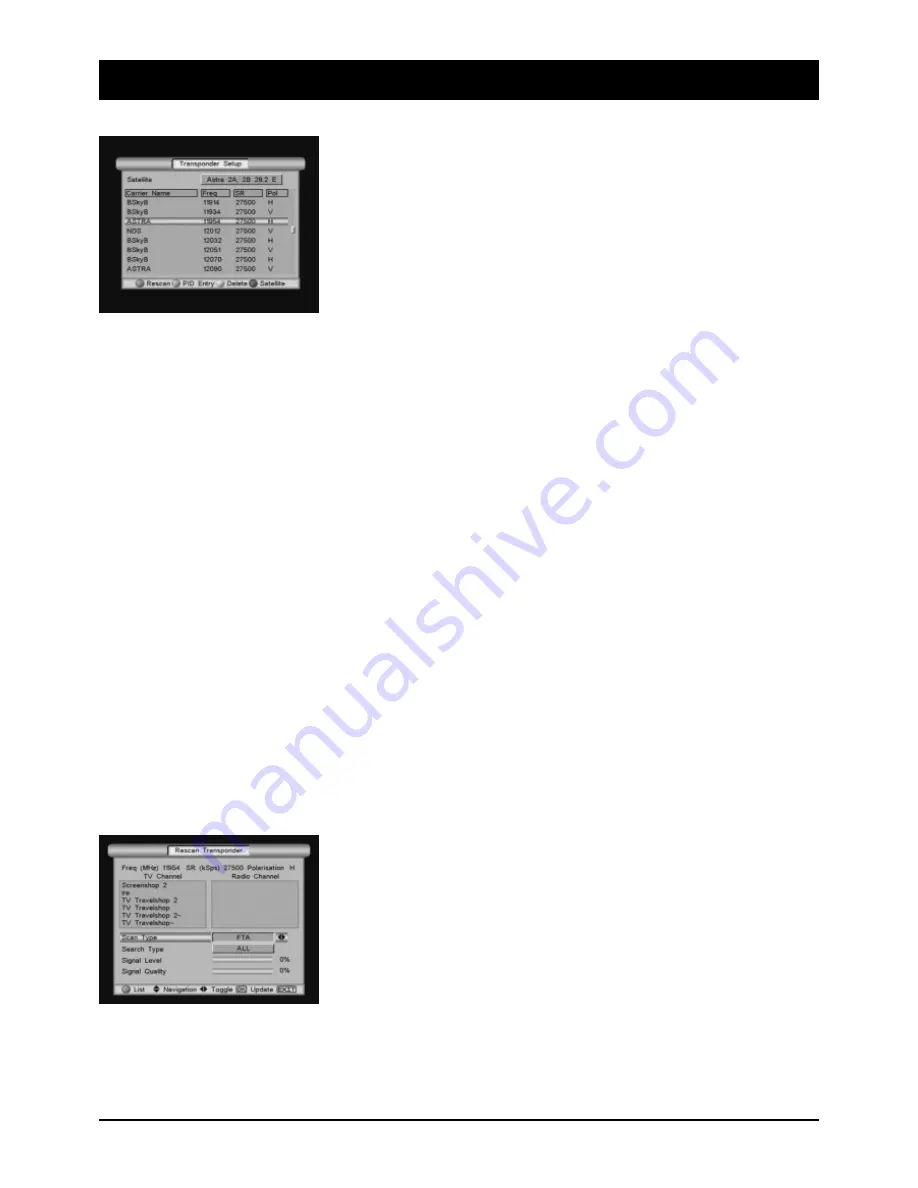
Transponder settings
The “Transponder settings” submenu firstly provides you with an overview
of all stored transponders. The following actions can be performed by
pressing the 4 coloured buttons:
RED:
A new search for the selected transponder
GREEN:
Changes picture and sound parameters (for experts only!)
YELLOW: Deletes the selected transponder
BLUE:
Selects transponder list for another satellite
GREEN: PID input
This option is generally only required for the reception of foreign satellites. The purpose of this option will
be briefly explained, for the sake of completeness: A number of programmes are often located on one
transponder (same frequency, same symbol rate etc.). To enable the satellite receiver to differentiate
between the programmes, all programmes on the transponder have different addresses for picture, sound
and data. You can enter these addresses manually.
YELLOW: Delete transponder:
Individual transponders which, for example, only contain encoded programmes, can be deleted from the
list. This can bring the advantage that a future search will be performed more quickly and the programme
lists remain clearer, although you may also lose one or two interesting programmes.
BLUE: Satellite/Transponder
The BLUE button allows you to call up another transponder list (if available) for another satellite. Select the
desired satellite and press the BLUE button again to return to the transponder overview.
RED: New transponder search
After pressing the RED button, the menu opposite will appear on the
screen. Before you start the search with the OK button, you can define the
search options first of all by pressing the RED button again: FTA (all freely
receivable stations), the encoded stations or ALL available stations for the
transponder. The type of search defines whether only TV or only radio sta-
tions or ALL (TV and radio stations) are to be searched for. Press OK after
the selection. When the search is complete, you will be shown how many
stations have been found.
Содержание DCI 9410
Страница 1: ...Digital Satellite Receiver DCI 9410 Item no 39722 OPERATING INSTRUCTIONS...
Страница 38: ...99039722 03 2005...