9
ht5000HB - pro5dl
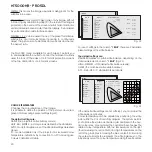
If this movement is not enough, you will need to tilt the projector
and correct the keystone distortion using the keystone adjust-
ment in the installation manual (Fig.4).
KEYS
TON
E
20%
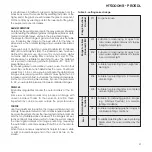
Using the Orientation item in the Setup menu, you can either
turn the projected image upside down or create a mirror image
of it (Fig.5), so as to adapt it to the configurations of frontal,
frontal on ceiling, rear, or rear on ceiling installation.
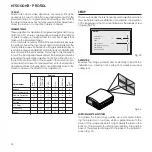
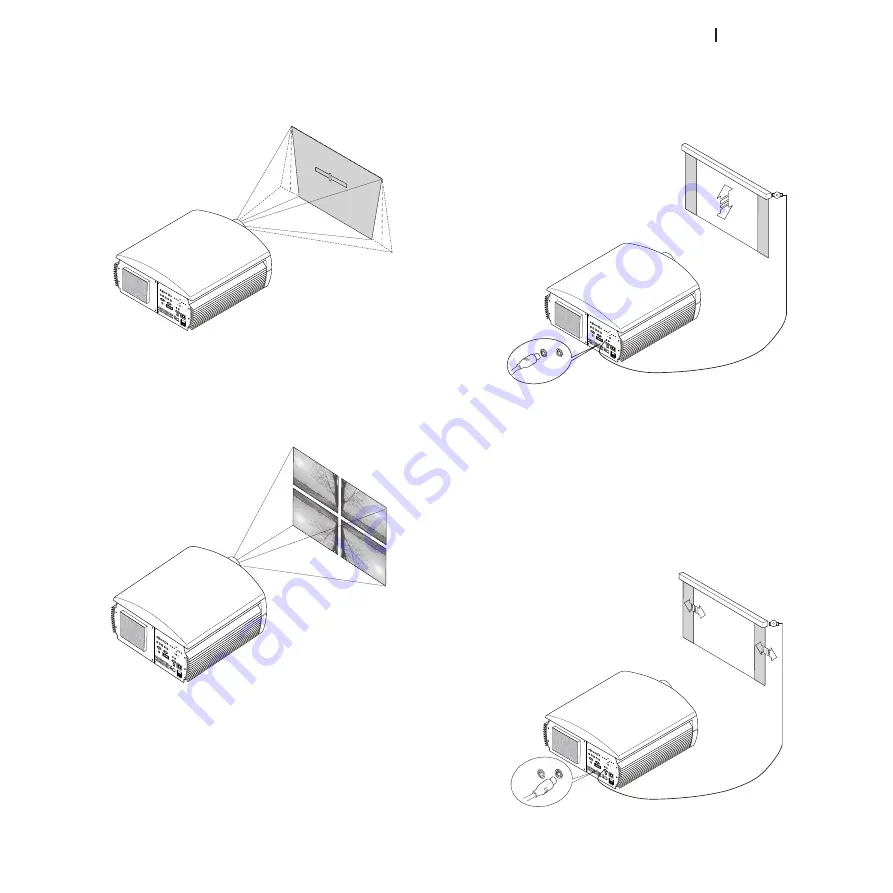
It is possible to use a hideaway motorized screen. The activa-
tion switch can be provided using output
TRig1
located on the
back of the projector (Fig. 6).
This output is activated (v12 V DC) when you turn the
projector on. It is de-activated (no output voltage) when the
projector is in standby status.
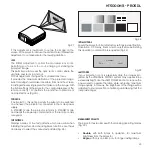
You can also use black motorized hideaway curtains to mark
off the projection screen when you change the format of
the projected image (Fig. 7). The activation command can
be provided using output
TRig2
located on the back of the
projector.
TRIG 1 TRIG 2
For rear installations, a suitable translucid screen must be used.
For front installations, it is advisable to use a screen with non-
reflective black edges that perfectly fit the projected image.
You should use screen with unity gain. Directional screens with
high gain may be used effectively only for small groups of
spectators located at the centre of the screen.
Do not allow room lighting to shine directly onto the screen
during projection. This would reduce the contrast image.
Keep the projection screen away from furniture or other objects
with reflective surfaces, or light-coloured walls.
TRIG 2
TRIG 1
Fig. 5
Fig. 6
Fig. 7
Fig. 4


