68
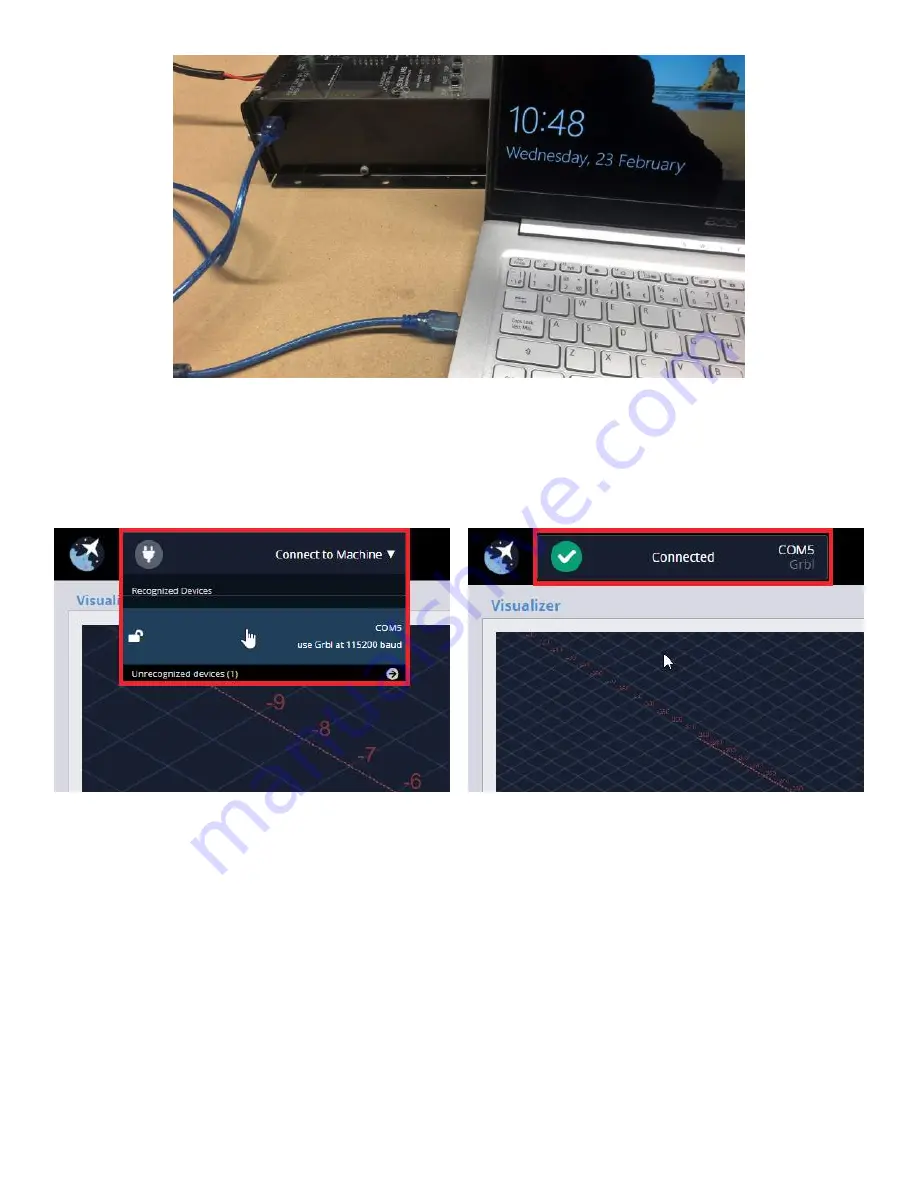
At this stage it’s time to connect your computer to the LongMill control box via the provided USB cable and
untwist the e-stop to turn on power to the machine. The USB port on the control box is on the left side.
Once that is done, hover to the top left corner of the program at “Connect to Machine”. You should see an
available device to connect to and if you click it you should see confirmation of connection as well as hear a gentle
hiss-and-thump noise from the machine.
Note: Sometimes it can take a moment for your computer to automatically install the drivers for the box
if they’re needed. If you try to connect your machine but you cannot, you may need to manually install the
drivers. You can do this by installing the
or you can follow the instructions on doing them
With “Connect to Machine” changed to “Connected”, the plug icon turned green with a check mark, the status
on the top right corner of the visualizer changed from “Disconnected” to “Idle”, and the other controls that were
greyed now being activated, it’s time to take your CNC for a drive!
Содержание LongMill MK2
Страница 1: ...1 LongMill MK2 Assembly Manual MK2 ...
Страница 7: ...7 Part 1 X Z Axes ...
Страница 22: ...22 Part 2 Y Axis Gantries ...
Страница 34: ...34 You should now have two Y axis rail assemblies They should be a mirror copy of each other ...
Страница 35: ...35 Part 3 Axes Completion ...
Страница 44: ...44 Part 4 Motors Wiring ...
Страница 62: ...62 Part 5 Checks First Moves ...
Страница 77: ...77 Part 6 Table Mounting ...


