1
DSL Self-install Kit Instructions
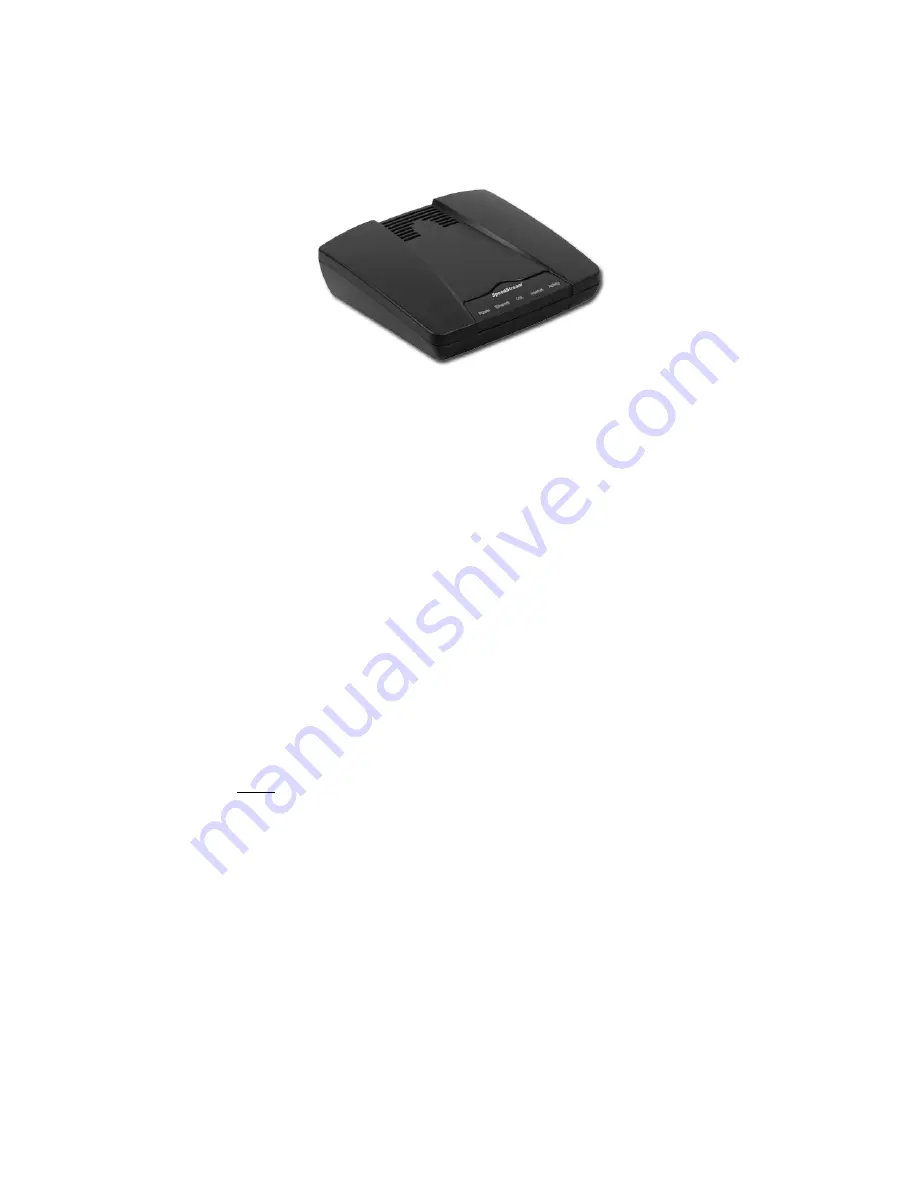
SpeedStream 4100
Cover
and
installation
notes
Page
1
1.
Verify
your
system
requirements
Page
2
2.
Verify the contents of your DSL Self-Install kit
Page 2
3.
Install filters on your telephone jacks
Page 3
4.
Connect the SpeedStream DSL modem
Page 4
5.
Configure
your
system
Page
6
6.
Configure
your
connection
and
Page
9
Important Notes:
•
In order to provide you with the best possible connectivity, your DSL circuit must "train" for at
least 10 days when first activated. During this period you must leave the DSL modem plugged in,
turned on and connected at all times. You do not need to leave your computer turned on during
this period- just the DSL modem. For best results, please plug in your DSL modem and turn it on
the day before your scheduled installation date, and leave it turned on for at least 10 days.
•
Please follow all instructions carefully. Some computer or network configurations may cause
software windows to appear that are not depicted in this guide. Please read and follow the
instructions on those screens to continue the installation process.
Your Internet Service Provider (ISP) assumes no responsibility for any personal injury or property damage
which may result from your installation of DSL Equipment as discussed in this Guide. Your ISP specifically
disclaims any liability for such injury or damage. By proceeding with this installation, you assume all risk
of personal injury or property damage. Please consult the documentation provided by your PC vendor to
identify any impacts to your warranty.


