- 24 -
3.2 Jumper Settings
Several hardware settings are made through the use of jumper caps to con-
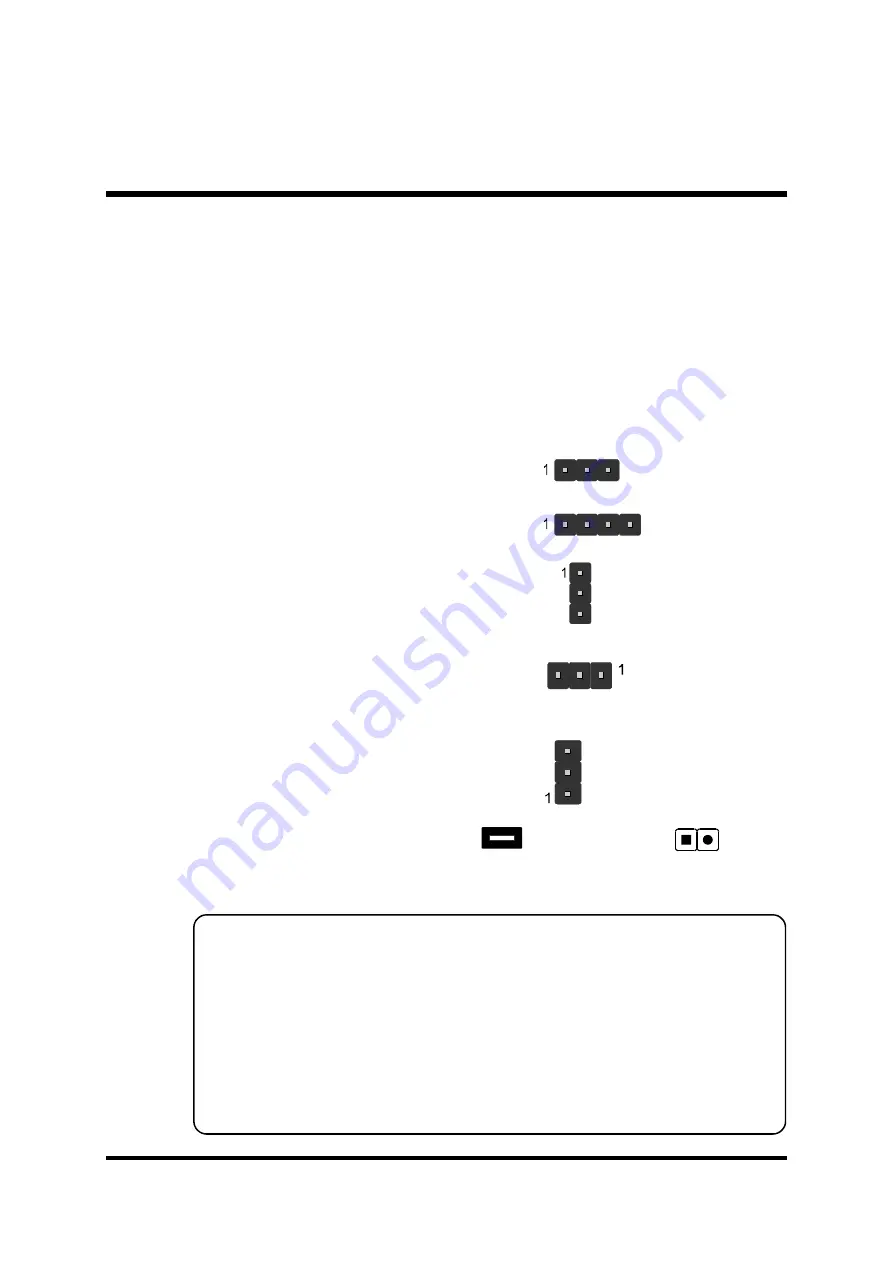
nect jumper pins to the mainboard. Pin #1 could be located at any corner of
each jumper; you just find a location marked with a while right angle, which
stands for pin1#. There are several types of pin 1# shown as below:
3-pin and multi-pin (>3) jumpers show as follows:
Pin #1 to the left:
Pin #1 on the top:
Pin #1 to the right:
Pin #1 on the bottom:
Jumpers with two pins are shown as for Close [On] or
for
Open [Off]. To Short jumper pins, simply place a plastic jumper cap over the
desired pair of pins.
Caution!
1. Do not remove the mainboard from its antistatic protective packaging
until you are ready to install it.
2. Carefully hold the mainboard by its edges and avoid touching its
components. When putting the mainboard down, place it on the top of
its original packaging film and on an even surface, and components side
up.
3. Wear an antistatic wrist strap or take other suitable measures to prevent
electrostatic discharge (ESD) whenever handling this equipment.
Содержание MK32N
Страница 1: ...MK32N Socket A AMD Athlon XP Duron Processor Based DDR Main Board User s Manual...
Страница 20: ...17 3 Single color LED header SJ1 4 SPEAKER SPEAKER 1 5 EPMI Header J1 1 SJ1 SIGNAL NC NC 5V 1 SPEAKER1 J1...
Страница 22: ...19 ATX1 2 IR connector SIR1 3 SPDIF connector SPDIF1 Step 9 Connect Power Supply 1 System power connector SIR1...
Страница 25: ...22 6 Audio Line_out Line_in Mic_In 7 MIDI Game Port MIDI GAME Port Line Out Port Mic In Port Line In Port...


